X
wikiHow is a “wiki,” similar to Wikipedia, which means that many of our articles are co-written by multiple authors. To create this article, 16 people, some anonymous, worked to edit and improve it over time.
This article has been viewed 227,401 times.
Learn more...
You've got a nice picture, but the background isn't the best. Did they really need to take that photo in the bathroom water closet? However, fret no more over your photo! This article will show you how to get rid of the background using the Paths Tool in GIMP.
Steps
-
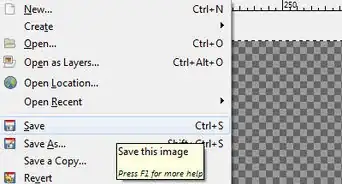
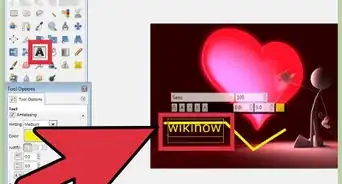
1Find your image.
-
2Crop out the extraneous parts of the image. Do this by clicking on the rectangular selection tool and select the part you want to keep. Then Click on Image > Crop to Selection and crop.Advertisement
-
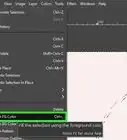
3Click on the Paths Tool.
-
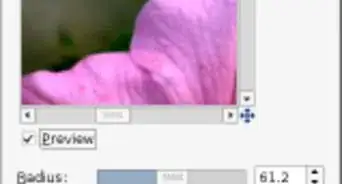
4Zoom in on the image. Move up close where you plan to start.
-
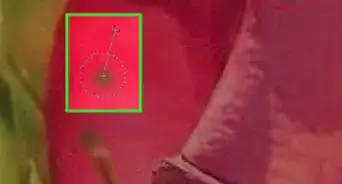
5Start the 'path'. When creating a path like this, remember less is more. You only want to click to add a node where there is some kind of directional change. Continue to do this until you have gone completely around the area you wish to separate.
-
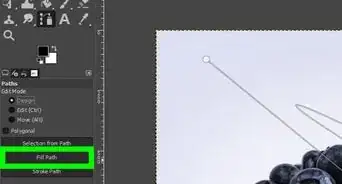
6Create a selection from path. You will need to have a selection, so you can invert and delete.
-
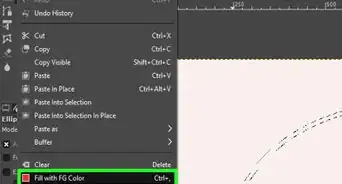
7Hit Select > Invert, then hit delete.
-
8Hit your delete key. This will remove the entire background outside of the selection.


Advertisement
Community Q&A
-
QuestionIs it any different on Mac?
 Community AnswerFor the mac you just get system preferences and press background and drag a picture you like.
Advertisement
About This Article
Advertisement