This article was co-authored by Mitchell Newman. Mitchell Newman is the Principal at Habitar Design and its sister company Stratagem Construction in Chicago, Illinois. He has 20 years of experience in construction, interior design and real estate development.
There are 9 references cited in this article, which can be found at the bottom of the page.
This article has been viewed 77,119 times.
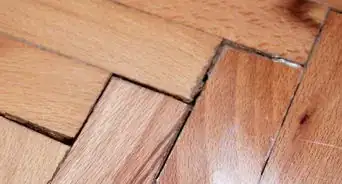
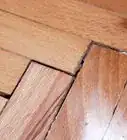
Hardwood flooring makes a welcome addition to any home, but it can be daunting to deal with once it’s time to remove or replace it. Stripping hardwood flooring the wrong way can cost you hours of backbreaking work, leave you with an enormous mess and even cause permanent damage to your subflooring. If you decide to remove your flooring yourself, it will be worth knowing how the see the project through safely and efficiently. Start by sawing the individual boards into more manageable sections, then pull them up using a pry bar. From there, you can simply dispose of the materials or repurpose them for other creative uses around your home.
Steps
Preparing Your Work Area
-
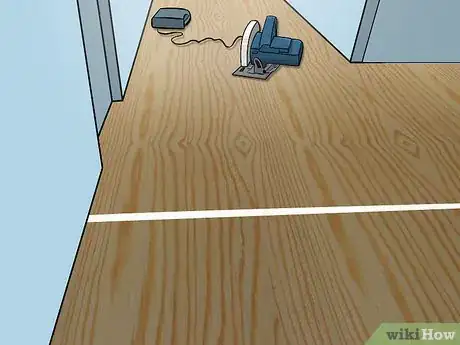
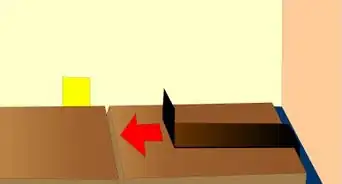
1Map out the removal area. Determine exactly how much flooring you need to pull up and where you’ll start. You may want to do away with the entire floor and put in a new one, or you might decide to only remove a particular section in order to have carpet, tile or laminate installed to change the layout of your floorplan. Having a clear idea in mind of how best to proceed will help you carry out the project more efficiently.[1]
- Generally, it’s easiest to remove one or two central boards and work your way outward from there.
- Use to tape to mark off specific boundaries and make cutting and prying more precise.
-
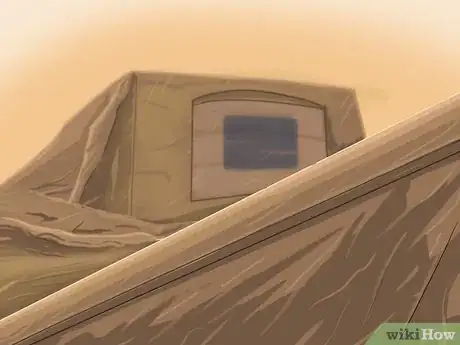
2Lay down tarps to control the spread of dust and debris. Use tarps to cover light fixtures, furniture, appliances and anything else that you don’t want coated in sawdust once you begin sawing. You should also remove as much clutter from the work area as possible beforehand to give yourself a maximum amount of room to work.[2]
- Remove any computers, gaming systems, TVs, and other sensitive electronics from the room completely. Even they are covered, the internal components can still be damaged.
- Tack up your tarps with masking or painter’s tape that can be peeled away easily when you’re done.[3]
- While it may be tempting to skip this step, it’s not recommended. Cleaning sawdust from unprotected surfaces is an exhaustive effort that will add greatly to your overall project time.
Advertisement -
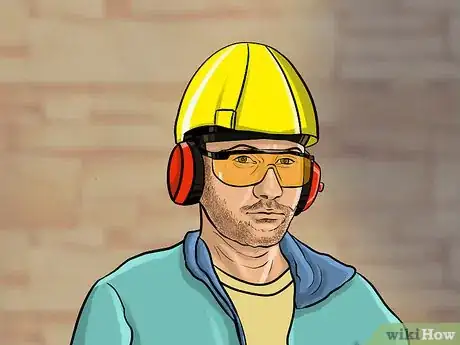
3Equip with the proper safety gear. Before you get started, make sure you’re prepared to tackle the project safely. Put on rugged work gloves to protect your hands while operating the circular saw, some protective eyewear and a breathing mask to filter out sawdust and mold. You should also make a point of wearing closed-toed shoes with thick soles, as you’ll be surrounded by loose nails and other exposed edges.[4]
- Long-sleeved clothing will keep your skin from being exposed to dust and hazardous objects.
- Since you’ll be spending hours kneeling to pry up the planks, a pair of knee pads can be a lifesaver.
Cutting and Prying up Hardwood Floors
-
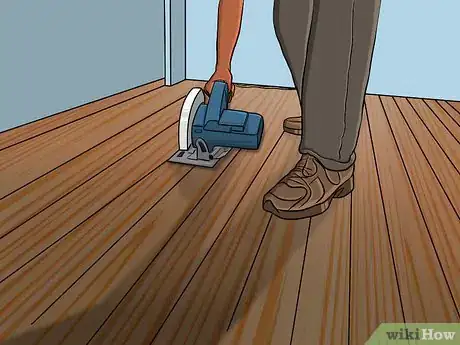
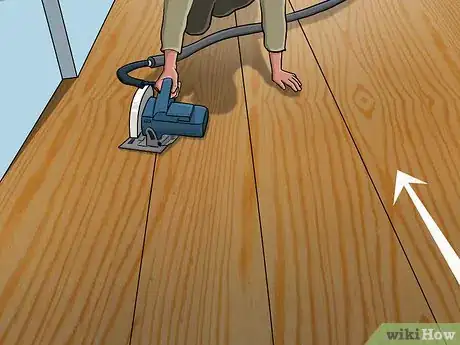
1Saw the boards into small sections 3 feet (0.91 m) wide. Cut across the boards perpendicularly at intervals. This will reduce them to a more manageable size and make them easier to pry up later. Run the saw in a straight line from one end of the work area to the other, then turn and continue in the opposite direction.[5]
- Set the depth of the saw blade to the same thickness as the hardwood so that you don’t accidentally scar your subflooring. For instance, if your flooring is 5⁄8 inch (16 mm) thick, your saw guard should also be positioned at 5⁄8 inch (16 mm).
- Make your cuts approximately every one to two feet, and be sure to avoid sawing over the “tongue” end of the board.[6]
-
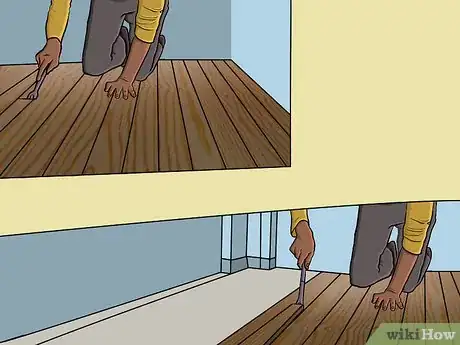
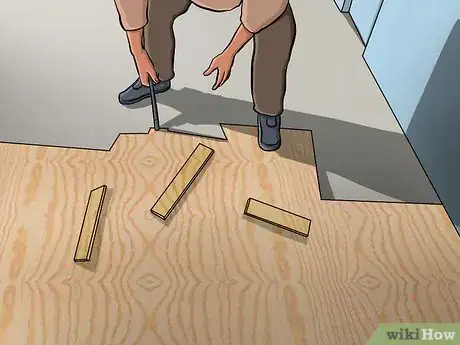
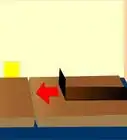
2Use a pry bar to pull up the boards. Wedge the tip of the pry bar underneath a section of flooring. Pull back sharply on the handle to wrench the board from its place. Assuming you’ve sawed the boards into small enough sections, they should pop right out. Repeat this process until all the flooring has been removed.[7]
- Always pry up the boards in the same direction that they’re nailed down. This will help prevent cracking and splintering.
- If the boards are stuck too firmly to be budged, strike the underside of the board where it meets the subflooring with a chisel to create separation.[8]
-
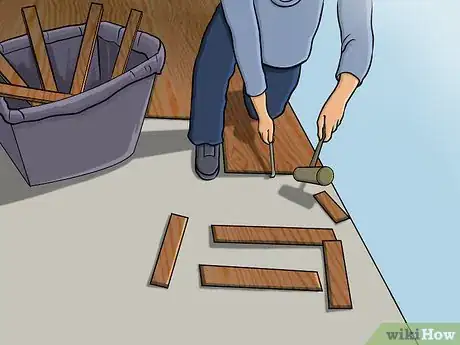
3Dispose of the old flooring. Keep a large, lined trash receptacle in your work area so that you’ll have something to drop the discarded wood fragments into as you go. This is a much safer and more organized approach than throwing everything into a loose pile. When you’re finished, the old flooring will be carted off to the dump or recycling center.
- Be careful around the disposal bin, as there will likely be lots of stray nails and jagged edges exposed.
-
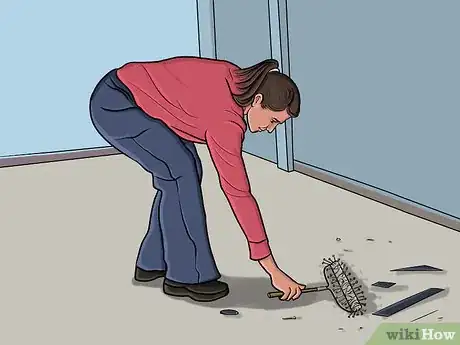
4Pick up remaining nails and staples. There will likely be a few loose metal fasteners littering the floor, so be careful moving throughout your work area. You can collect these materials by hand or use a powerful handheld magnet to pick up whatever metal scraps happen to be lying around. Spent nails and staples should go straight into the trash.[9]
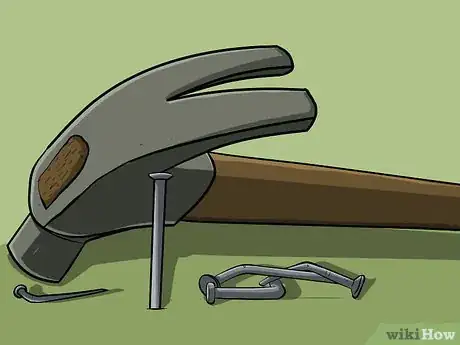
- Protruding nails can be bent prior to disposal to make them less of a hazard.
- Keep your work gloves on throughout the cleanup process in case you come into contact with any sharp objects.
-
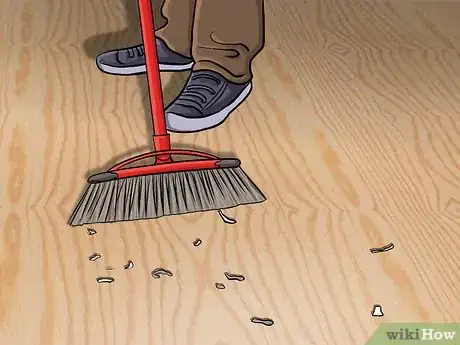
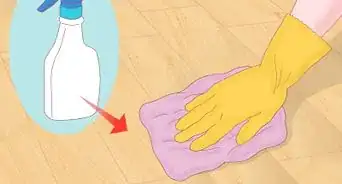
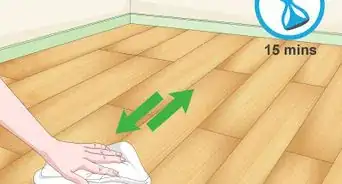
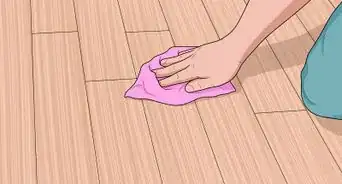
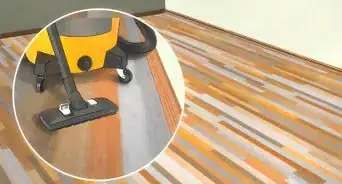
5Clean your work area thoroughly. Sweep the sawdust, wood chips and other debris into small piles, then use a shop vac to suction them up. Take down the tarps, roll them up carefully and move them outside to be cleaned or thrown away. If necessary, go over the area again with a vacuum or mop to clear away any especially fine dust remaining.[10]
- For deep cleaning jobs, use dust-attracting sprays and a microfiber towel to small particles.
Salvaging Hardwood for Other Projects
-
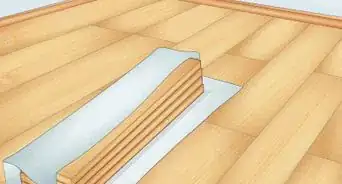
1Cut one board in half lengthwise. If your hardwood flooring is still in good condition, you may decide that it’s worth keeping and putting to use elsewhere. To successfully salvage hardwood, you’ll need to first saw one board straight down the middle along its length. After tearing out both halves of this board, you’ll have a sufficient amount of space to begin working on the others.[11]
- It may be necessary to sacrifice one or two boards to put you in a position to remove the others.
- Dig out a central board and work outward in both directions.
-
2Pry up the remaining boards individually. Start at one end of the board and work your way down, keeping the tip of the pry bar positioned directly beneath the nails or staples. You’ll want to pull up on the boards rather gingerly to prevent them from splintering. Work slowly, doing your best to keep each board intact.[12]
- Move the pry bar along about half a foot at a time, focusing on areas that are held down by fasteners or adhesives.
- Preserving your flooring is a time consuming process, but the payoff is a fresh supply of useful hardwood.
-
3Extract all nails and staples. Once you’ve got all the boards up, go through them one at a time and ease out the fasteners that were used to secure them. The best tools for this task are a nail claw or the back of a hammer and a pair of locking pliers. Be patient—it will take a while to remove every last nail and staple.[13]
- Work slowly and delicately to avoid causing unnecessary damage to the wood.
- Use a handheld magnet to speed up the collection and disposal of small metal pieces.[14]
-
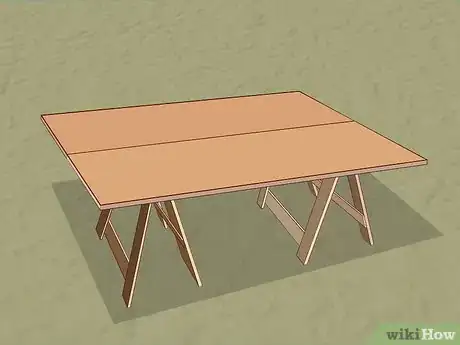
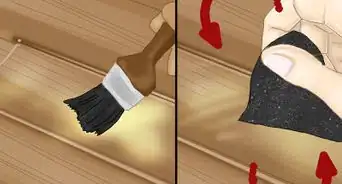
4Clean and store the salvaged wood. From here, you’re free to hang onto the hardwood or employ it in other projects. Wipe down each board with a damp cloth and keep them in a cool, dry environment until you’re ready to use them. If you wish, you can polish or sand and stain older wood to restore it like-new condition.[15]
- Recycled wood can be used to provide flooring for another room in your home, create unique, rustic wall paneling, construct a garden footpath or any number of other projects.[16]
- In some cases, you may be able to sell reclaimed wood to other companies or individuals seeking inexpensive building materials. The longer the pieces are, the more valuable they are.
Expert Q&A
-
QuestionHow do I know if my flooring is glued down?
 Mitchell NewmanMitchell Newman is the Principal at Habitar Design and its sister company Stratagem Construction in Chicago, Illinois. He has 20 years of experience in construction, interior design and real estate development.
Construction Professional If you're removing regular tongue-and-groove flooring that isn't glued to the floor, the hardest part will be prying the first few boards loose with your crowbar. Once you do that, you can just use your crowbar to keep pulling up the boards all the way across the floor. If the floor is glued, you can just set your saw up for a cut that's the exact thickness of the board, then pull it up with a crowbar after you cut it.
Warnings
- Always get rid of wood that shows signs of rot, mildew or damage.⧼thumbs_response⧽
- Be on the lookout for nails, staples and sharp wood edges and splinters. These can penetrate shoes and clothing and cause injury.⧼thumbs_response⧽
Things You'll Need
- Circular saw
- Pry bar
- Hammer or nail claw
- Locking pliers
- Chisel
- Plastic tarps
- Painter's tape
- Breathing mask
- Protective goggles or work glasses
- Work gloves
- Construction knee pads
- Closed-toed footwear
References
- ↑ https://www.youtube.com/watch?v=77GXx1NdOCw
- ↑ https://www.youtube.com/watch?v=7HoYAtaz79U
- ↑ https://www.naturalhandyman.com/iip/infpai/inftarps.html
- ↑ http://www.makeit-loveit.com/2013/05/home-improvement-how-to-remove-hardwood-floors.html
- ↑ http://www.makeit-loveit.com/2013/05/home-improvement-how-to-remove-hardwood-floors.html
- ↑ https://www.youtube.com/watch?v=77GXx1NdOCw
- ↑ https://www.bobvila.com/sections/tv-shows/projects/31-ranch-expansion/episodes/386-porch-ceiling-and-hardwood-flooring/videos/1159813233001-recycling-a-hardwood-floor#.WMgrqfkrLIU
- ↑ https://www.youtube.com/watch?v=7HoYAtaz79U
- ↑ http://www.lhsfna.org/index.cfm/lifelines/december-2013/housekeeping-safety-go-hand-in-hand/
- ↑ http://www.howtocleanstuff.net/removing-interior-construction-dust/
- ↑ https://www.youtube.com/watch?v=7HoYAtaz79U
- ↑ http://www.popularmechanics.com/home/how-to-plans/how-to/a2328/4234553/
- ↑ http://www.makeit-loveit.com/2013/05/home-improvement-how-to-remove-hardwood-floors.html
- ↑ http://www.makeit-loveit.com/2013/05/home-improvement-how-to-remove-hardwood-floors.html
- ↑ https://www.bobvila.com/sections/tv-shows/projects/31-ranch-expansion/episodes/386-porch-ceiling-and-hardwood-flooring/videos/1159813233001-recycling-a-hardwood-floor#.WMgrqfkrLIU
- ↑ http://www.countryliving.com/diy-crafts/how-to/g2126/repurposed-wood-hometalk/
About This Article
Removing or replacing your hardwood flooring is hard work and can leave your subflooring permanently damaged, so make sure to prepare for this job if you do it yourself. You’ll need tarps to cover fixtures, furniture, appliances, and anything else that you don’t want coated in dust and debris. Make sure to have safety gear as well, like goggles, thick gloves, closed-toe shoes, and knee guards. Your first task will be to saw the boards into smaller sections, which will make them easier to pry up. Wedging the tip of your pry bar under the sections of flooring should get them to pop right up. If any of the boards are stuck, you’ll need to hit the underside of the board where it meets the subflooring with a chisel to create a separation. Dispose of the flooring in a large, lined garbage bin so you can easily take it to the dump or recycling center. To learn how to salvage hardwood for other projects, keep reading!
