X
wikiHow is a “wiki,” similar to Wikipedia, which means that many of our articles are co-written by multiple authors. To create this article, volunteer authors worked to edit and improve it over time.
This article has been viewed 75,468 times.
Learn more...
Repairing cracks in wood floors is relatively easy, provided the cracks aren't too large.
Steps
-
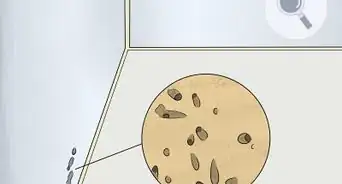
1Get some sawdust from the floor you want to repair. If you don't have any leftover pieces of matching wood laying around your house, you'll have to go to a flooring store and buy a piece of wood to match. (same species and stain if possible).
-
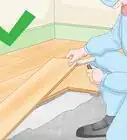
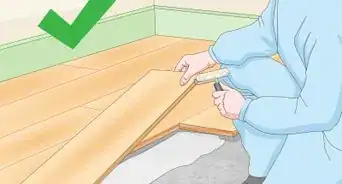
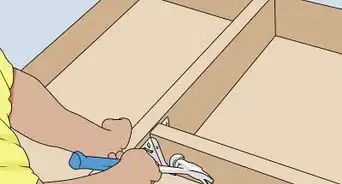
2If you can't find any wood to match, you'll have to "cannibalize" a piece of the existing floor. Pull up the baseboard and pry up a strip from the edge of the floor, or alternatively, remove a piece from under a doorway. Sand the side of the wood nearest the wall where it will be hidden under the baseboard once it's re-laid, or at the edge of the strip under the door where it's hidden by the door jamb.Advertisement
-
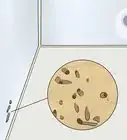
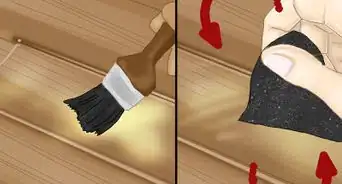
3Using a belt sander, sand off a cup or two of wood from the piece of wood into a container (or however much you think you'll need to fill the cracks).
-
4Mix the sawdust with some wood glue to make a fairly thick paste.[1]
-
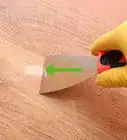
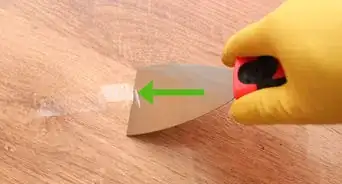
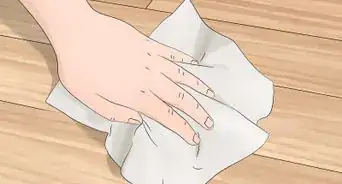
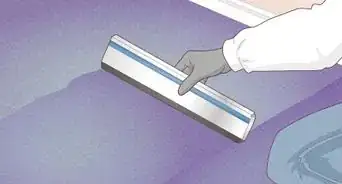
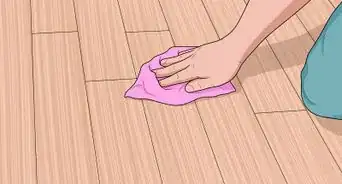
5Using a plastic trowel (or a plastic spatula), lay the sawdust/glue mixture into the cracks. Try to finish off as smooth as possible. Wipe the patch and adjacent flooring with a damp rag to wipe off any excess. Wipe on a diagonal to avoid pulling filler out of the patch.[2]
-
6Let the filler dry for a day or two.[3]
-
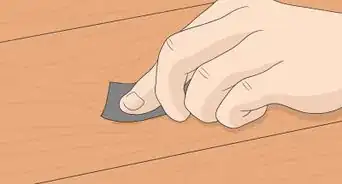
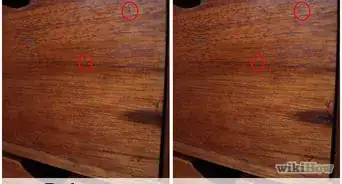
7Sand lightly. If there's a huge color difference between the patch and the rest of the floor, you might need to re-stain the patch.Using a very small artist's brush, stain the patch. Allow to dry for a minute and wipe off. Let the stain set overnight and using another small artist's brush, cover the patch with a coat of varnish to match the existing floor.
-
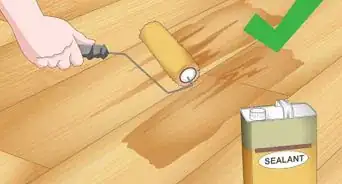
8If there are a large number of patches on your floor, or there's a noticeable difference in level of sheen, you might need to re-varnish the entire floor.[4]


Advertisement
Things You'll Need
- belt sander
- sawdust from your wood floor
- wood glue
- plastic trowel (or spatula)
- small artist paintbrushes
- varnish
- wood stain
- masking tape
- reciprocating saw and blades (possibly)


References
About This Article
Advertisement