X
wikiHow is a “wiki,” similar to Wikipedia, which means that many of our articles are co-written by multiple authors. To create this article, volunteer authors worked to edit and improve it over time.
This article has been viewed 103,081 times.
Learn more...
When troubleshooting an issue with your iPod, it's sometimes helpful to manually put it into Disk Mode.
Steps
Method 1
Method 1 of 2:
Using iPods With a Click Wheel
-
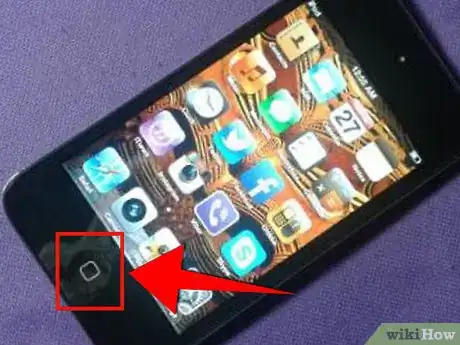
1Before placing the iPod into disk mode, you should verify that it is charged.
-
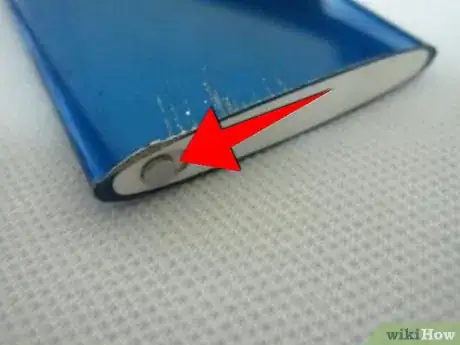
2Toggle the Hold switch on and off. (Set it to Hold, then turn it off again.)Advertisement
-
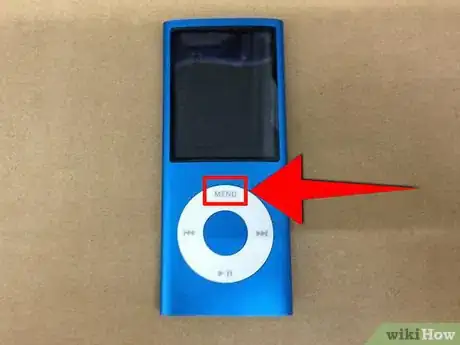
3Press and hold the Menu and Select buttons for at least 6 seconds until the Apple logo appears.
-
4When the Apple logo appears, release the Menu and Select buttons and immediately press and hold the Select and the Play/Pause buttons until the Disk Mode screen appears.
-
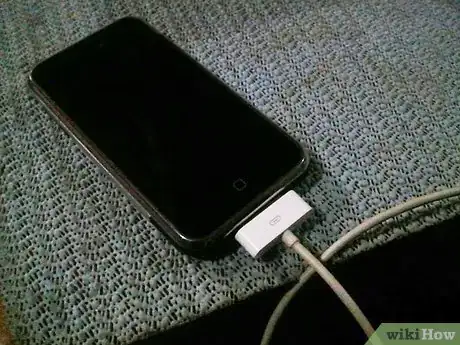
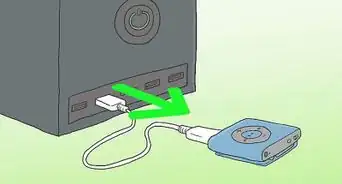
5Connect the iPod to your computer; the screen on the iPod will change and say "Do not disconnect".
Advertisement
Method 2
Method 2 of 2:
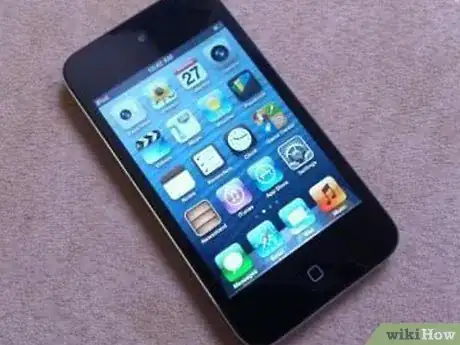
Using iPods Without a Click Wheel
-
1Before placing the iPod into disk mode you should verify that it has a charge.
-
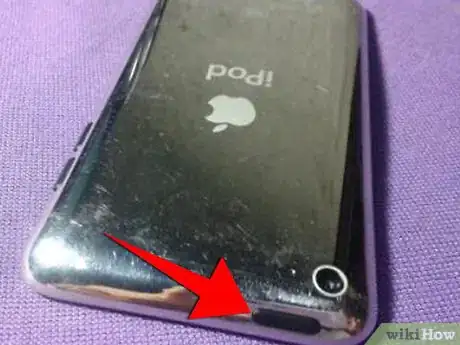
2Toggle the Hold switch on and off. (Set it to Hold, then turn it off again.)
-
3Press and hold the Play/Pause and Menu buttons until the Apple/iPod logo appears, then release them. This resets iPod. When you reset iPod all your music and data files are saved, but some customized settings may be lost.
-
4When the Apple logo appears, immediately press and hold the Previous and Next buttons until the Disk Mode screen appears.
-
5Connect the iPod to your computer; the screen on the iPod will change and say "Do not disconnect".
Advertisement
Warning
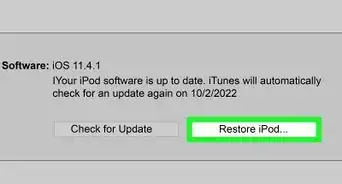
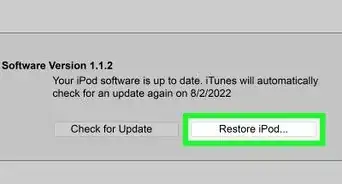
- To return it to its normal operating state, you will have to reset iPod.
About This Article
Advertisement








-Step-29.webp)


