X
This article was co-authored by Mike Katona. Mike Katona is a DIY Home Improvement Specialist and the Co-founder of ShabbyChicHouse. With experience dating back to the early 2000s, he specializes in building new homes, home design, and decor. Mike has been featured in publications such as Real Homes and MSN Lifestyle. He has also been named one of Feedspot's Top 100 Home Improvement Bloggers.
This article has been viewed 160,780 times.
Plastic laminate is an inexpensive, durable counter top surface that comes in many styles and colors. Whether building kitchen cabinets or a desk top work surface, this material is relatively easy to install if you use the right tools and materials.
Steps
-
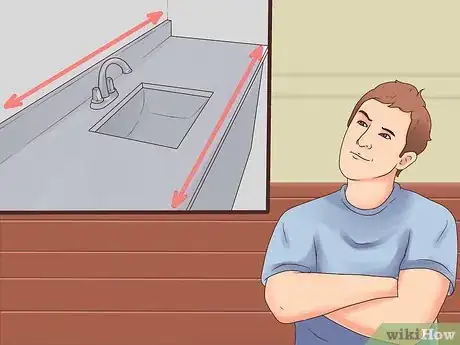
1Spend some time planning your project. For areas where a backsplash is required, a post-formed factory built countertop may be more suitable, but for many applications, a do-it-yourself top will work well, offering you more flexibility and the satisfaction of doing the job yourself. Here are some things you will need to know before beginning:
- Decide how large the counter top or work top will be. For example, a work-counter in a craft room may need to be 24–36 inches (61.0–91.4 cm) wide, depending on the size of the materials you will use on it.
- Look at the colors and the effect they will have on the surface. Dark wood or stone designs are pretty to look at, but if the lighting in the area you will use them in is not sufficient, a lighter or brighter color may be more suitable.
- Look at the exposure the surface can expect. For areas near sinks or where water or other liquids may be spilled, post-formed counter tops will help manage spills since they have an integrated back-splash and slightly raised front edge to decrease run-off from the surface.
-
2Choose the type and finish of your material. Plastic laminates come in an almost limitless selection, from solid colors to realistic wood or stone designs, either very smooth and glossy, or embossed and textured to more closely replicate the material they resemble.Advertisement
-
3Choose the material you will glue your laminate to. Plywood or MDF (medium density fiberboard) are common materials for a laminate substrate, and each has advantages and disadvantages. Here is a limited comparison:
- Plywood has a somewhat higher structural strength, and weighs less than its fiberboard counterpart. It can be purchased in thicknesses ranging from 1⁄4 inch (0.6 cm) to 3⁄4 inch (1.9 cm), and comes in sheets normally sized at 4 foot (1.2 m) by 8 foot (2.4 m), although special order sheets can be longer. Plywood with exterior glue will be somewhat more resistant to moisture, as well.
- MDF board is less inclined to warping, since it has no directional grain. Its surface is more dense, so it takes the glue a bit better than plywood, and the glue will not dry quite as quickly. Typically, MDF board is about 25-30% less expensive than a sanded hardwood plywood.
-
4Choose that plastic laminate you will use for your project. There are a number of grades and brands available at building supply stores and home improvement retailers, so you can plan to spend some time researching and shopping for the product you will use. Plastic laminate comes in sheets, normally measuring 49 or 60 inches (124.5 or 152.4 cm) by 12 feet (3.7 m), but can be purchased cut to size for your project to minimize waste.
-
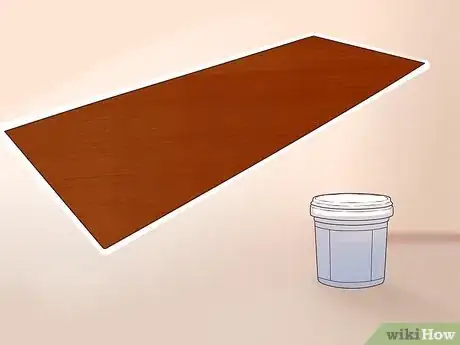
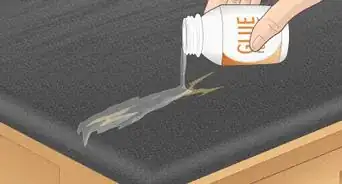
5Match the contact cement to the laminate you choose. Many retailers sell laminate with a thermoset glue already applied to the back of the sheet, but if you buy one that does not have this feature, you will have to glue up the laminate yourself. This is the process we will be looking at in this article. You should find two basic choices in adhesives, either a solvent based (very flammable, very fast setting) or water based (non flammable, slower setting) contact cements. Generally, you will need about 1 US-quart (946 ml) of adhesive for each 4 X 8 sheet or 32 square feet of countertop.
-
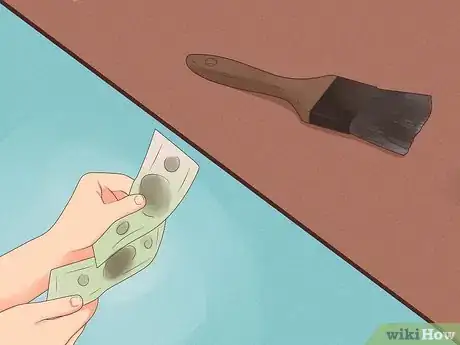
6Purchase disposable paint brushes or a paint roller with a close (short) nap to spread your glue.
-
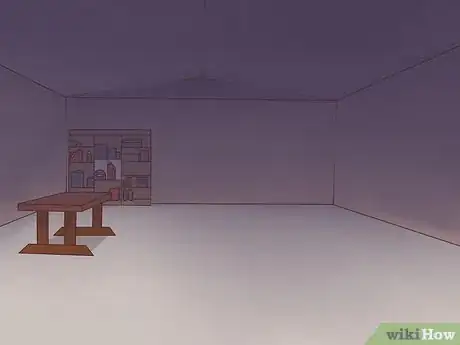
7Assemble the materials in a workshop or other location with good ventilation and lighting, relatively little dust, and plenty of workbench space. You will also want to make sure you have the tools you will need to perform the work.
-
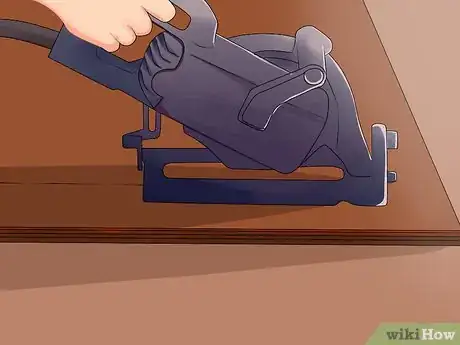
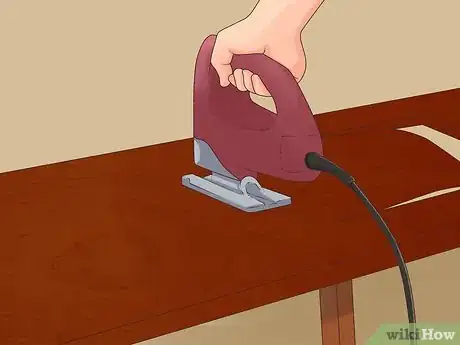
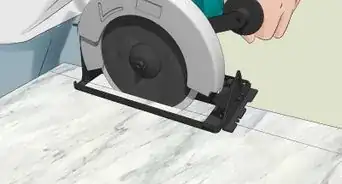
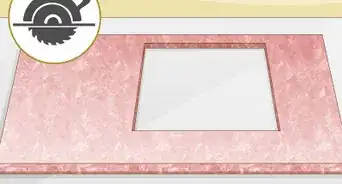
8Cut your plywood (or MDF) to the size you want. If this is going to be a close fit project, you may want to make it slightly larger than you will need so it can be scribed and trimmed to fit. This is especially critical if you are fitting against an abutting wall or between two walls, as they may not be square (at a true 90 degree angle).
-
9Rip a strip of your plywood about 2 inches (5.1 cm) wide the length of your top for an edge band. Screw (and glue, if preferred) this strip along the front edge of your top. Make sure the edge is square and perfectly flush, sanding if necessary to perfect the fit.
-
10
-
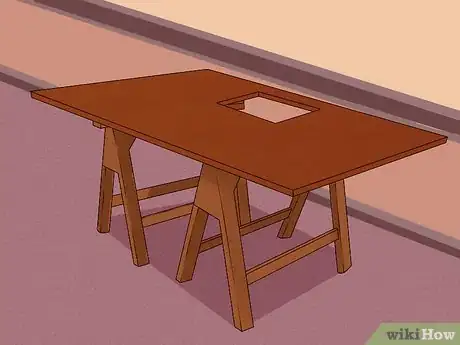
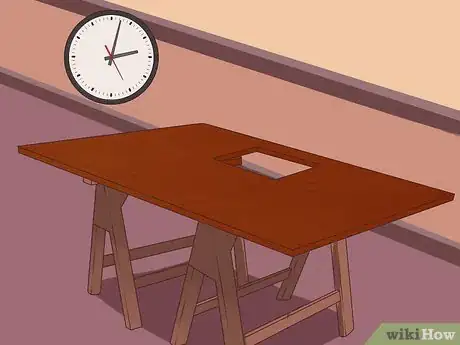
11Lay your plywood on a set of saw horses, and place the cut sheet of laminate, bottom up, on a workbench or other surface so you can apply the glue. You will want to be very careful to keep the plywood and laminate clean after you begin to apply the glue.
-
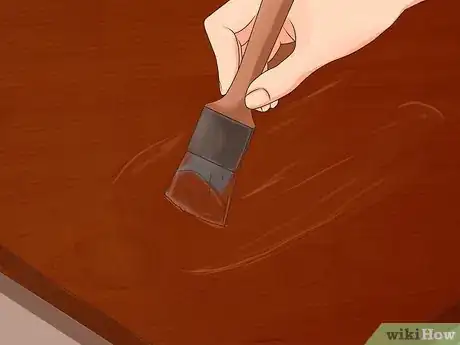
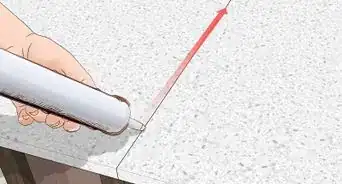
12Roll or brush a thin coat of contact cement on both the plywood and the back of the laminate, making sure no runs or thick splatters form on either surface, as excess glue will cause a dimple or bump on the finished surface.[3]
-
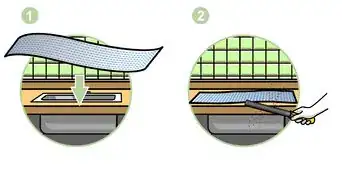
13Allow the adhesive to dry until all the gloss, or wet appearance disappears. The glue will cease to be tacky, or wet, to the touch. Carefully lift the laminate and place it on top of the plywood, aligning it as it is placed along the front edge and ends. Once the glued surfaces make contact, repositioning them is almost impossible.
-
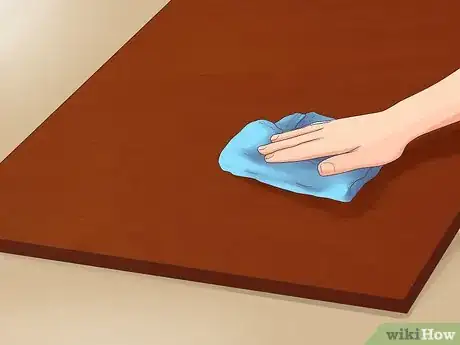
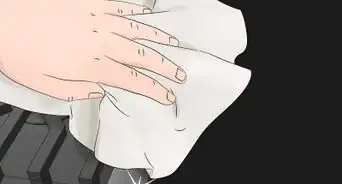
14Use a soft cloth to press the surface of the laminate, working from the center towards the edges. This will prevent buckles or bubbles from forming. Ideally, when the laminate is pressed down, you will have at least an eighth of an inch of overhang all the way around the top.
-
15Cut a piece of laminate for your edge band. If you are using 3⁄4 inch (1.9 cm) thick plywood, you will want the edge band to be about 1 5⁄8 inch (4.1 cm) wide, and at least 1⁄4 inch (0.6 cm) longer than the edge it will fit on. Ideally, you will also want a factory edge to tuck underneath the top laminate at the corner, but if not, you will need to pre-fit the band and trim it so it fits tightly.
-
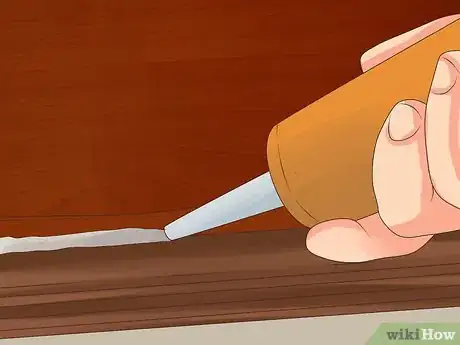
16Glue the edge band on each exposed edge, applying the contact cement to the plywood edge and the back of the laminate as you did with the top sheet, and allowing it to dry.
-
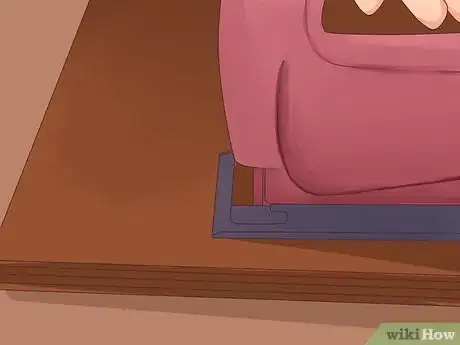
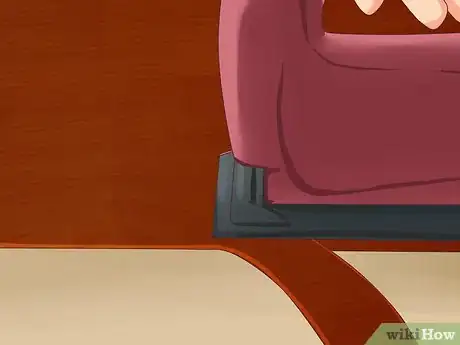
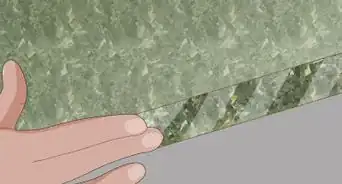
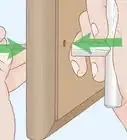
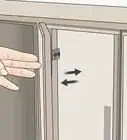
17Use a router with a laminate trimming bit to trim excess laminate on all edges.[4] Be careful, if using a tapered trimmer, not to set the bit so deeply that it scuffs the laminate below the thickness of the surface material.
-
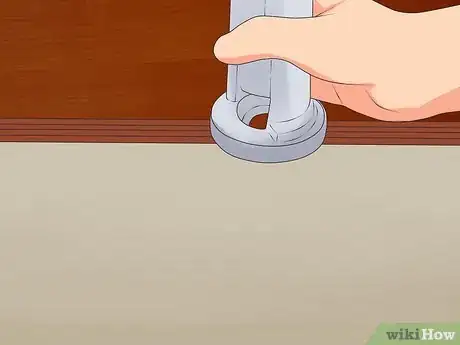
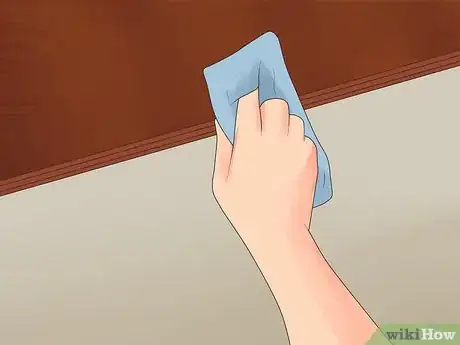
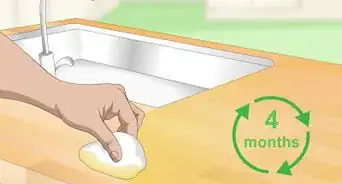
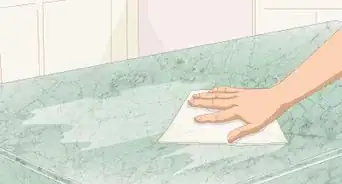
18Clean up any glue spots on the surfaces, and fit your countertop into position.
Advertisement
Community Q&A
-
QuestionWhat sort of glue do I need to refix the laminate surface of a table that's coming loose?
 Community AnswerIf it's just lifting off here and there, then any yellow wood glue works really great. Lift it and brush-in, paper shove, or syringe shoot the glue under it as much as possible. Filling it and then squeezing it down from the outer edge and inward gets the glue in there pretty good. Then, you want to clamp or overly weigh down a stiff block on the area for 24 hours. If it's just the very edges, then clamp directly or very tightly tape it closed while the glue cures. Wipe and wash off any excess glue that squeezes out while it's wet.
Advertisement
Warnings
- Wear safety glasses when sawing and trimming the laminate.⧼thumbs_response⧽
Advertisement
Things You'll Need
- Laminate and plywood or MDF board.
- Contact Cement and application tools.
- Circular saw with a fine-toothed blade, or table saw.
- Router with a laminate trimming bit.
- Measuring tape and chalk line.
References
- ↑ Mike Katona. DIY Home Improvement Specialist. Expert Interview. 25 August 2021.
- ↑ Mike Katona. DIY Home Improvement Specialist. Expert Interview. 25 August 2021.
- ↑ Mike Katona. DIY Home Improvement Specialist. Expert Interview. 25 August 2021.
- ↑ Mike Katona. DIY Home Improvement Specialist. Expert Interview. 25 August 2021.
About This Article
Advertisement
