wikiHow is a “wiki,” similar to Wikipedia, which means that many of our articles are co-written by multiple authors. To create this article, volunteer authors worked to edit and improve it over time.
This article has been viewed 100,249 times.
Learn more...
The quality of photos and images produced by an inkjet printer is determined by a combination of factors. Printer capability, paper grade, original image resolution, and camera quality all influence the final product. The device specifications, printer settings, application settings, and how well the hardware is maintained also will affect the quality of photos and images printed from an inkjet printer. This article offers information on how to achieve the optimum level of quality when using an inkjet printer to print images and graphics.
Steps
Choose an Inkjet Printer Designed to Produce High-Quality Images
-
1Purchase a printer capable of printing high resolution photos and graphics. Not all devices are made equally in terms of print quality, and a printer's performance is most often reflected in its price. Review the device specifications prior to purchasing an inkjet printer.
- Choose a printer model that provides 48-bit color support and an optical scan resolution of at least 2,400 dots-per-inch (dpi) for the best results.
- Read and compare the product reviews for several different devices to help determine which inkjet printer will produce the best quality images and photos.
-
2Consider purchasing a photo printer. Photo printers are designed specifically for printing photographs, and usually produce the highest quality results. A dedicated photo printer typically will produce better quality images than a multipurpose printer.
Use High Resolution Images for Optimum Results
-
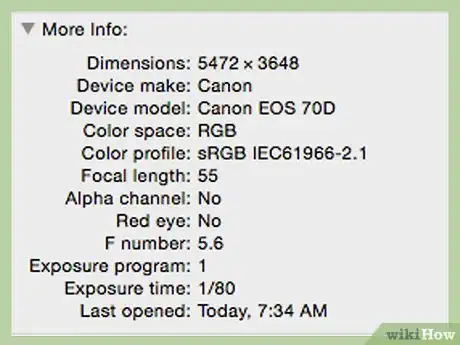
1Start with the highest quality original image files when printing photos from an inkjet printer. For best results, the original image files should range between 2,400 and 4,800 dpi.
- Right click on an image file and select "properties" from the pull-down menu to determine the resolution quality of an original image file.
-
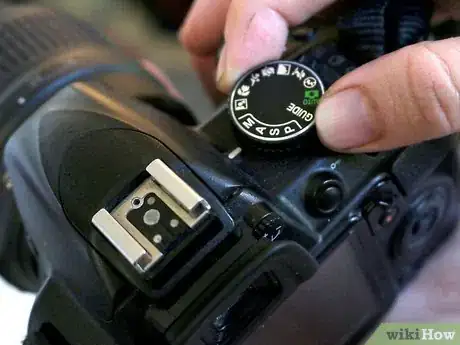
2Adjust the resolution settings on the digital camera used to take the original images to the maximum available dpi setting for best results.
Follow the Manufacturer's Recommended Maintenance Schedule and Best Care Practices
-
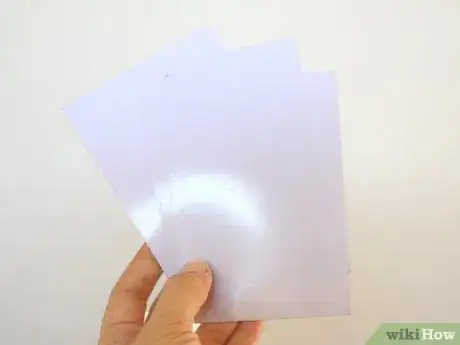
1Use the highest quality photo-grade paper recommended by the manufacturer. All inkjet printers are specifically calibrated for use with certain types of paper media. Using products other than those recommended by the manufacturer will often lead to color saturation issues that can negatively impact the quality of photos and images.
-
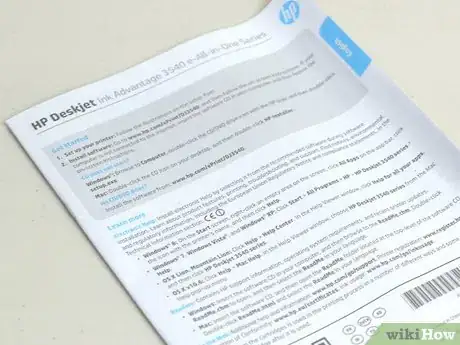
2Follow the inkjet printer maintenance and care instructions as directed by the manufacturer. Directions for performing scheduled maintenance can be found in the user's manual included with the printer at the time of purchase. Tasks, such as head cleaning and printer alignment, typically can be implemented from the device's control panel.
- Adhere to the recommended maintenance on an inkjet printer, as directed by the manufacturer. Blocked nozzles and clogged printer heads are a common source of issues with inkjet printers and can compromise print quality.
- Turn off the device when not in use. Leaving the device turned on exposes the printer heads to dust particles and debris, which can degrade the quality of images printed from an inkjet printer.
- Confirm that the latest device drivers and firmware updates are installed on the printer. These updates usually can be downloaded free of charge from the printer manufacturer's website.
- Save high-quality photo ink cartridges for use only when printing images and graphics to reduce wear and tear on the print heads. Ink cartridges tend to be fragile and can damage easily.
Adjust the Printer and Application Settings for Optimum Print Quality
-
1Adjust the print speed on the device to the highest available quality setting. The print speed control setting usually is found in the printer's control panel, located on top or in front of the device.
- Decrease the print speed when image colors are faded. Increase the print speed on the device when images bleed or are oversaturated.
-
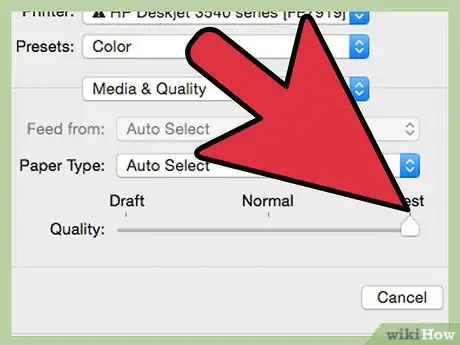
2Adjust the resolution settings on the printer to the highest possible dpi. The dpi setting usually can be adjusted from the device's control panel.
-
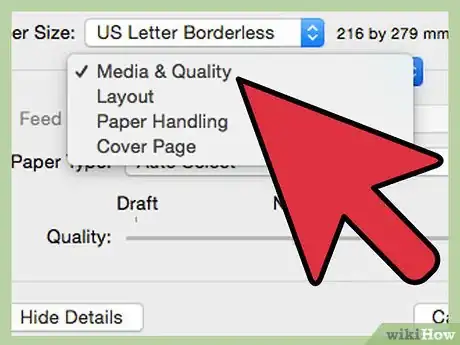
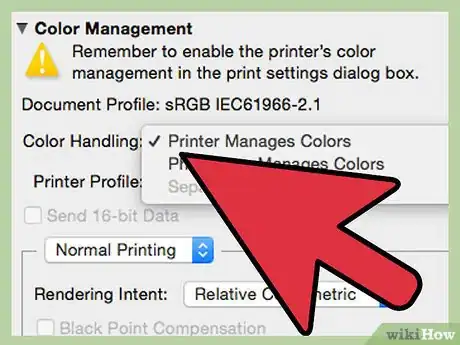
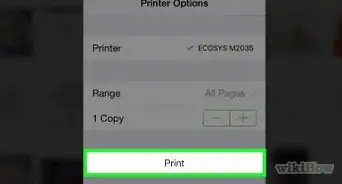
3Adjust the print settings in the software application being used to process and print the photographs or images to the highest possible quality or image resolution settings. These settings typically can be accessed from the "Print" dialog box or the "Preferences" option located in the file menu of the application being used.


