This article was co-authored by Steve Masley. Steve Masley has been designing and maintaining organic vegetable gardens in the San Francisco Bay Area for over 30 years. He is an Organic Gardening Consultant and Founder of Grow-It-Organically, a website that teaches clients and students the ins and outs of organic vegetable gardening. In 2007 and 2008, Steve taught the Local Sustainable Agriculture Field Practicum at Stanford University.
There are 9 references cited in this article, which can be found at the bottom of the page.
wikiHow marks an article as reader-approved once it receives enough positive feedback. In this case, 97% of readers who voted found the article helpful, earning it our reader-approved status.
This article has been viewed 601,854 times.
If you notice a green sprout emerging from the top of an onion, it means it's trying to regrow. By separating the sprouts inside an onion’s layers and planting them in good soil you can grow multiple new onions within a single season.
Steps
Preparing the Sprouted Onions
-
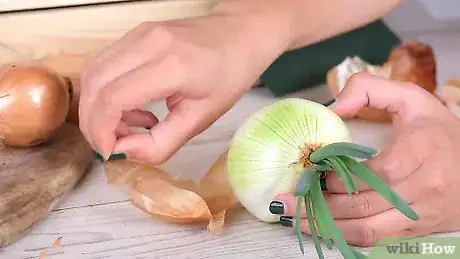
1Peel off sprouted onion’s papery outer skin. Dig your fingernails into the skin at the top of the onion bulb and rip it off piece by piece. Discard the skin when you are done.
-
2Use a knife to cut the onion's layers from the sprouts. The sprouts grow at the center of the onion bulb. Slice through onion’s layers vertically while avoiding the sprouts. Repeat on the other side then carefully slice off the onion's layers.[1]
- If you don’t have a knife, peel off the onion’s layers individually with your hands.
- You can eat the onion layers if they are firm and crisp, though make sure you wash them first! If they are soft and mushy discard them.[2]
Advertisement -
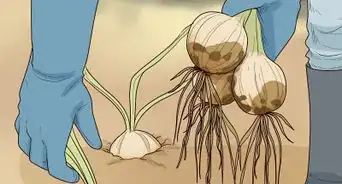
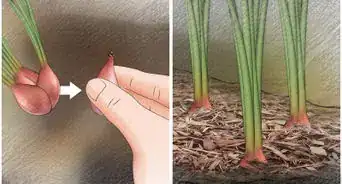
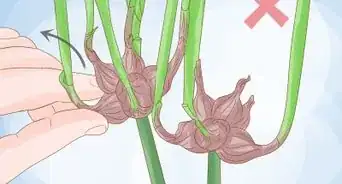
3Separate the onion sprouts. You will likely find a few sprouts growing at the center of the onion bulb. Some will protrude from the bulb, others will not. Use your hands to gently separate the sprouts from one another so they don't need to compete for space. Given proper care, each sprout can grow into a brand new onion bulb!
-
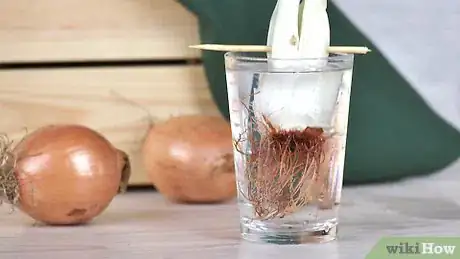
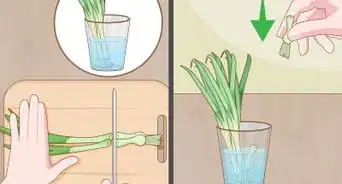
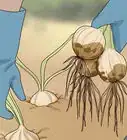
4Place the sprouts in water until roots grow. You can keep the sprouts in individual cups, glasses of bowls of water. Within a few days white roots will form at the bottom of each sprout.
- If white roots are already present you can plant the sprouts straight into the soil.
- If you see dry, brown roots on a sprout, it means they are already dead. You want to wait for new white roots to form.
Planting the Sprouted Onions
-
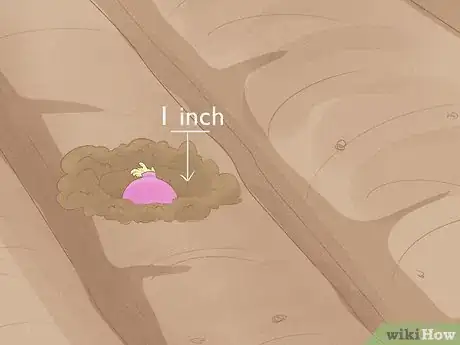
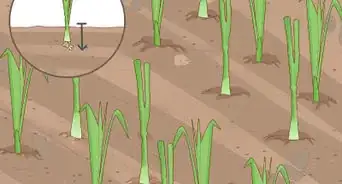
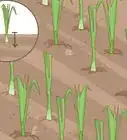
1Plant the sprouts 1 inch (2.5 cm) deep in quality potting soil. Dig an individual hole for each sprout, and cover it so only the green part sticks out. Keep each sprout at least 3 inches apart (7.5 cm), or in separate pots, so they don't need to compete for space.[3] Consider applying a thin layer of mulch to the soil to aid the growth process.
- Whether indoors or outdoors, ensure the plants get ample sunlight.
- If you live in a cold climate, plant the sprouts in pot plants inside and gradually introduce them to the outdoors. The onions have been inside for some time and will need to adjust.[4]
- During the winter in cold climates keep the plants indoors at all time to ensure they stay alive.[5]
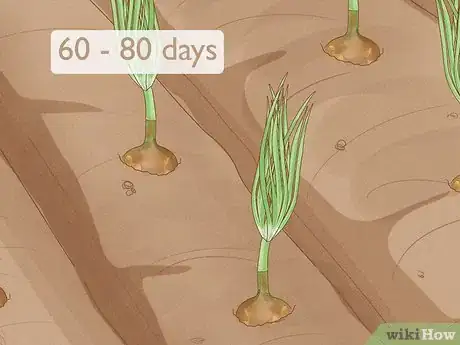
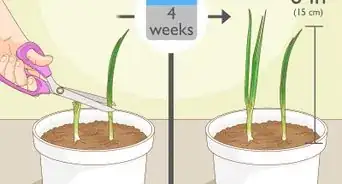
- Expect to see onion bulbs form after 60-80 days![6]
-
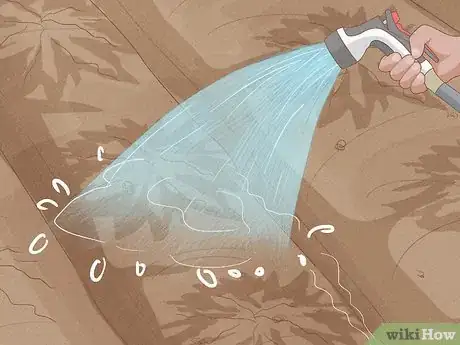
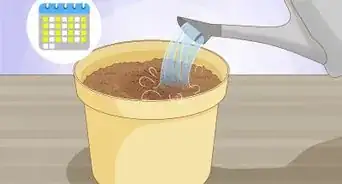
2Water the plants every few days. Onions are resilient, but need plenty of water to grow. Pour a little water from a gardening can, or use a hose, on the soil around the onions, not the plant itself. Ensure the soil is well drained.[7]
- If you are using mulch, the onions will only need 1 inch (2.5 cm) of water a week.[8]
-
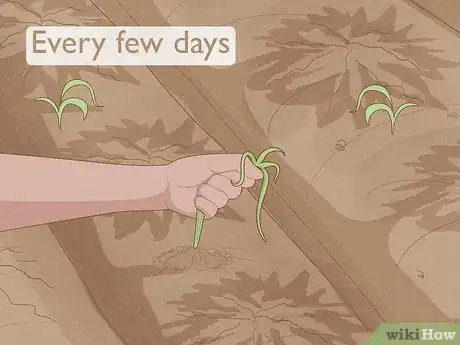
3Check the plants for weeds every day and remove any that appear. As the onions grow, weeds will inevitably emerge around them. Wear garden gloves and ensure you pull the weeds out by the roots so they don't grow back.
-
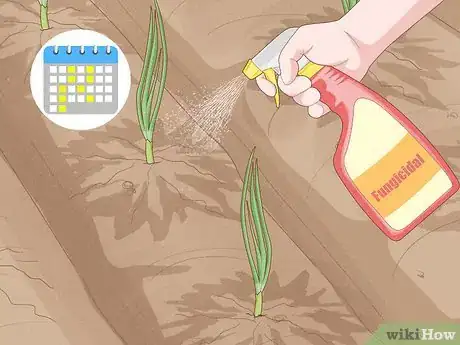
4Treat the plants twice a week with fungicidal spray. The spray will prevent harmful fungi from destroying your plants and ensure they remain healthy. A few short sprays on each plant should be enough.[9]
- If you prefer not to use synthetic compounds, oxidate or copper sprays are good alternatives.[10]
Harvesting the Onions
-
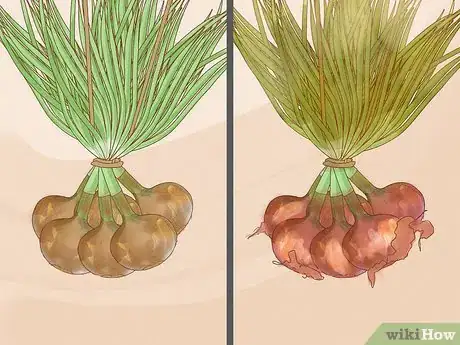
1Look for signs that the onions are ready for harvest. The onions should be grown after 60-80 days. They will, however, go rotten if you leave them ripe for too long. You will know an onion is ready when:
-
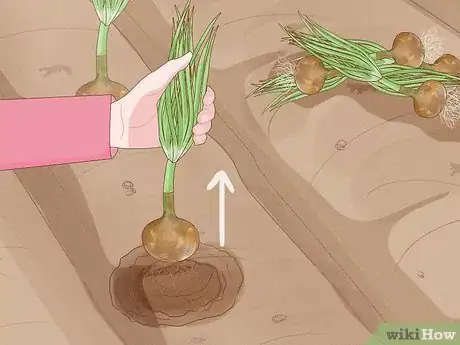
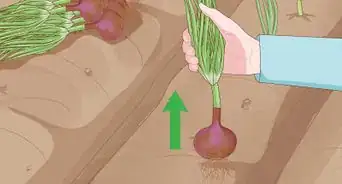
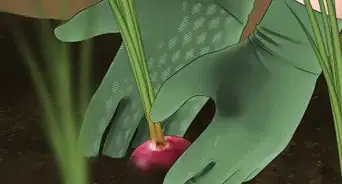
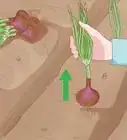
2Pull the onions from the ground once they have ripened. When the sprouts have turned to full onion bulbs that look ready for consumption, you can harvest them. Don't be scared of ripping out the roots.
-
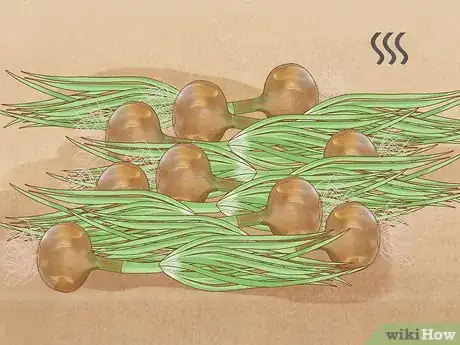
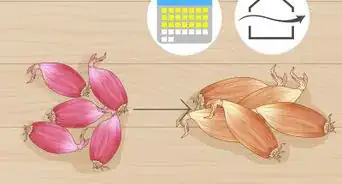
3Place the onions outside on dry ground for a few days. Handle them carefully and lay them out in a single layer to avoid bruises.This will begin the curing process and allow excess soil to fall from their skins.[13]
-
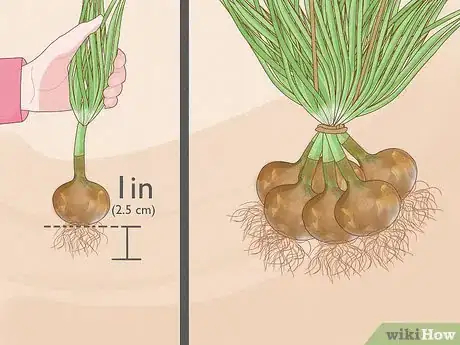
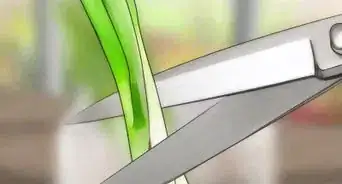
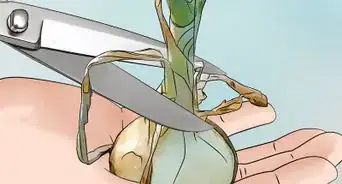
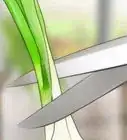
4Clip the roots and cut 1 inch (2.5 cm) from the onion's foliage. You can use a knife or garden scissors. This will stop the onions from decaying in storage.[14]
-
5Keep the onions on cool, dry ground until dry outer skins form. You will know they are cured when the foliage shrivels and the onions produce a papery outer layer. A shed or garage floor works well; anywhere that is cool, shaded and dry. The curing process will normally take around one month.[15]
- You can skip the curing process if you wish to eat the onions straight away but storing them without curing first carries a high risk of mildew and rot.[16]
- If you can't find anywhere dry enough to cure the onions, consider using a dehumidifier to keep moisture levels down.[17] .
-
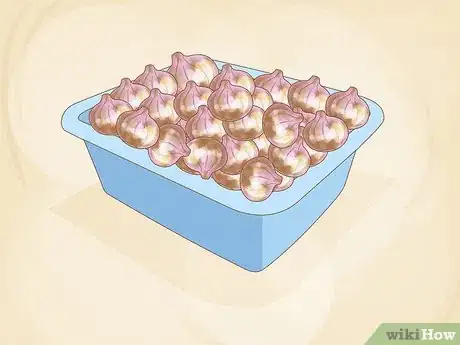
6Store the onions in baskets or dry mesh bags. This will ensure they remain in the right conditions and do not damage other fruit. The onions are now ready for consumption! You will want to eat the onions within a single month. If an onion sprouts, you can replant it again![18]
Expert Q&A
-
QuestionHow do you know when onions are ready to pick?
 Steve MasleySteve Masley has been designing and maintaining organic vegetable gardens in the San Francisco Bay Area for over 30 years. He is an Organic Gardening Consultant and Founder of Grow-It-Organically, a website that teaches clients and students the ins and outs of organic vegetable gardening. In 2007 and 2008, Steve taught the Local Sustainable Agriculture Field Practicum at Stanford University.
Home & Garden Specialist To check the onion, stick your finger in the soil and run your finger around the bulb. Then, harvest it when it's the size you want.
 -
QuestionWhat if my onion sprouted and a little bit of it rotted? Can I cut off the rotted portion and eat the rest?
 cottage goblinCommunity AnswerYes, that is possible, but you will also need to wash the rotted area, even when you cut it away, because germs could infest the rest of the onion and turn that rotten, too. Also, check if any other areas of the onion look slightly off.
 -
QuestionShould I cut off the greens before planting in soil?
 Community AnswerNo, simply use a small shovel, like a spade, to dig a circle around the onion. Make sure you have already have a dug hole to transport the onion to and then lift the sprout out of the ground. Place the onion in the whole and make sure the dirt is compacted so that there is no air. Be careful not to let the onions roots get exposed to air.
Warnings
- If you suspect one of your onions is rotten, or is soft and mushy, discard it and do not eat.⧼thumbs_response⧽
- Water the soil around the onion plant, not the green sprout itself. Watering the sprout will moisten the plant and attract fungal and bacterial spores. [20]⧼thumbs_response⧽
References
- ↑ http://www.anktangle.com/2011/03/growing-sprouted-onions.html
- ↑ http://www.anktangle.com/2011/03/growing-sprouted-onions.html
- ↑ https://wolffsapplehouse.com/planting-onion-sets-in-your-garden/
- ↑ https://practicalselfreliance.com/planting-sprouted-onions/
- ↑ https://practicalselfreliance.com/planting-sprouted-onions/
- ↑ https://practicalselfreliance.com/planting-sprouted-onions/
- ↑ https://practicalselfreliance.com/planting-sprouted-onions/
- ↑ https://www.almanac.com/plant/onions
- ↑ https://www.finegardening.com/article/the-secret-to-big-homegrown-onions
- ↑ https://www.finegardening.com/article/the-secret-to-big-homegrown-onions
- ↑ http://www.anktangle.com/2011/03/growing-sprouted-onions.html
- ↑ https://www.almanac.com/plant/onions
- ↑ https://www.almanac.com/plant/onions
- ↑ https://www.finegardening.com/article/the-secret-to-big-homegrown-onions
- ↑ https://growagoodlife.com/harvesting-curing-and-storing-onions/
- ↑ https://commonsensehome.com/how-to-store-onions/
- ↑ https://growagoodlife.com/harvesting-curing-and-storing-onions/
- ↑ https://www.gardeners.com/how-to/harvest-cure-store-onions/7366.html
- ↑ https://www.goodhousekeeping.com/home/gardening/g20706490/how-to-plant-onions/
- ↑ https://www.finegardening.com/article/the-secret-to-big-homegrown-onions
About This Article
To plant a sprouted onion, first peel off the outer skin of the onion. Use a knife to carefully cut and peel away the layers of onion surrounding the sprouts in the center, being careful not to cut through the sprouts. Gently separate the sprouts from one another. Then, soak the roots attached to each sprout in a cup of water for a few days. Once white roots form at the bottom of each sprout, dig an individual hole for each sprout in some well-draining soil, leaving about 4 inches (10 cm) between each hole. Plant the sprouts so just the green parts are sticking out of the soil. Water the sprouts regularly so the soil is always damp, but not soaking wet. Your onions should mature in 60-80 days. You can tell they’re ready when the bulbs start to emerge from the soil. Harvest them by digging them out of the soil by hand. Let them dry out for 2-3 days at room temperature, then clip the stalks and roots off before cooking with them. For more advice from our Horitcultural co-author, like how to harvest the onions once they’ve fully ripened, read on!
