This article was co-authored by Steve Masley. Steve Masley has been designing and maintaining organic vegetable gardens in the San Francisco Bay Area for over 30 years. He is an Organic Gardening Consultant and Founder of Grow-It-Organically, a website that teaches clients and students the ins and outs of organic vegetable gardening. In 2007 and 2008, Steve taught the Local Sustainable Agriculture Field Practicum at Stanford University.
There are 8 references cited in this article, which can be found at the bottom of the page.
wikiHow marks an article as reader-approved once it receives enough positive feedback. In this case, 88% of readers who voted found the article helpful, earning it our reader-approved status.
This article has been viewed 108,269 times.
Sweet onions refer to a number of onion varieties, including Walla Walla, Vidalia, Sweet Spanish onions, and more. While these onion varieties naturally tend to be less pungent than others, the soil in which you grow them also plays a large part in the final flavor of the onion. You'll have the most success with sweet onions that are grown from sets as opposed to seedlings, because sets aren't as susceptible to frost. Some of the most important things to remember about growing sweet onions is that they need plenty of sun and fertile, well-draining soil.
Steps
Getting the Garden Bed Ready
-
1Aim to plant in early to mid spring. Onions can be planted four to six weeks before the last frost. As soon as the ground can be worked in March or April, start preparing the garden bed for planting.
- Don’t plant onions until the temperature stops dropping below 20 F (-6.7 C).[1]
- You can find the last expected frost date for your area by checking weather stations, a farmer’s almanac, or a government meteorological website.
-
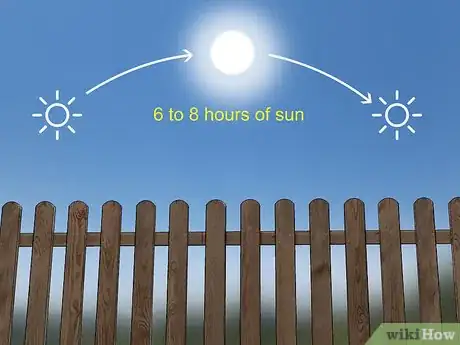
2Pick a sunny location to plant. Sweet onions must be grown somewhere that gets full sun exposure, which means about 6 to 8 hours per day. The ideal location for the garden bed is somewhere bright, and where the onions won’t be shaded by trees, other plants, or buildings.[2]Advertisement
-
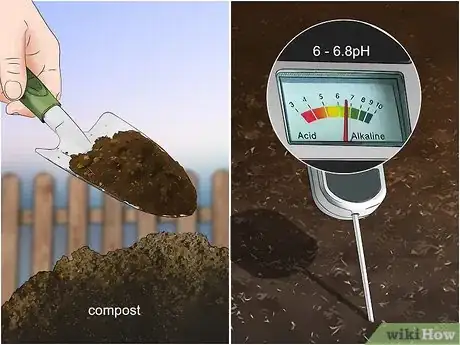
3Amend the soil with compost. Your onions will have the best chance if they're grown in loose, fertile, and well-draining soil with a pH between 6.0 and 6.8. Use a tiller to break up the soil in the garden bed. Spread 2 inches (5 cm) of mature compost or aged manure over the garden bed and work it into the soil with the tiller.
- You can test the pH of the soil with a home soil test kit or with a pH meter. Use lime to increase the pH of your soil, and sulphur to lower it.[3]
- Amending the soil with compost will add nutrients and help the soil drain better.
- The ground must be loose to allow sulfur to drain through; otherwise, the onions won’t be as sweet.
EXPERT TIPSteve Masley has been designing and maintaining organic vegetable gardens in the San Francisco Bay Area for over 30 years. He is an Organic Gardening Consultant and Founder of Grow-It-Organically, a website that teaches clients and students the ins and outs of organic vegetable gardening. In 2007 and 2008, Steve taught the Local Sustainable Agriculture Field Practicum at Stanford University.Home & Garden Specialist
 Steve Masley
Home & Garden SpecialistCompost adds nutrients to the soil that will nourish your plant. The team at Grow it Organically says, "In organic gardening, we have a mantra: 'Feed the soil to feed the plant.' If you take care of the soil, you're going to have healthy plants. Of course, there are other things that go into it, like variety selection, plant spacing, and proper hydration, but having good soil is probably 70% of the battle."
-
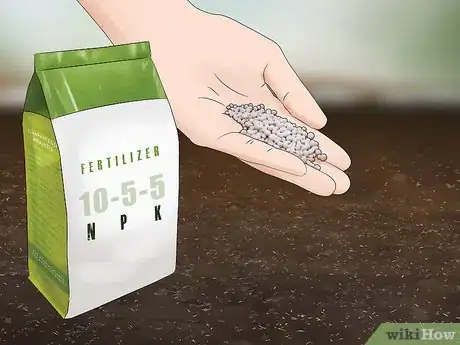
4Add fertilizer to the soil. Onions will grow best if the soil is amended with extra nitrogen. Sprinkle a nitrogen-rich fertilizer, such as blood meal, over the soil. Use a rake to mix the fertilizer with the soil.
- When growing sweet onions, avoid sulfur-based fertilizers, because these will make the onions more pungent.[4]
Planting and Caring for Sweet Onions
-
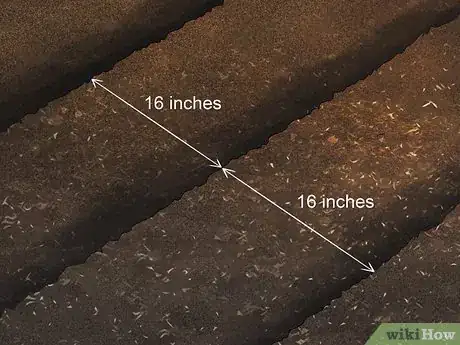
1Create rows in the soil. Use your hands or a spade to build the soil up into rows that are 4 inches (10 cm) high. Space the rows 16 inches (41 cm) apart.[5] Making rows for the onions is particularly important if your soil has a high clay content.
- Instead of growing the onions in rows, you can also plant them in raised beds that have been amended with compost and fertilizer.
- Planting sweet onions in rows or raised beds is important because it will help the water drain better, and this will produce sweeter onions.
- In a container, you have complete control over the soil medium, so it’s not necessary to create rows before planting.
-
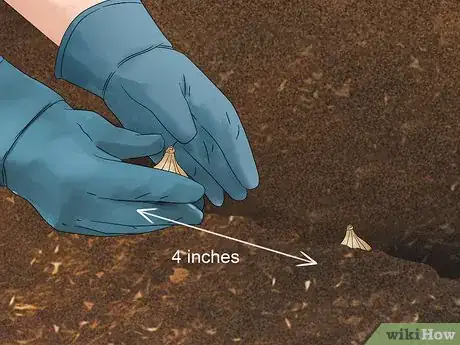
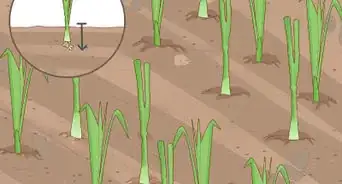
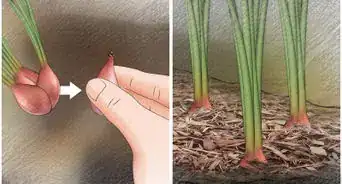
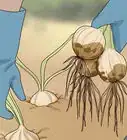
2Plant the onions in the rows. Use a spade to dig 1-inch (2.5-cm) holes in the rows. Space the holes so they're 6 inches (15 cm) apart. Place an onion set in each hole and cover the roots with soil. Don’t plant the onions more than an inch (2.5 cm) deep; otherwise, the leaves may rot and the bulbs won’t grow as large.[6]
- An onion set is a small onion that was grown the previous year and dried.
-
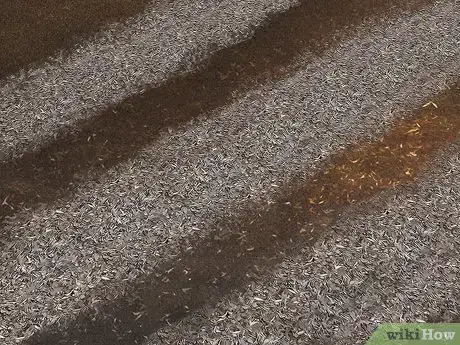
3Cover the soil with a thin layer of mulch. Mulch will help to eliminate weeds from the area and keep the soil consistently moist, which is ideal for onions. Good mulches for onions include a light layer of grass clippings or straw.
- When the onion bulbs start to grow, sweep the mulch away from the bulbs to keep the onions dry.
-
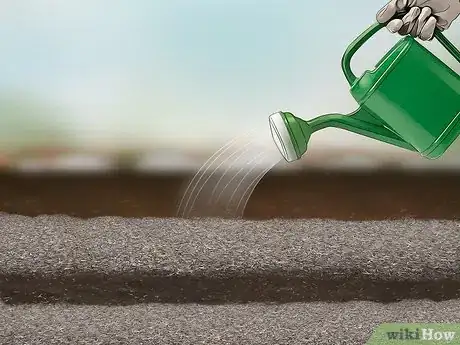
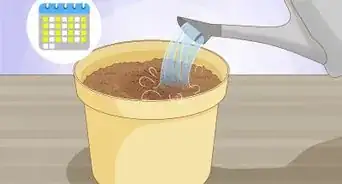
4Keep the soil moist. The onions will need regular watering to keep the soil damp, because these plants have very shallow roots. Provide the onions with about an inch (2.5 cm) of water each week, minus whatever water they get from precipitation.
- You’ll have to provide even more water if you didn’t add a top layer of mulch.[7]
- Water less if the leaves start to yellow prematurely, because this means they're getting too much.
-
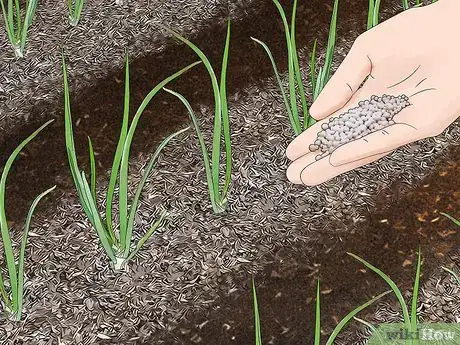
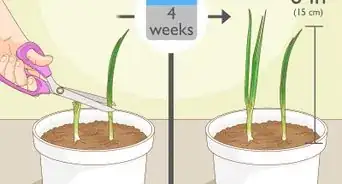
5Side dress the onions with fertilizer once they're established. When the onions start to sprout new growth, about three weeks after planting, sprinkle a tablespoon (a half-ounce) of granular fertilizer 6 inches (15 cm) away from the stem of each plant. Use a rake to mix the fertilizer in with the soil before watering.
- Side dress the onions again when the tops reach about 8 inches (20 cm).[8]
- Use a nitrogen-rich fertilizer like blood meal.
-
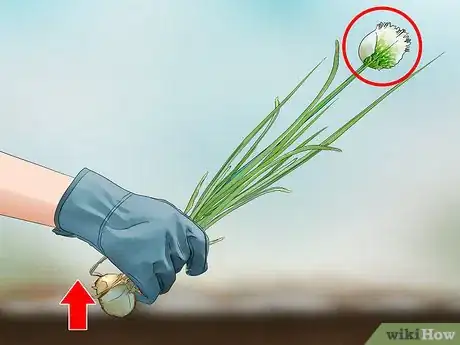
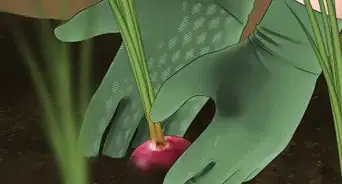
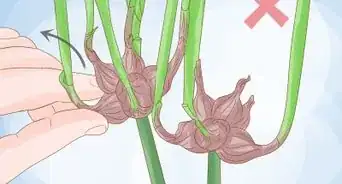
6Remove onions that flower. When onions flower, it means they’ve bolted, or are going to seed. Flowering onion bulbs that are left in the ground will start to rot.[9] Dig up these onions and eat them right away, as they don’t store well.
Harvesting and Storing Onions
-
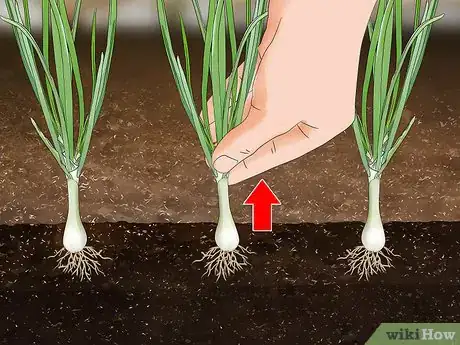
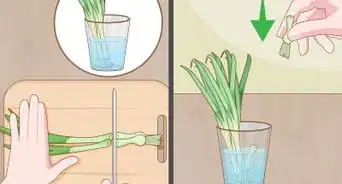
1Harvest scallions shortly after planting. Scallions, or green onions, are immature onions that are harvested before the bulbs form. You can start harvesting these within a few weeks of planting, whenever they reach the size you're looking for. Hold the onion gently near the base of the stalk and pull it from the ground.
-
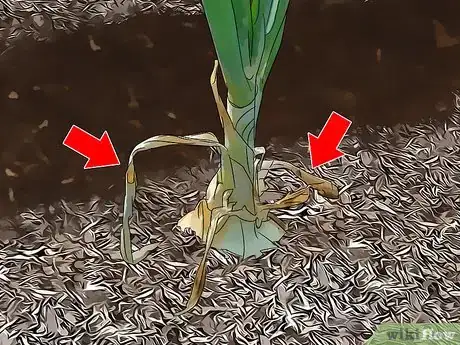
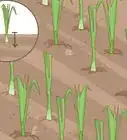
2Wait for the scapes to die back for mature onions. Onions that are left in the ground to mature will eventually start to form larger bulbs. Once the bulbs reach maturity, the scapes and leaves will start to turn yellow and fall over. This means the onions are ready for harvest.
- Depending on the variety, the onions might be ready anywhere from 90 to 110 days after planting.[10]
-
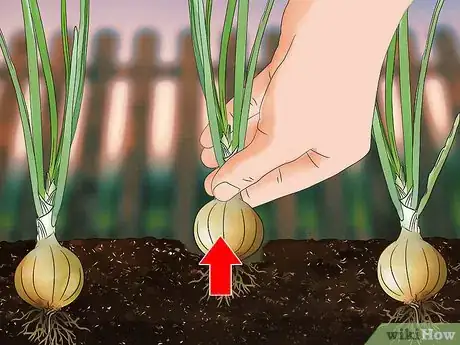
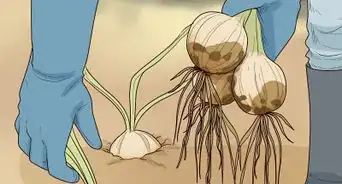
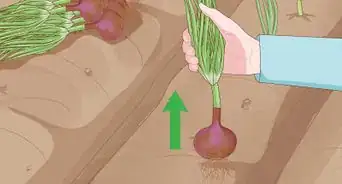
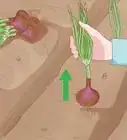
3Pull the onions from the ground on a sunny morning. Place your hand around the scapes and leaves of the onion near the base, and gently pull it from the ground. Shake the onion a bit to remove excess dirt from the roots.
- Make sure you harvest the onions by late summer, because the cooler temperatures of fall will cause them to spoil.[11]
-
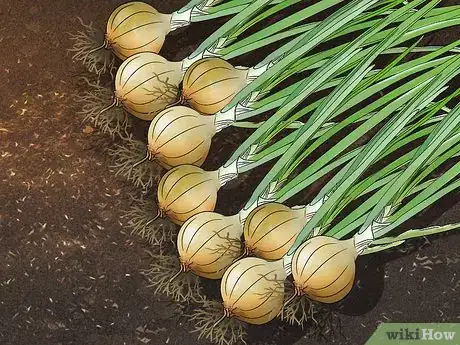
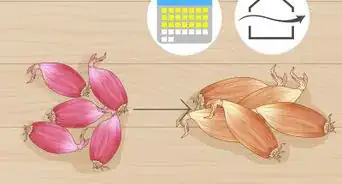
4Cure the onions. After you’ve harvest all the onions, spread them out on the soil to expose them to the air and sun. Leave the onions to dry in the sun for about three days, until the crown and skin are dry. The skin should also have a uniform texture and color.
- During wet weather, cure the onions inside in a well-ventilated area.
- Curing is the process of allowing the skins to dry, and this will help make for longer storage. Because sweet onions don’t keep as long as pungent onions, you don’t have to cure them for as long.
-
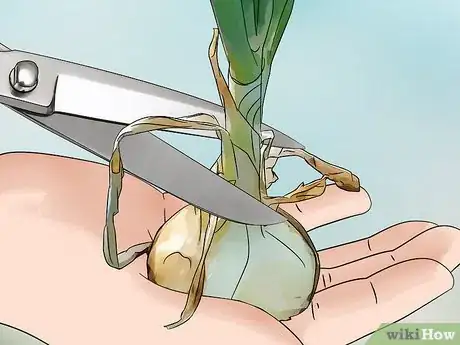
5Trim the onions before storing. Once the onions have cured, use a pair of scissors to trim the roots and tops to an inch (2.5 cm) in length. Transfer the onions to mesh or paper bags and store them somewhere cool, dry, and well-ventilated.[12]
- Sweet onions don’t tend to last as long as regular onions, and you should use them within six weeks.
- To extend the shelf life of the onions up to 8 weeks, wrap them individually in paper towels and store them in the refrigerator.[13]
Community Q&A
-
QuestionCan I plant different species of onions next to each other without changing the taste of either one?
 Community AnswerYes, you may plant different types of onions together without affecting the taste.
 -
QuestionCan I put onion buds in water to encourage them to sprout roots?
 Community AnswerYes, but you can also leave them in a dark, damp cupboard as the darkness will help the onion buds sprout.
 -
QuestionShould I trim the long stems of my sweet onion sprouts that I grow indoors?
 Community AnswerYes! If you trim off the sprouts they will start to dry the skins and will keep for a longer period than if you leave the sprouts on. This of course applies only to the harvested onions. Not trimming the onions still growing will cause them to produce seed onions on the tops of the sprouts. The longer they grow untouched, the more pungent and hot they get.
References
- ↑ https://www.almanac.com/plant/onions
- ↑ https://www.almanac.com/plant/onions
- ↑ http://www.dummies.com/home-garden/gardening/how-to-adjust-soil-ph-for-your-garden/
- ↑ https://garden.org/learn/articles/view/282/
- ↑ http://www.vegetable-gardening-online.com/growing-large-onions.html
- ↑ https://www.almanac.com/plant/onions
- ↑ https://www.almanac.com/plant/onions
- ↑ http://www.dummies.com/home-garden/gardening/vegetable-gardening/how-to-side-dress-your-vegetable-garden/
- ↑ https://www.almanac.com/plant/onions
- ↑ https://bonnieplants.com/library/which-onion-is-right-for-you/
- ↑ https://www.almanac.com/plant/onions
- ↑ http://www.timescall.com/lifestyles/ci_31150552/at-market-sweet-onions-grow-beautifully-colorado
- ↑ https://garden.org/learn/articles/view/282/
- ↑ https://www.harvesttotable.com/how_to_grow_onion/

