This article was co-authored by Andrew Carberry, MPH. Andrew Carberry is a Food Systems Expert and the Senior Program Associate at the Wallace Centere at Winrock International in Little Rock, Arkansas. He has worked in food systems since 2008 and has experience working on farm-to-school projects, food safety programs, and working with local and state coalitions in Arkansas. He is a graduate of the College of William and Mary and holds a Masters degree in public health and nutrition from the University of Tennessee.
There are 14 references cited in this article, which can be found at the bottom of the page.
wikiHow marks an article as reader-approved once it receives enough positive feedback. In this case, 96% of readers who voted found the article helpful, earning it our reader-approved status.
This article has been viewed 307,841 times.
Onions are easy to grow, and make good additions to many dishes when chopped and cooked. However, like most plants, they do have certain conditions they prefer. For instance, raised beds or rows are the best for onions because they prefer soil that drains well. You can be finding and creating the perfect location while your onions are still growing indoors. With a little work, you can find the perfect place to plant your onions.
Steps
Starting Onions Indoors
-
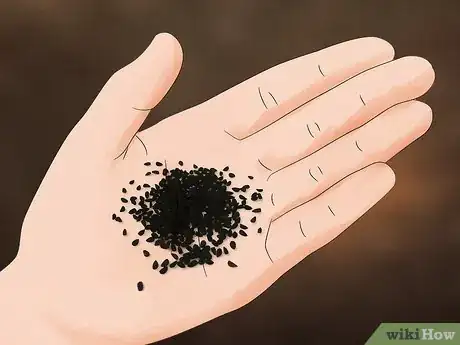
1Buy onion seeds or sets.[1] You'll need to find onion seeds or sets to plant. Most garden and hardware stores will have them for sale. If you live out in the country, you may even find them at your local grocery store when the season comes around. You can also get them in the mail by ordering from an online mail-order catalog.
- Purchasing an onion set allows you to skip straight to the planting phase rather than having to sprout seeds first. The sets come ready to be put in the ground.
- Pick the right onion for your climate. Long-day onions, which means they need lots of sunlight, do better in northern climates. If you buy them from a local store, they should be stocking onions appropriate to where you live.
- Short-day onions do better in southern climates, where they can grow through the winter, if it's mild enough.[2]
-
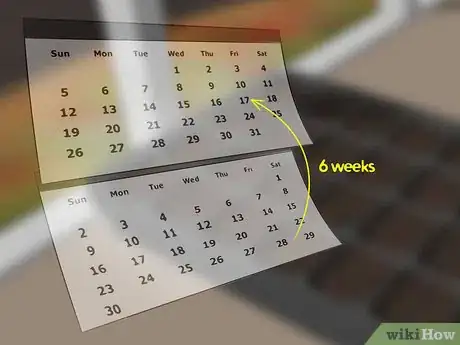
2Start at least 6 weeks ahead of the last frost date. You should start out seeds indoors to give them more time to grow.[3] You can even start as early as 8 to 10 weeks ahead.[4]
- In other words, you can start seeds as early as late January.
- Starting the indoors gives them more time to leaf, which leads to bigger bulbs. If you don't want to start indoors, buy plants to use outdoors.
Advertisement -
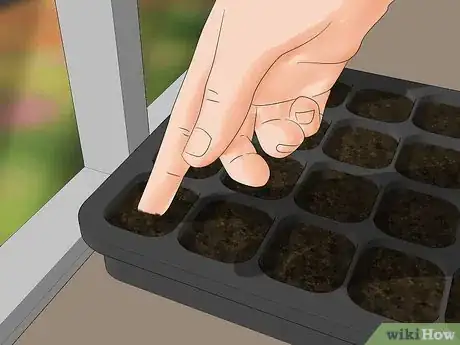
3Plant them 4 to 5 to a cell. If you have a seed starter with individual cells, you can start out by adding 4 to 5 seeds to a cell. They should be about 1/2 inch deep. A cell is just the individual cup of soil that you plant seeds in.[5]
- If you have a flat planter inside, plant them 1/4 inch apart.
- You still want to plant them 1/2 an inch deep, though.
-
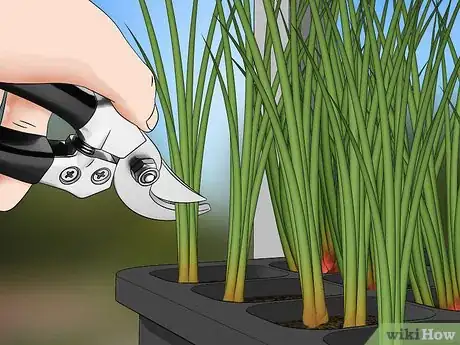
4Trim as needed. While they are growing, your plants may get too tall. When they do, they'll start drooping. If that's the case, it's fine to trim them back to 3 inches.[6]
Finding and Creating the Perfect Location
-
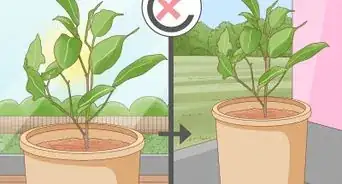
1Find a good location. Onions should be planted in a sunny location. That means that the area doesn't get any shade from other plants, including trees or your house.[7]
- The best way to figure out which location is sunniest in your yard is to monitor it.
- Spend a day going outside every couple of hours. Notice which areas are sunniest throughout the day.[8]
- When choosing the location, pick the one that has the most sun for onions.
-
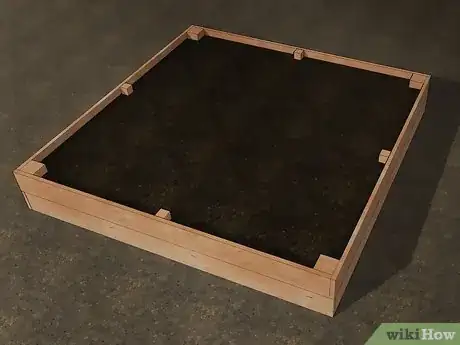
2Try raised beds.[9] Raised beds are structured beds with soil in the middle. They are usually bordered with wood, concrete, or wood bricks. They raise the surface of the bed above the ground.
- Start by measuring out your bed. Four feet by four feet is fairly standard, as most people can reach to the middle of the bed. Make the ground even with a shovel or rake.[10]
- Get the wood you'll need. You'll need 4X4s as stakes for the corners. They should be a foot each. You'll also need 2X2s for the center stakes, four of them. Finally, you'll 2X6s for the sides. They need to be 4 feet long, and you'll need 8 of them.[11]
- Lay out your 2X6s on the square. Start by screwing one 2X6 into the side of the 4X4 post, flush with the bottom and the outer edge. Place another 2X6 on top of the other one in the same position but further up the post. It should be flush with the top and right up against the first one. Screw it in.[12]
- The next set of 2X6s should be added so that they go to the edge of the post but cover up the ends of the other boards. In other words, the first boards should run into the second, with the post sticking on the outside rather than the inside. Continue around the square until all the boards are joined. Once you've done that, measure across the square diagonally to make sure it's all square. If it's not, adjust the square by moving it slightly.[13]
- Add the other stakes. Hammer them into the ground up against the middle of each wall on the outside, then use deck screws to attach them to the wall. Finally, add in soil.[14]
-
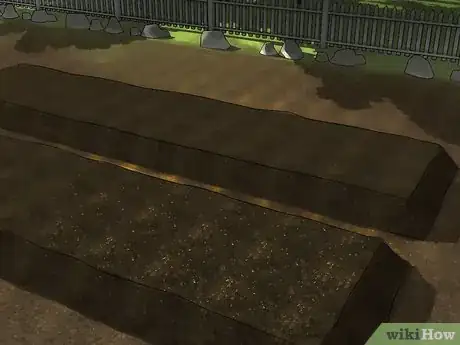
3Create raised rows. Another option is raised rows. Raised rows are like raised beds, but they aren't structured like raised beds. Instead, you create them with just the soil.
- When the soil is dry, spread biodegradable material on top of it, such as compost or rotting hay or grass. With a garden rake or rototiller, work it into the soil until the soil is loose and crumbly.
- Stake out how you want your rows to go. You want them to be about 4 feet wide or a little shorter if you can't reach to the middle. Between the rows, you need space to walk. If you want room for a wheelbarrow, make the in-between part at least a foot to two feet wide.
- Create raised beds by moving the soil from the paths into the raised beds. A rake is good for this purpose. You may need to use a shovel near the end. To keep the paths from growing anything, line them with newspaper (5 pieces thick). You can also use cardboard. Put mulch or wood chips on top.
-
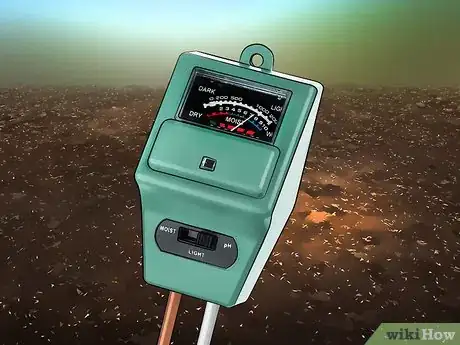
4Check your soil. You can find soil kits at your local gardening store, or you can take a soil sample into your county extension office for testing. Your soil should be at between 6 and 6.8 pH.
- You may need to adjust the pH of the soil.
- If you need to make it more acidic (down towards 6.8), you'll add powdered sulfur, aluminum sulfate, or iron sulfate.
- To up the pH (make it slightly more alkaline), add lime.[15]
- If you need help deciding how much, use a pH kit from your local university agriculture extension office, which will give you detailed instructions about what to add. Find your local extension at http://nifa.usda.gov/partners-and-extension-map?state=All&type=Extension.
-
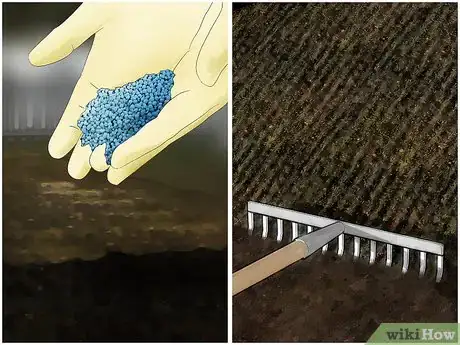
5Add nitrogen. Onions need nitrogen to grow well. Therefore, always add nitrogen to the soil before planting. You can also work nitrogen in the soil in the fall to help for the next spring.[16]
- The easiest way to add nitrogen is to use a fertilizer rich in nitrogen. Good sources of nitrogen include fertilizers, composted manure, blood meal, and other composted organic materials.
Moving Your Plants Outdoors
-
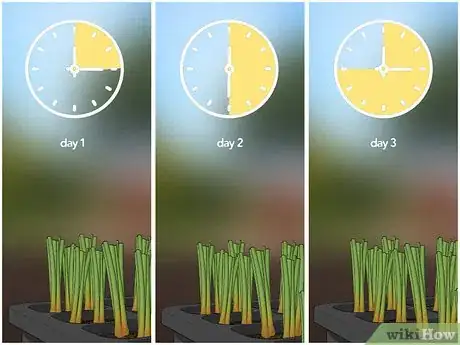
1Harden off the plants. You should harden off the plants when it starts warming up outside, and you are getting ready to move them outside. Hardening off the plants just means you start getting the plants accustomed to being outside by giving them short visits. Start by putting them outside for a couple hours on a temperate day. It should at least be in the 40s.
- Increase the amount of time they spend outside each day by a couple of hours.
- Also, start lessening how much you water them. As they move outside, they'll get less water. You have to get them accustomed to them. Give them just enough water to keep them from wilting.
-
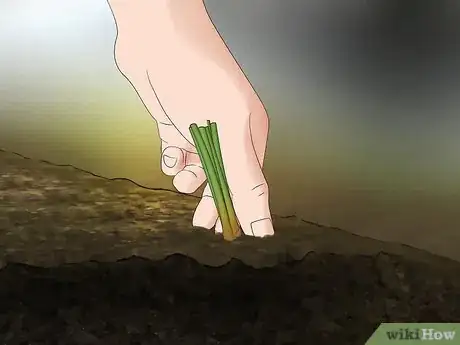
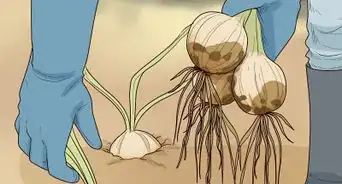
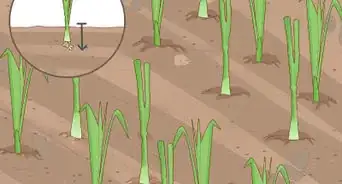
2Plant in the ground. Once you've spent a week to a week and a half hardening the plants, it's time to plant them. You can plant outside once the temperature reaches about 50 degrees Fahrenheit.[17] You should be sure that the temperature won't go below 20 degrees outside when you plant.[18] Each plant should go in about 1/2 inch.[19]
- Late March to early April is usually a good time.
- Of course, if you have late winters, you may need to wait longer.
- You can plant 2 to 4 weeks before the last frost date.[20]
-
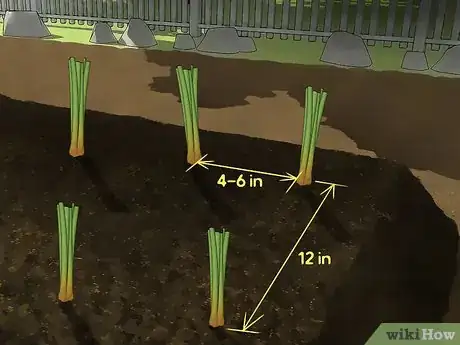
3Space out the onions. If you want especially large bulbs, put them 4 to 6 inches apart. If you want them smaller, make them 2 inches apart. You can plant them even closer if you have scallions.[21]
- The rows should be 12 inches a part.
- Whether you did rows or beds, that means you should be able to get 2 furrows (rows) per row or bed.
-
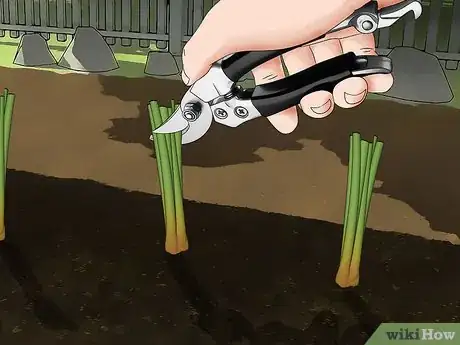
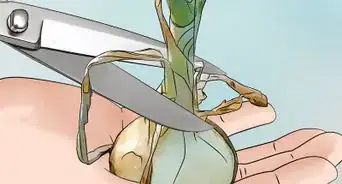
4Trim the plants. The plants should be about 4 inches once they are in the ground. Use shears to trim down the plants once you get them all planted.[22]
-
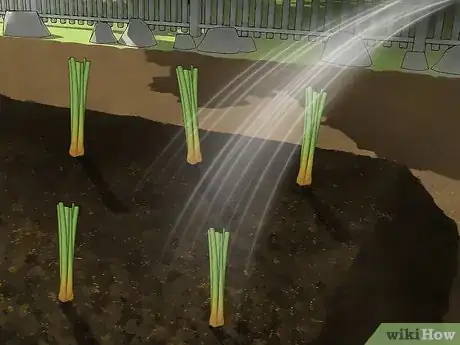
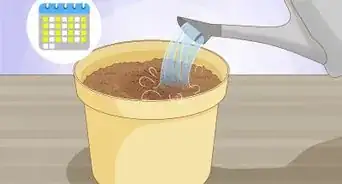
5Water regularly. Onions need a lot of water. In fact, they need about an inch a week. If you aren't getting rain, you will need to water the onions regularly.[23]
- If you're not sure when to water them, check the soil to see if it's moist. While the plants are leafing, it needs to always be moist. However, once a week should be sufficient as long as they get a good soaking.[24]
- Once the bulbs start getting larger (when the plant part stops growing), the bulbs need to be kept much drier.
-
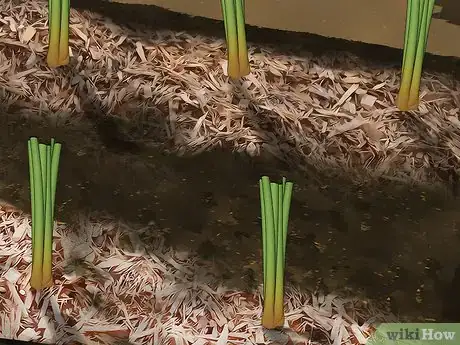
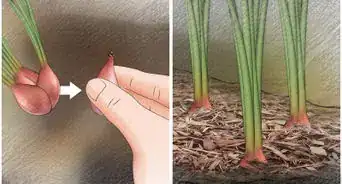
6Mulch as needed. You can add a layer of mulch around the plants. The mulch will suppress weeds coming up.[25] Mulch is just a layer of material you put over the dirt. It can be things like bark pieces, grass clippings, or straw, as well as inorganic materials such as stones, plastic, or brick chips. You can find mulch for sale at your local garden store, though you can also just use grass clippings from your yard.
- Organic materials also improve the soil over time.
- Mulch helps the soil retain water, as well.
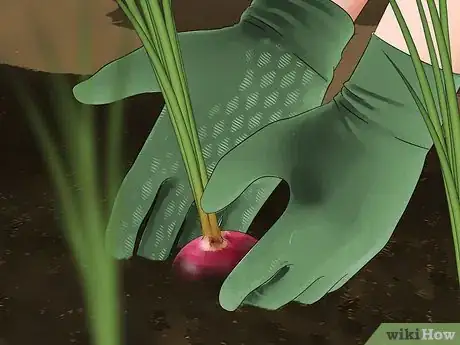
- However, you'll need to remove the mulch once the bulbs start to enlarge. You should see them start pushing up the soil a bit. The bulbs need to be drier, and mulch retains too much moisture.
-
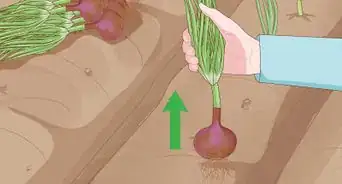
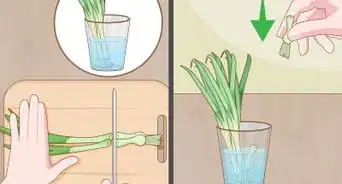
7Wait to harvest. For large, dry bulb onions, you'll need to wait at least 100 days but up to 175 days to harvest. If you're fine with green onions, you can harvest them in as little as 3 weeks to a month.[26]
Expert Q&A
-
QuestionAfter planting onions in the soil, after how many days should we harvest?
 Andrew Carberry, MPHAndrew Carberry is a Food Systems Expert and the Senior Program Associate at the Wallace Centere at Winrock International in Little Rock, Arkansas. He has worked in food systems since 2008 and has experience working on farm-to-school projects, food safety programs, and working with local and state coalitions in Arkansas. He is a graduate of the College of William and Mary and holds a Masters degree in public health and nutrition from the University of Tennessee.
Food Systems Expert Onions take 100-175 days to be ready for harvest.
 -
QuestionWhat are the best types of onion for arid areas?
 Andrew Carberry, MPHAndrew Carberry is a Food Systems Expert and the Senior Program Associate at the Wallace Centere at Winrock International in Little Rock, Arkansas. He has worked in food systems since 2008 and has experience working on farm-to-school projects, food safety programs, and working with local and state coalitions in Arkansas. He is a graduate of the College of William and Mary and holds a Masters degree in public health and nutrition from the University of Tennessee.
Food Systems Expert Bulb onions are the best for dry areas. Try varieties like Red creole, Bombay red, or Texas grano.
 -
QuestionHow many months should I wait to harvest the onion?
 Community AnswerOnions should take about 5 months. They will be ready to harvest when their leaves are dry.
References
- ↑ http://www.harvesttotable.com/2011/05/onion_growing_tips/
- ↑ http://www.harvesttotable.com/2011/05/onion_growing_tips/
- ↑ http://www.almanac.com/plant/onions
- ↑ http://www.heirloom-organics.com/guide/va/guidetogrowingonions.html
- ↑ http://www.heirloom-organics.com/guide/va/guidetogrowingonions.html
- ↑ http://www.heirloom-organics.com/guide/va/guidetogrowingonions.html
- ↑ http://www.almanac.com/plant/onions
- ↑ http://www.urbanorganicgardener.com/2012/01/how-to-determine-the-amount-of-sunlight-your-garden-gets/
- ↑ http://www.almanac.com/plant/onions
- ↑ http://www.bhg.com/gardening/yard/garden-care/how-to-build-a-raised-bed/#page=2
- ↑ http://www.bhg.com/gardening/yard/garden-care/how-to-build-a-raised-bed/#page=3
- ↑ http://www.bhg.com/gardening/yard/garden-care/how-to-build-a-raised-bed/#page=3
- ↑ http://www.bhg.com/gardening/yard/garden-care/how-to-build-a-raised-bed/#page=3
- ↑ http://www.bhg.com/gardening/yard/garden-care/how-to-build-a-raised-bed/#page=6
- ↑ https://bonnieplants.com/library/why-does-ph-matter/
- ↑ http://www.almanac.com/plant/onions
- ↑ http://www.heirloom-organics.com/guide/va/guidetogrowingonions.html
- ↑ http://www.almanac.com/plant/onions
- ↑ http://www.finegardening.com/video-how-plant-onions
- ↑ http://www.heirloom-organics.com/guide/va/guidetogrowingonions.html
- ↑ http://www.heirloom-organics.com/guide/va/guidetogrowingonions.html
- ↑ http://www.finegardening.com/video-how-plant-onions
- ↑ http://www.finegardening.com/video-how-plant-onions
- ↑ http://www.heirloom-organics.com/guide/va/guidetogrowingonions.html
- ↑ http://www.heirloom-organics.com/guide/va/guidetogrowingonions.html
- ↑ http://www.harvesttotable.com/2011/05/onion_growing_tips/
About This Article
To plant onions, start onion seeds indoors 6 weeks before the last expected frost. After the last expected frost, start hardening off the seedlings by bringing them outside for a couple of hours every day, increasing the amount of time they're outside each day. Once you've done that for a week, transplant your onion seedlings to a sunny outdoor location and trim them so they're only 4 inches tall. Thoroughly water your onions once a week and wait a few months to harvest them! For additional tips from our Gardening reviewer, including how to find the perfect location for your onions, read on!
