wikiHow is a “wiki,” similar to Wikipedia, which means that many of our articles are co-written by multiple authors. To create this article, volunteer authors worked to edit and improve it over time.
There are 8 references cited in this article, which can be found at the bottom of the page.
This article has been viewed 23,278 times.
Learn more...
Learning to ride a bike is an important rite of passage for most toddlers, as well as a great form of exercise. If you decide to get your toddler a bike to practice on, it is very important to choose a bike that fits them. A bike that is too big or too small will not be easy for them to steer or ride comfortably, especially if your child is a beginner. Rather than simply choosing a bike meant for their age group, focus on purchasing a bike that is the correct size for their body type and height. Getting a bike that fits your child will help them learn how to ride a bike properly and safely.
Steps
Part 1: Measuring Your Child’s Height
-
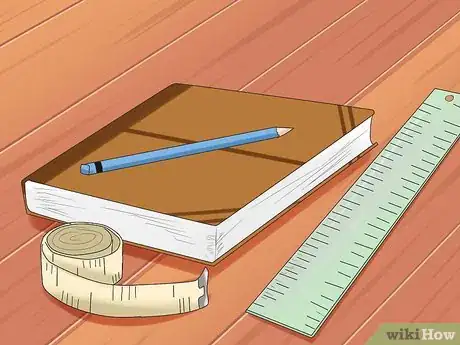
1Gather the materials needed for taking your child’s measurement. You’ll need measuring tape, a pencil, and a book or a ruler (or some other flat surface).
-
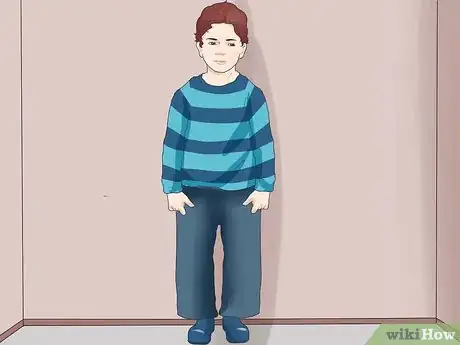
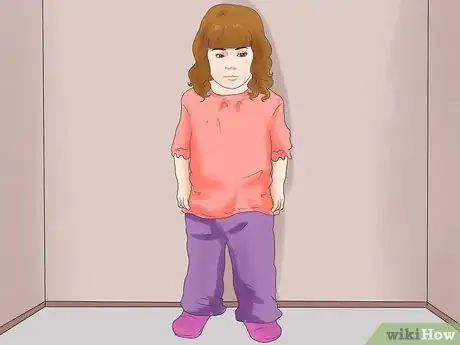
2Have your child stand upright against a wall. Their head should be facing straight ahead, and not tilted upwards or downwards, so you do not get a faulty measurement of their height.
- Make sure their feet are side by side, with both feet firmly on the floor and their heels touching the wall.
- Allow your child to keep their shoes on, as they will be wearing them when they ride the bike.
Advertisement -
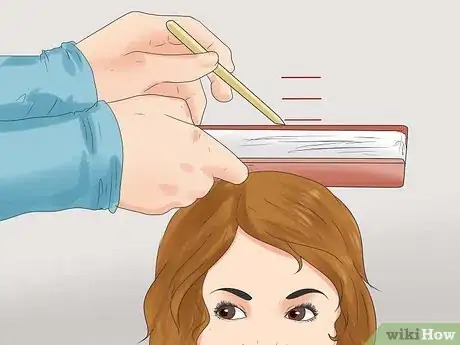
3Mark their height on the wall. Place the ruler, book or other flat surface on your child’s head. The ruler should be positioned against the wall, parallel with the floor. Mark where the ruler touches the wall with a pencil.
-
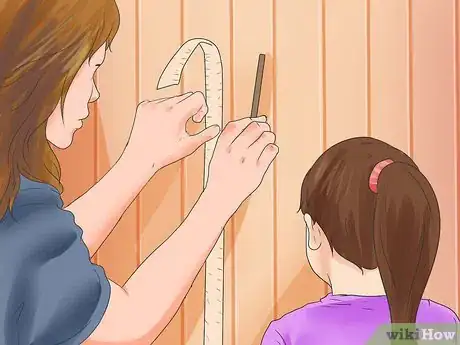
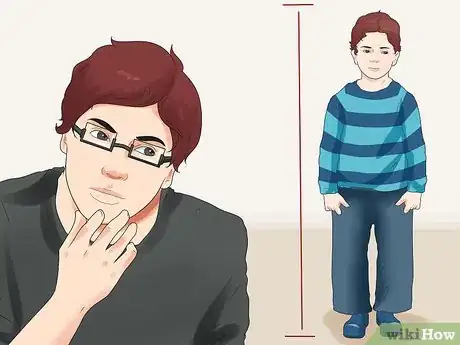
4Measure their height. Once you have marked the point on the wall, have your child move aside so you can measure their height. Extend the measuring tape from the point you have marked to the floor and write down the measurement. This dimension is the height of your toddler.
- Keep in mind that kid’s bikes are measured by the size of the wheels, not the frame height. Bikes for toddlers usually range from 12 and 16 inches.
- In general, 12-inch wheels are designed for children 36-40 inches tall, 16-inch wheels are for children 41-49 inches tall, and 20-inch wheels are for children 50-56 inches tall.
Part 2: Measuring Your Child’s Inseam
-
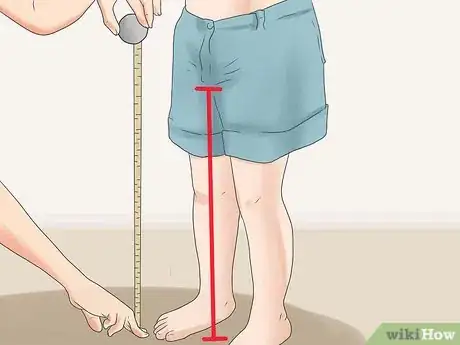
1Have your child stand against the wall with their legs slightly spread. Measuring their inseam is important because you need to be sure your child can place their entire foot on the ground while on the bike. If the bike is too big and your child cannot put their feet down, it will be hard for them to balance and they may get frustrated while trying to learn how to ride.
- You can easily determine your child’s inseam measurement if they try the bike before you purchase it. But if you are buying a bike without your toddler, you will need to measure their inseam.
-
2Measure from your child’s crotch area to the floor with measuring tape. Write down the measurement on a piece of paper and take it with you when you go bike shopping for your toddler.
-
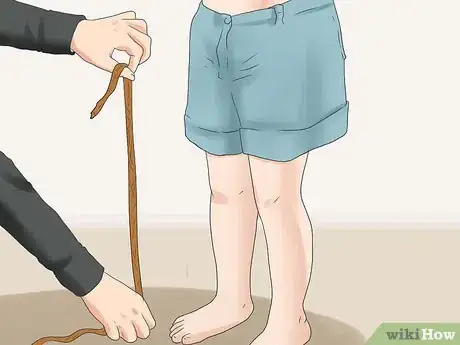
3Use string if you do not have access to measuring tape. Place the string on the floor, between the child's feet, and stretch it to the child's crotch. Then, put your finger on the place on the string to indicate the height of their crotch. Move the string and cut with it with scissors at the place where your finger is. Measure the length of tape using a ruler.
- Keep in mind that toddlers with an inseam up to 18 inches and a height up to 40 inches need a bicycle with 12-inch wheels. Toddlers who have an inseam up to 18 inches and are taller than 40 inches need 16-inch wheels.
Part 3: Finding the Right Size and Fit
-
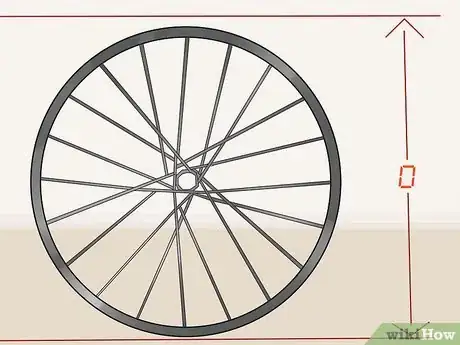
1Determine the diameter of the bike’s wheels. The diameter of the bike’s wheels should be clearly labelled on the bike’s packaging or the box. Ask the sales associate at the store if you are not sure where to find the diameter of the bike’s wheels.
- If you are purchasing a used bike, use a yardstick or measuring tape to measure the diameter of the tire. Start on the outside of the tire and pull the measuring tape straight across until you get to the other side of the tire--the number on your measuring tape with be the tire’s diameter.
- Use your child's height and inseam measurements to find the right diameter size for the wheels. You can also access a size chart online[1] to determine the right wheel diameter for your child, based on their age.
-
2If your toddler is at an in between height, consider their age and their inseam measurement. If you have a two or three year-old who is tall, it is better to provide him with a smaller bike that has 12-inch wheels because they will sit lower in the seat. It will also make it easier to for them to reach the bike’s handlebars.
- If your child is older, but short for their age, choose a bicycle with 16-inch wheels. Older children have longer legs and arms, so a smaller bike will be awkward for them to use.
-
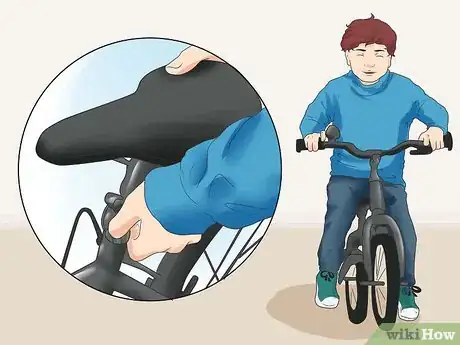
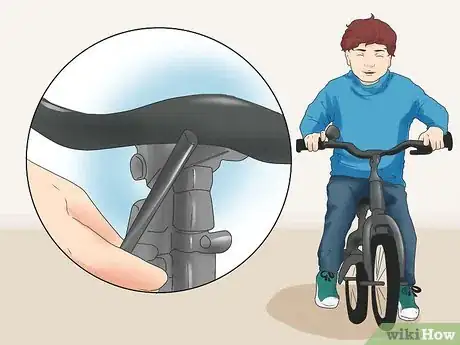
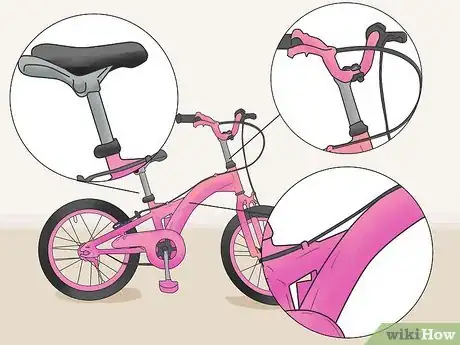
3Adjust the bike’s seat height so your child can reach the floor with both feet. Loosen the screw under the bike seat, located where the seat goes into the frame. When you loosen it, you will then be able to move the seat up on or down to suit your child.
-
4Lower the seat if your child cannot reach the pedals. To ride the bike easily and comfortably, your child’s knee will be slightly bent when the pedal is in the down position, as this allows a stronger stroke on the pedal than when their leg is stretched out.
- When the pedals are in the up position, your child’s thighs should be horizontal and not stick out.
-
5Adjust the handlebars so your child can reach them without straining forward. Correct handlebar placement is especially important when your child is first learning how to balance and steer a bike.
-
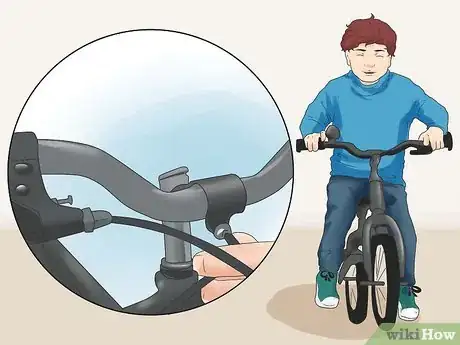
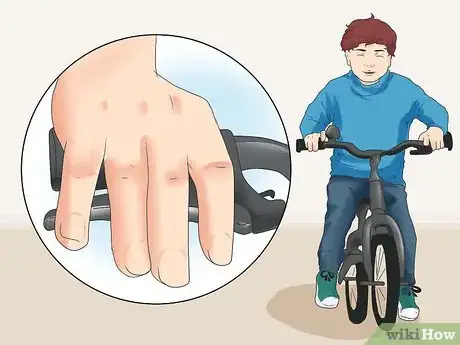
6Make sure your toddler can easily press the brake levers. Press them with your little finger, as children do not have the same pressure in their fingers as adults. If you can press the brake levers with your little finger without much effort, your toddler will be able to press them too.[4]
-
7Look for a bike with adjustable handlebars and support beams. Most childrens’ bikes come with adjustable handlebars and seats because children grow quickly, so it shouldn’t be hard to find an adjustable bike.
- Some bikes come with quick-release adjustments, so adjustments can be made without needing any tools, but this also makes it easier for bike parts to be removed and stolen.
- Other bikes come with a traditional adjustment system, which can require basic tools or special parts that are often included with the bike.
- Check to see what type of adjustment system is on your child’s bike and look for one that matches your adjustment preferences.
Part 4: Shopping for a Bike
-
1Proceed with caution if you are buying a used or second hand bike. Always bring your child with you to test a used bike before purchasing it, and make sure the brakes work and that all the other pieces are in order.
- Don’t be afraid to ask the seller questions about how old the bike is and if it has been in any major crashes. Used bikes are best if they are on their newer side (only a few years old) and haven’t been in any major crashes.
- If the bike doesn’t fit or isn’t in a safe condition, walk away and look for a better option. Used bikes are sometimes stolen merchandise being resold. If you are suspicious that the used bike might be stolen, look for the serial number, which is usually located underneath the main support post. Contact the police department or search the internet with the serial number and description of the bike to see if any stolen bike reports matching the number appear.
-
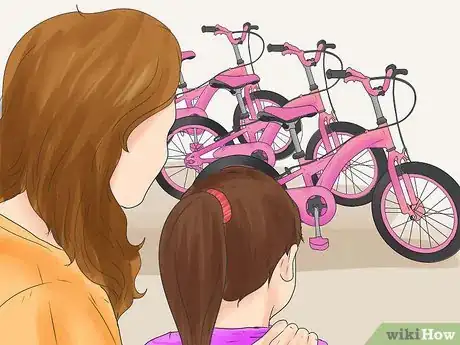
2Shop for a bike at a sporting goods or biking store, rather than a big-box store. Employees at specialty stores tend to receive better training so they can recommend the correct bike size and features for your child.
-
3Let your child test drive the bike before you purchase it. When sitting on the seat with their hands on the handlebars, a child should be able to place the balls of both feet on the ground at the same time.[5] Your child should be able to straddle the tallest bar on the bike while still having their feet flat on the ground on both sides of the bike, which helps them quickly stop the bike or get off if they start to fall.
- If your child can’t fulfill these requirements, try a smaller size bike or adjust the seat so it is on a lower setting.
Part 4: Determining the Right Type of Bike and the Right Safety Gear
-
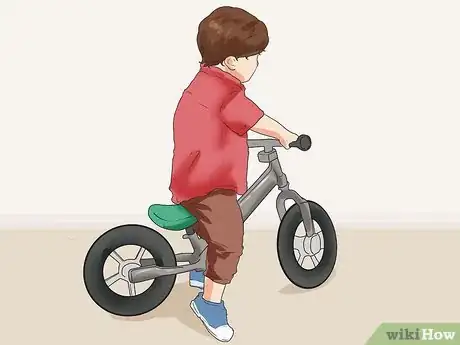
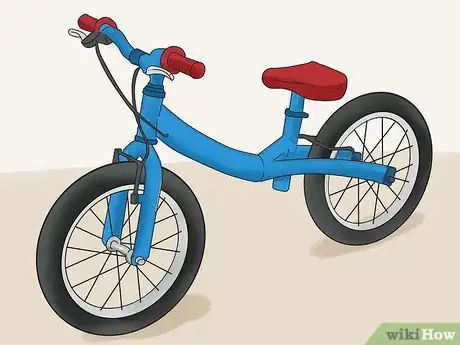
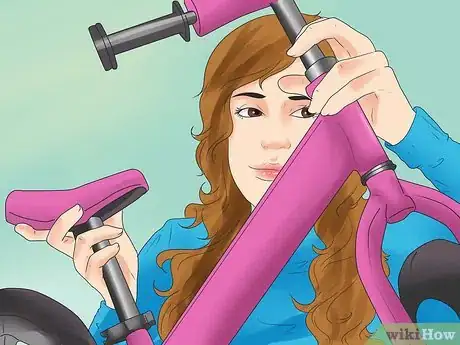
1Think about getting a balance bike if your child is very young. This bike style is a popular option and comes in very small sizes. This bike looks like a typical toddler bike, but does not have pedals, so your toddler can straddle the bike and walk with it. Balance bikes are a good starting point for young children because they give them the feel of a bike and will teach them to steer and control the bike without having to use pedals.
- They can be used by children as young as 18 months old.
-
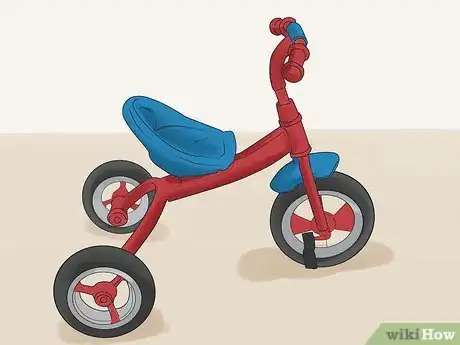
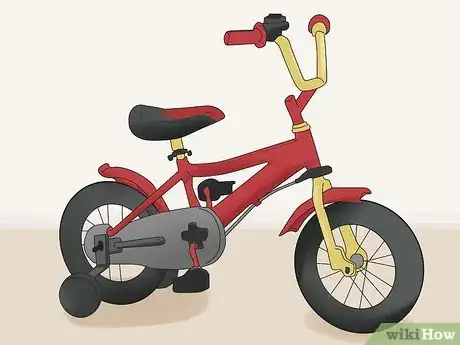
2Consider a thick-wheeled tricycle or big wheel bike. Once they are ready for a real bike, you can add training wheels to this style.
- Training wheels should be attached next to the rear wheel and should start flush with the ground. As your child gets more comfortable balancing on the bike, you can raise the training wheels, which will force them to balance on their own.
- Often, toddlers that start with balance bikes can skip the training wheel phase or go through it quickly.[6] Keep an eye on your child to monitor their progress and comfort levels.
-
3Make sure the bike has coaster brakes. This way, your child can pedal backwards to brake. Young children don’t have the hand strength or coordination to use hand brakes.[7] In fact, children younger than six should only use coaster brakes.
- Most bikes come with hand brakes when they are have 16 inch wheels and bigger, which the average child will fit into when they are 6-7 years old.[8]
- Make sure the brakes can be activated quickly and have the power to stop the bike. Have your child test the brakes, and then test them yourself with a hand or foot to see how quickly they react.
-
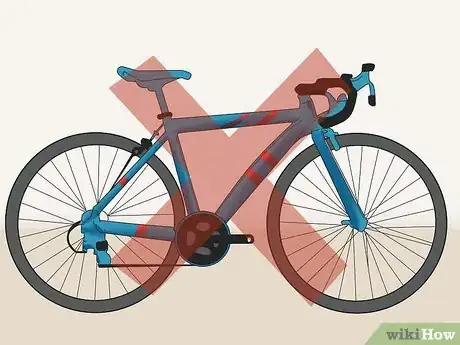
4Avoid a racing bike or a bike with shocks until your child becomes an experienced rider. These styles aren’t ideal for children until they have a firm grasp on riding a bike.
- Once your child becomes a more confident rider, you can experiment with bikes for different types of terrain.
- All children should learn to ride a bike on a flat, even surface, like cement. If your child will be riding on dirt roads or cobblestone paths, look for a bike with larger shocks for a more comfortable ride.
- For best results and personal recommendations, consult a biking professional at a sporting goods or biking store.
-
5Always make sure the bike is safe and sturdy, regardless of the style of the bike. In general, the less expensive bikes will be heavier because they are made of steel instead of the more expensive alloy metals.[9]
- Steel bikes are still safe, but can be slightly more difficult to maneuver and are heavier if your child crashes and gets trapped under their bike.
-
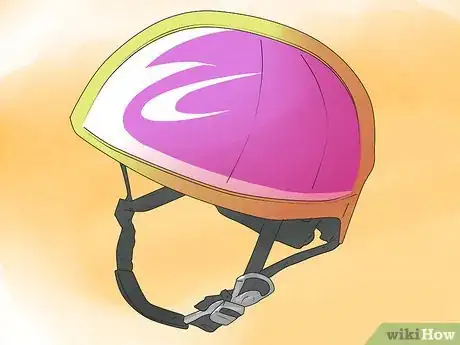
6Make sure you purchase a helmet for your child. Helmets are required by law in most states when riding in public places, and they are always a good idea for young children learning to ride a bike. Helmets also reduce the risk of bicycle-related head injury by 88%.[10]
- A helmet is only effective if it fits your child’s head properly. The right helmet will rest just above your child’s eyebrows and sit level around their entire head. It shouldn’t move around on their head when shaken, and the strap should be snug but still allow your child room to move their mouth and talk.
- Helmets that are designed specifically for biking are best, but your child can also wear a helmet designed for another activity, like rollerblading or skateboarding, as long as it fits them properly.
-
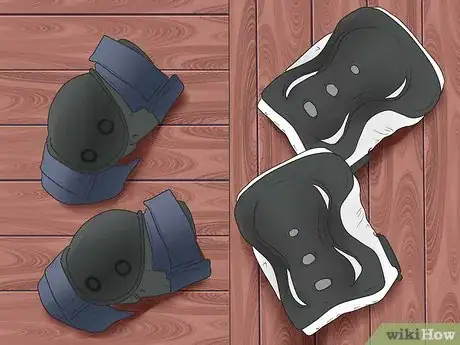
7Purchase other safety gear like elbow pads and kneepads. Though these are not required, it may be beneficial to protect your child from the typical falls and stumbles that may happen when they first learn how to ride.
- Most pad sets are sold according to the height, age, and weight of a child. Use the same measurements you took for correct bike sizing to choose the correct pad size.
- Have your child try the pads on to ensure they are comfortable. You also ask a store employee to help you with sizing and material recommendations for safety gear.
References
- ↑ http://www.ibike.org/education/buying.htm
- ↑ http://www.ctc.org.uk/guide/buying-right-bike-for-your-child?page=8
- ↑ http://www.ibike.org/education/buying.htm
- ↑ http://www.ctc.org.uk/guide/buying-right-bike-for-your-child?page=8
- ↑ http://www.safekids.org/tip/bike-safety-tips
- ↑ http://www.sfbike.org/news/balance-bikes-vs-training-wheels/
- ↑ http://www.ibike.org/education/buying.htm
- ↑ http://www.urmc.rochester.edu/encyclopedia/content.aspx?ContentTypeID=1&ContentID=2954
- ↑ http://www.ibike.org/education/buying.htm
