This article was co-authored by wikiHow Staff. Our trained team of editors and researchers validate articles for accuracy and comprehensiveness. wikiHow's Content Management Team carefully monitors the work from our editorial staff to ensure that each article is backed by trusted research and meets our high quality standards.
There are 10 references cited in this article, which can be found at the bottom of the page.
This article has been viewed 40,546 times.
Learn more...
A Christmas tree made from a pallet is the perfect rustic decoration for you to give as a gift or use as a decoration around your home. What's more, it's relatively inexpensive to make and can be completed in only a few hours of time. After you cut the shape of your pallet tree, you can add finishing touches to it, and then it's a simple matter of deciding where this decoration will be best put to use.
Steps
Cutting the Pallet
-
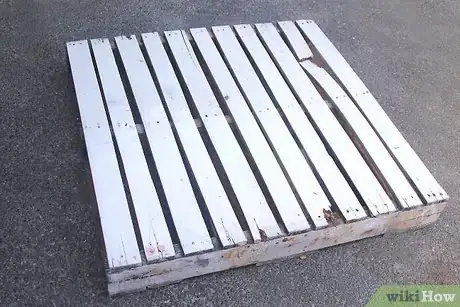
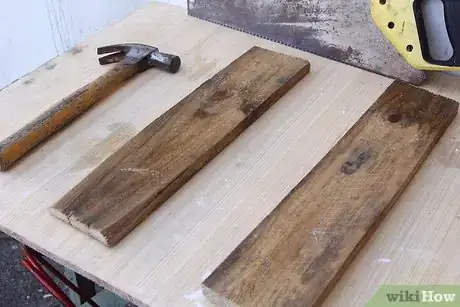
1Prepare your work area. You'll be cutting your pallet in the shape of a tree, so you may want to work outside where wood shavings will be less of an issue. You could also lay down a tarp to catch shavings for an easier clean up. You'll also need:
- A flat, sturdy work surface, like a work bench. If you don't have a suitable work surface, you can make one by laying a flat board between two saw horses on level ground.
- A clear, an unobstructed work area. You don't want to trip when operating your saw. Move all unused tools, equipment, and wires out of your work area.[1]
-
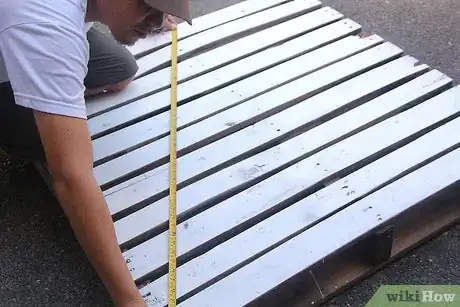
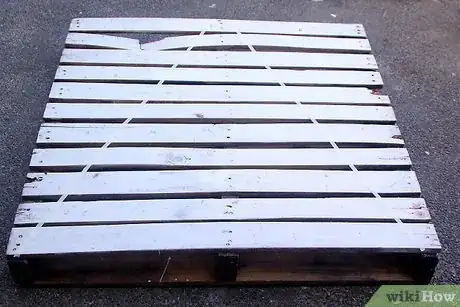
2Measure and mark your tape lines. You'll be using tape to guide your cutting of the pallet. Face the pallet so its top boards are oriented crosswise. The closest board will make up the bottom of your tree, and the farthest one the top. Mark your tape lines:
- At the left and right sides of the bottom of the tree, on the inside of both lengthwise oriented 2x4 boards.
- At the top of the tree, ½" (1.27 cm) to the left and right of the middle, lengthwise oriented 2x4 board.[2]
Advertisement -
3Apply your tape and check for evenness. Run two lines of tape, one line for each set of marks. One should run between the top and bottom marks to the left of the middle, lengthwise 2x4, and the other piece of tape between the top and bottom marks on the right. After taping:
- Take your tape measure and check the distance on both sides between the outer edge of the tape and the outer edge of the pallet.
- The distance between the tape edge and outside pallet edge should be the same on both sides.
-
4Wear proper safety equipment. The cutting process will create sawdust, which can become airborne and irritate your lungs and eyes. For this reason, you should wear protective eye wear, like safety glasses, and a dust mask.[3]
- Wood can also cause skin irritation from its roughness, or it can give you splinters. Wear gloves when working to protect your hands.
-
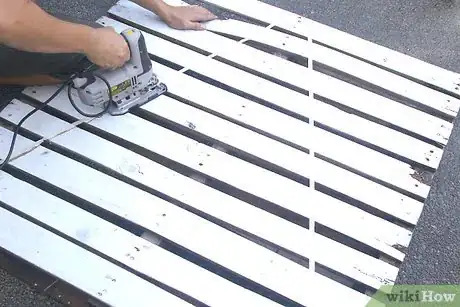
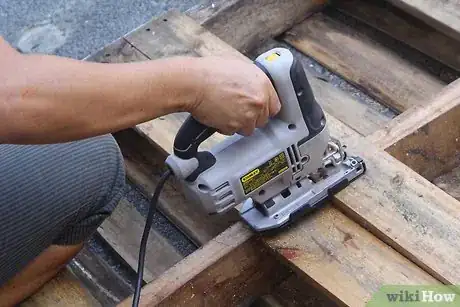
5Cut your pallet. Because pallets are most often held together by screws or nails, you'll likely want to use an automated saw that can cut through these, like a reciprocating saw. When cutting, do so on the inside of your tape line.[4]
- Hold your saw as level as possible while operating it, and use firm, steady pressure to push your saw through the wood as it cuts.[5]
- The resistance to your saw will be greater when cutting through a board and less when moving through the gaps between them.
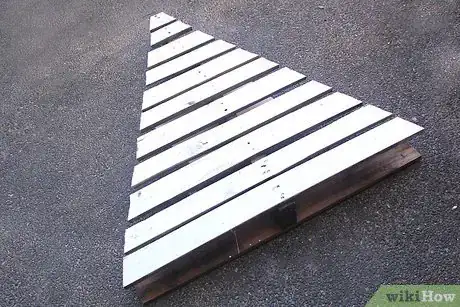
- At this point in the project, you'll only be cutting the top, crosswise boards of your pallet.
-
6Cut the other side, if applicable. Now that the top of your pallet is cut, it's time to cut the opposite side. Pick up your pallet and flip it so the cut side is oriented downward. Cut the back boards away by sawing them on both sides of the middle, lengthwise 2x4.
- Some pallets may only have one set of crosswise running boards. In this case, you won't have remove the reverse set of crosswise boards.
- Be careful when flipping your pallet. During the cutting process, you may have created splinters or jarred pieces of wood loose.
- Once you've cut along the left side of the middle, lengthwise 2x4, it should pull free easily with your hands or pry bar. Do the same for the right side as well.[6]
-
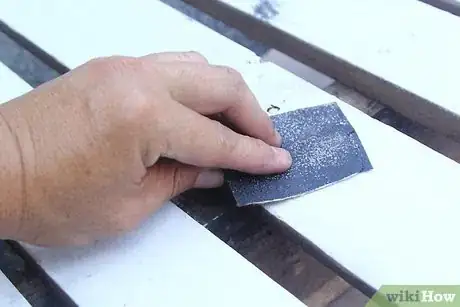
7Sand your pallet Christmas tree. In many cases, a quick hand sanding with a medium grit sandpaper, rated between 60 and 100, should take the roughness off your cut wood.[7] Focus on edges, burrs, and patches that appear splintery. Sand until the wood is smooth and even.
- You can speed the sanding process along by using an automated handheld sander, like an orbital sander.
- With automated sanders, pay close attention to screws and nails. These can tear the sandpaper, and can even do damage to your sander if you're not careful.
- When finished sanding, wipe away wood shavings with a clean, damp cloth, and enjoy your new pallet Christmas tree.
Adding Finishing Touches
-
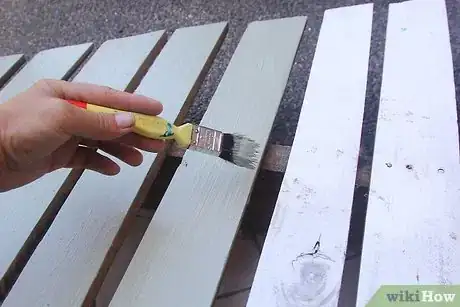
1Paint your pallet tree. After your tree is sanded, you can stain and seal the wood, or you can paint it. Before painting, wipe the wood clean with a water dampened rag, allow the dampness to dry, then:
- Open a can of suitable wood primer. Mix it according to its directions. Then use long, smooth strokes with a clean paintbrush to apply several layers to the front of the tree from the top to its bottom.[8]
- Allow the primer to dry. Then open a can of suitable wood paint and mix it with a paint stirrer.
- Dip a clean paintbrush into the paint, wipe excess paint on the inside lip of the can, and paint the front of your tree top down with long, even strokes.[9]
-
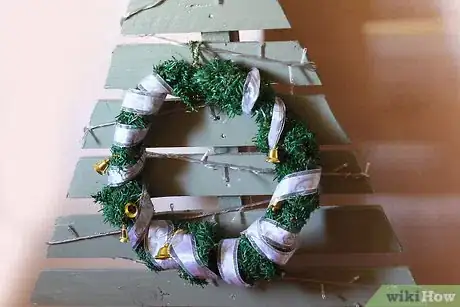
2Add Christmas themed decorations, if desired. After your paint is dry, if you want your pallet tree to have a more festive appearance, use decorations, like ornaments, ribbons, glitter, tinsel, and more. These can be attached to your tree with a suitable glue or tape.
- You can create the effect of snow on the branches of your pallet tree by dipping a sponge into a little bit of white paint and lightly stippling them.
- If you want to draw a design on your tree but lack the artistic skill to freehand it, you can always make a stencil and use that to apply the design.[10]
-
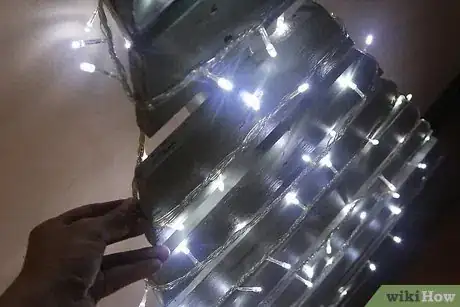
3String up lights, if desired. For many Christmas celebrating cultures, a Christmas tree is not complete without a strand of lights circling around it. Take a string of lights and wrap it around the branches of your tree until it is completely strung.
- If your lights don't hang easily on your tree, you may have to attach them in place. U-shaped tacks or sturdy tape, like duct tape, are useful for holding lights in place.
- To give your tree the most polished and authentic look, you may want to hide the front and back end of your string of lights behind the tree.
-
4Mark leftover 2x4s to make a stand, if desired. You should have two leftover 2x4 boards that you removed from the pallet when cutting the shape of your tree.[11] Take these and use your hammer or pry bar to remove nails and any attached pieces of wood, then:
- Measure and mark one long edge of each 2x4 board at its halfway point.
- An inch (2.54 cm) to either side of your halfway marks, measure and mark a line that extends from long edge to long edge.
- Lay each board so they are standing upright on their long edge, with your halfway mark oriented upwards.
- Measure and mark the halfway point between the opposing long edges of the 2x4s. This mark will be at the midpoint of the short edge of the 2x4.
-
5Cut the 2x4s and assemble the tree stand. Use your saw to cut the 2x4s at the lines extending between the long sides of the 2x4. The deepness of your notch should not surpass the halfway point you marked between the opposing long edges of each 2x4. Cutting deeper could result in a weak joint between the boards of your stand.
- Assemble your stand by fitting the notches together to form an X-shape. You may want to use some wood glue or a fastener, like a screw, to provide additional support where the 2x4s cross.[12]
Decorating with Your Pallet Tree
-
1Display Christmas cards on your tree.[13] The holiday season is a popular time to receive family photos and special cards from your loved ones. When you lack room to display your cards, you can use push pins or tacks to attach these to your pallet tree to show others.[14]
- If you want to protect your cards and photos from damage, you might want to use a gentle adhesive tape, instead.[15]
-
2Create a winter scene in your home. A single Christmas tree adds a magical touch to the home in the holiday season. However, by adding a few pallet trees to the room your Christmas tree is in, you can create a magical, winter forest effect in your home.
- To give your pallet trees a little more realism, you might want to drape them with similar accents to your living tree.
-
3Add holiday cheer to difficult decorating locations. Some festive decorations, like a full sized Christmas tree or wreath, might take up too much space in the smaller rooms of your home. Instead of relying on store bought fake trees, you could use a homemade pallet tree to add holiday cheer to these rooms.
- You may be hesitant to use decorations outside your home out of fear they'll be damaged by the weather. Pallet trees are durable and inexpensive to replace, making them excellent outdoor decorations.
-
4Use pallet trees as the background to performances. The holiday season is a popular time for children and adults alike to put on live performances, sing in cantatas, and so on. Your pallet trees could be the perfect way of creating a woodland or holiday scene on stage.
Warnings
- Always follow proper safety procedure when using tools and equipment. Improper use could result in permanent injury.⧼thumbs_response⧽
- Many companies recycle pallets for a deposit. In some situations, taking one without permission could be considered theft.⧼thumbs_response⧽
- Dangerous paint fumes can build up in enclosed spaces or areas with poor airflow. Always work in a well ventilated space when painting and priming.⧼thumbs_response⧽
Things You'll Need
Creating a Pallet Christmas Tree
- Drill (with screw bit)
- Dust mask (optional; recommended)
- Gloves (optional; recommended)
- Hammer
- Pallet (x1)
- Pencil (or marker)
- Protective eye wear
- Pry bar
- Sandpaper (medium grit; 60 - 100 rating)
- Saw (reciprocating preferred)
- Screws
- Straight edge (or chalk line)
- Tape (like masking or painter's tape)
- Tape measure
Adding Finishing Touches
- Christmas lights
- Decorations (glitter, ribbon, ornaments, etc.)
- Hammer
- Paint (optional)
- Primer (optional; recommended)
- Saw (reciprocating preferred)
- Wood glue (optional)
References
- ↑ https://www.youtube.com/watch?v=KTYhEDmr5XU
- ↑ https://www.youtube.com/watch?v=KTYhEDmr5XU
- ↑ https://www.alce.vt.edu/teacher-resources/lab-safety-resources/reciprocatingsaw.pdf
- ↑ https://www.youtube.com/watch?v=KTYhEDmr5XU
- ↑ https://www.alce.vt.edu/teacher-resources/lab-safety-resources/reciprocatingsaw.pdf
- ↑ https://www.youtube.com/watch?v=KTYhEDmr5XU
- ↑ http://www.bobvila.com/articles/2145-quick-tip-choosing-sandpaper/#.V_fWWPArLIU
- ↑ http://www.soundpaintingsolutions.com/use-primer/
- ↑ http://www.bobvila.com/articles/30124-dream-it-do-it-how-to-paint-wood-furniture/#.V_l6nvArLIW
- ↑ http://www.1001pallets.com/2015/11/40-ideas-of-christmas-tree-decorations-made-out-of-repurposed-pallets/
- ↑ https://www.youtube.com/watch?v=KTYhEDmr5XU
- ↑ http://www.hometalk.com/2529806/diy-pallet-christmas-tree-tutorial?expand_all_questions=1
- ↑ https://www.youtube.com/watch?v=AeOABf-Gk3o
- ↑ http://www.designrulz.com/design/2014/11/25-ideas-make-wood-pallet-christmas-tree/
- ↑ http://www.1001pallets.com/2015/11/40-ideas-of-christmas-tree-decorations-made-out-of-repurposed-pallets/
- Videos provided by ProfRobBob
