X
wikiHow is a “wiki,” similar to Wikipedia, which means that many of our articles are co-written by multiple authors. To create this article, 12 people, some anonymous, worked to edit and improve it over time.
The wikiHow Video Team also followed the article's instructions and verified that they work.
This article has been viewed 85,056 times.
Learn more...
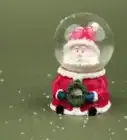
A different twist on the traditional snow globe is to create one using stemware, a little cardboard and lots of creativity. This snow globe has no liquid inside it like the traditional snow globe but will be just as enchanting…if not more.
Steps
Method 1
Method 1 of 2:
Find Your Supplies
-
1Select stemware. While you can use something from your existing collection, you may want to consider using heavy-duty plastic stemware. Depending on how you use it, you may want to go with plastic to avoid having the snow globe shatter (especially if you plan to store it in your holiday storage boxes every year).
- Choose stemware that provides you with enough room to create a little scene that you like inside (champagne flutes may not work).
- Select clear stemware. While you may get away with stemware that is slightly tinted a clear glass will provide best results.
-
2Purchase or find heavy cardboard. The cardboard will act as your snow globe’s “base” so you want something sturdy. You will also need a pencil so you can trace the stemware mouth on the cardboard.Advertisement
-
3Visit the craft store and purchase white glitter or faux snow, small people, snowmen or any other item you’d like to keep inside your snow globe. You should also find or purchase a hot glue gun to hold everything in place.


Advertisement
Method 2
Method 2 of 2:
Create Snow Globe
-
1Clean and prepare stemware. Remove stickers or any other obstructions from the glass and clean with mild soap and water. Allow glass to air dry or dry with a soft, clean dishtowel.
-
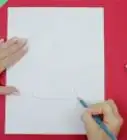
2Trace the stemware mouth on the cardboard. Make the circle as accurately as possible as it will be the only base that prevents the snow globe insides from spilling out.
-
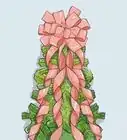
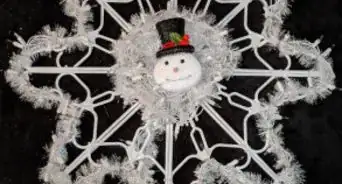
3Assemble the snow globe “scene.” You may want to paint the cardboard disc and then mount (hot glue) trees, snowmen or people to the cardboard base. Provide ample dry time before continuing to the next step.
-
4Fill bottom of stemware with glitter and/or faux snow a quarter of the way. If you purchase both you may want to mix the two for a sparkly winter wonderland.
-
5Apply hot glue around the mouth of the stemware. Make sure you stay on the rim and don’t over-glue (so that it drips down the side).
-
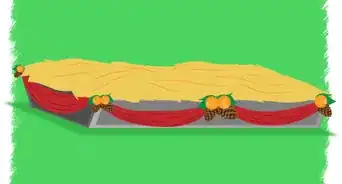
6Turn the winter scene (that was mounted on the cardboard disc) upside down on top of the stemware mouth. Press gently in place and wipe any glue that drips down the side away with a clean cloth.
-
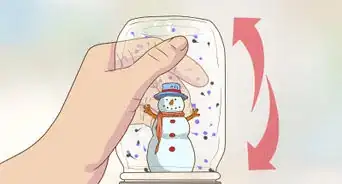
7Allow glue to dry and then turn over to watch the snowfall! Be sure the cardboard disc is completely dry before you turn it over, otherwise you’ll have quite a mess.

Advertisement
Community Q&A
-
QuestionIs there a card cutting machine that I can use to cut the circles?
 Community AnswerThere are machines that cut circle shapes, including Circut machines, but machines like that may be quite pricey.
 -
QuestionAny suggestions on where to get the small pieces (snowman, Santa, etc.) to put in the globe?
 Kim GTop AnswererYou can find small Christmas figurines around the holiday season at most dollar or craft stores.
 -
QuestionCardboard? Wouldn't it soak up water and fall apart?
 RevadCommunity AnswerIt appears that the person who created this article did not put any water in the "snow globe."
Advertisement


About This Article
Advertisement