This article was co-authored by Clark Hill. Clark Hill is a Plant Specialist and the Vice President of Operations at Platt Hill Nursery, a garden center and nursery based in the Chicagoland area of Illinois. Clark and the Platt Hill Nursery plant experts are committed to educating others about plants and providing advice to plant owners. Platt Hill Nursery aims to make gardening an easy and sustainable activity for everybody.
There are 8 references cited in this article, which can be found at the bottom of the page.
This article has been viewed 47,193 times.
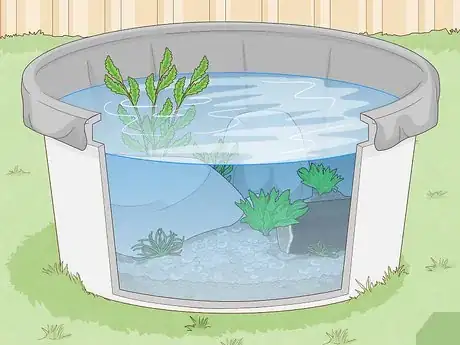
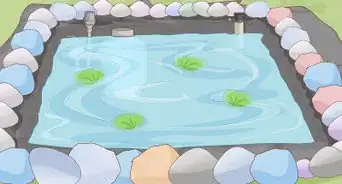
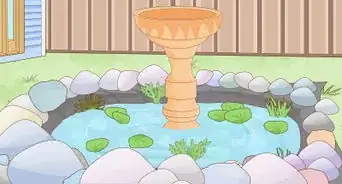
If you want a water feature but don't have much space, a mini pond could be the answer. For an extra-small pond, choose a compact waterproof container such as an old sink basin or a large plant pot. If you have a little bit more space, consider digging the pond directly into the ground. To attract wildlife and create an aesthetically pleasing space, add in aquatic plants. Only add in fish if you are able to filter the water.
Steps
Using an Old Container
-
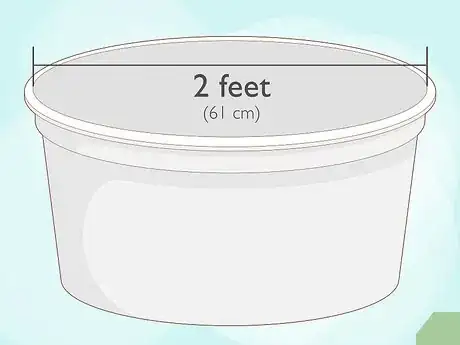
1Choose a waterproof container or basin. The container can be any size. The smaller it is, the fewer plants you will be able to place inside. However, if you don't have a lot of space in your garden, an old sink basin, half-barrel, or even a large plant pot without holes can work well. Aim for a container that is at least 2 feet (61 cm) in diameter. If you have more space, an old tub, a play pool, or a stone trough could all work.[1]
- Ceramic and metal hold up best to changing weather, especially frost. Plastic containers can crack and leak.
-
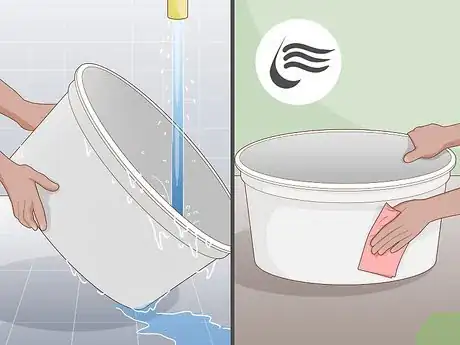
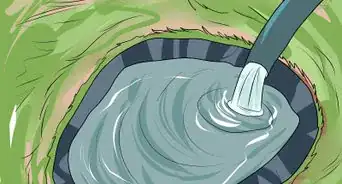
2Clean the container under running water. Use a mild, non-toxic dish soap if your container is particularly dirty, and be sure to rinse it well so that the soap doesn't harm plant or animal life in your pond. Dry it with a clean cloth, or air dry quickly.[2]
- This is especially important if you are using a salvaged or second-hand container. If you are using a brand new container, simply giving it a quick rinse will be fine.
Advertisement -
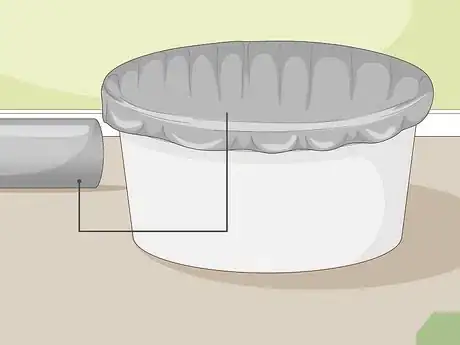
3Add a pond liner to seal a container that isn't waterproof. If the container you'd like to use isn't waterproof, measure it and buy a pond liner that is big enough to cover the entire interior of the container.[3] Fold the liner so that it fits inside of your container. It will be held in place by gravel and water, which will also cause the liner to form to the shape of the container.[4]
- If you are using an old sink or tub, simply plug the drain hole with a silicone plug.
-
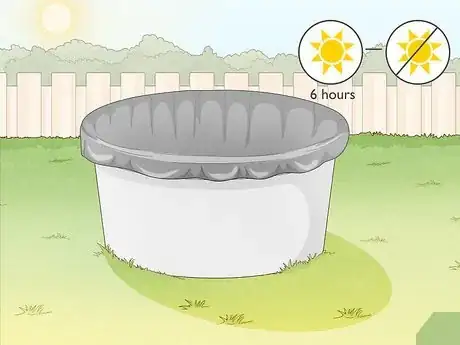
4Pick a location for your mini pond that receives a half day of sunshine. A half-sunny location in your garden will help your aquatic plants grow, while full sun might make your pond too hot. Make sure that the placement of your pond is stable and firm and that it can't be knocked over by people, pets or wildlife.[5]
- Move the container before you fill it with water. After you fill the pond, it will be too heavy to move easily.
- You can also place your mini pond on a raised stand, table, or deck. This can help prevent animals from accidentally falling in.
-
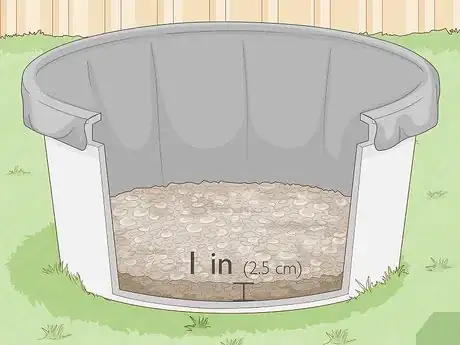
5Add a layer of gravel into the container. Fill the bottom 1 in (2.5 cm) of the pond with gravel. Use aquarium gravel, since it is specifically manufactured to help create underwater landscapes.[6]
- Gravel will help your mini pond stay in place and provide anchoring for your plants.
-
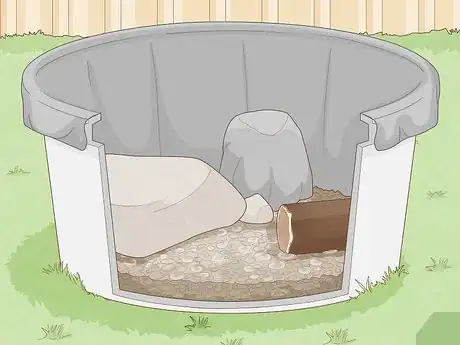
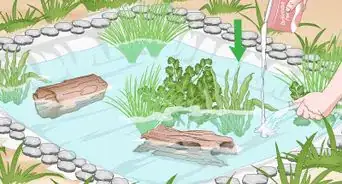
6Use logs or stones to create varying depths in your pond. Make a shallower area around the edge of the pond by stacking stones, logs, or even bricks. Creating at least 2 different depths will help attract wildlife to your pond. Plants will grow in the shallower areas, where they will get more sunlight, while animals will enjoy the deeper areas, where they can hide from predators.[7]
- If your pond is deep with steep edges, its important to create steps for animals to get in and out.
-
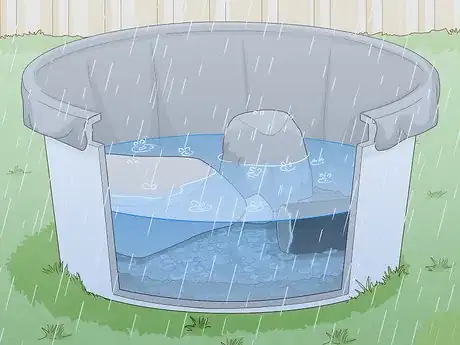
7Fill up half the container with rainwater. Tap water contains chemicals that can be harmful to wildlife, so it's best to use rainwater if possible. Fill the container halfway to start so that it doesn't overflow when you add decorative elements.[8]
- If you don't have any rainwater on hand, fill the pond halfway with tap water and allow it to sit for around 2 days to neutralize.
-
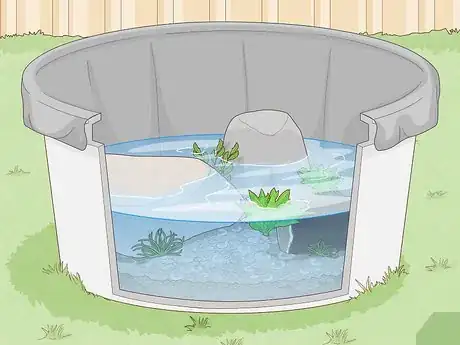
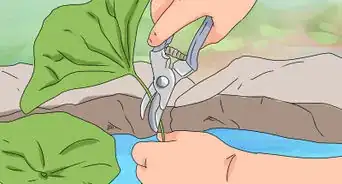
8Add aquatic plants to your pond. Dig a hole in the gravel large enough to fit the plant's roots. The size of the hole will depend on what kind of plants you want to use. Gently slide the plant out of its container and place it in the hole. Use the gravel to cover the roots and keep the plant in place.[9]
- Plants like water forget-me-not, lesser spearwort, and marsh marigold all work well.
- You can also leave plants inside of the containers you bought them in. Add aquatic compost to the container.
- You can use 1-2 varieties of aquatic plants if your container is small. If you have space, add in a few more varieties for a more diverse mini ecosystem.
-
9Fill up the rest of the container with rainwater. Once you've added in all of the plants you want, top up the container with rainwater. Then, let your pond be. It will naturally start to attract local wildlife.[10]
- Don't be tempted to bring in animals from other ponds. Wildlife will naturally find its way to your pond.
- Small containers are typically not ideal for fish, unless you install a filter. Animals like frogs will find their own way to your pond.
Digging a Pond in Your Garden
-
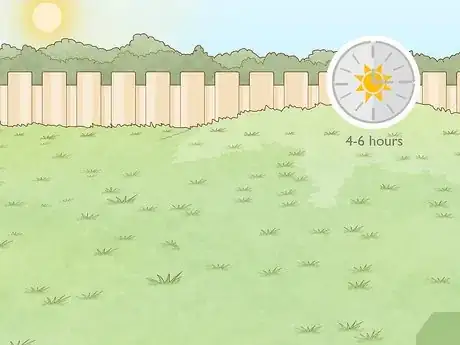
1Choose an elevated spot for your pond that gets 4-6 hours of sunlight per day. Look for a location in your garden that gets at least a half day of sunlight. An ideal location won't get runoff from rain, which can carry fertilizer and chemicals that may harm the life in your pond, so choose a slightly elevated spot. Also consider that you will need to clean a pond under a tree more frequently, since the tree can drop leaves, flowers, or fruits.[11]
- If you're planning a deep pond, you may also need to check that there aren't any utility lines where you want to dig.
- If you want to install a filter or fountain, you will also need access to a power source.
-
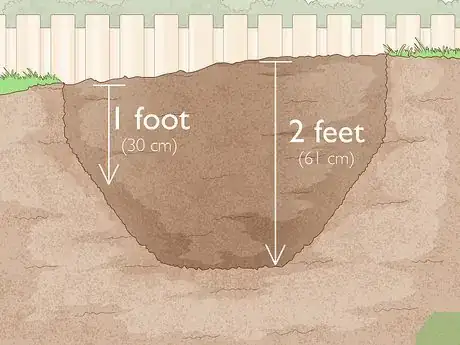
2Make the pond about 3 to 4 ft (0.91 to 1.22 m) wide and 2 ft (0.61 m) deep. This diameter gives you enough space to create a shallow perimeter and a deep center. For the shallower area around the edge, aim for a depth of around 10 to 12 inches (25 to 30 cm), which is ideal for plants. In the center, make your pond around 2 feet (0.61 m) deep for fish.[12]
- The average small backyard pond is around 6 by 8 feet (1.8 by 2.4 m).
- If you live in an area with cold winters, consider adding another, even deeper section of your pond so that it won't freeze completely solid. This allows animals to hibernate over the winter.
-
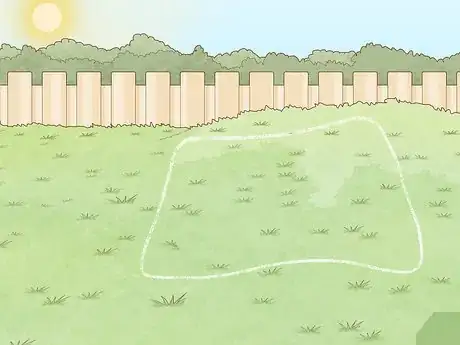
3Mark the edges of the pond. Use a cord, rope, chain, or a piece of chalk to outline the border of the pond. To make it look more natural, don't create a perfect circle. Instead, create an irregular shape.[13]
- Consider that you will need at least 2 different depths when deciding on the size and shape of your pond.
-
4Dig out your pond. Depending on how big your pond is, you can either dig it out by hand using a shovel or use a backhoe. Dig out the entire pond first, so that it is 1 foot (30 cm) deep all the way around. Then, dig out the center of the pond so that it is 2 feet (61 cm) deep.[14]
- If you plan to install a filter pump, dig out a pit big enough to fit it in the deepest part of the pond.
-
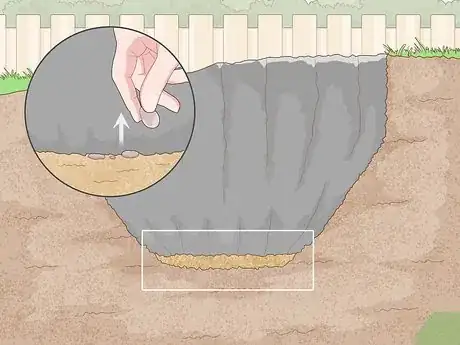
5Layer sand and a pond liner into the hole. Pour a thin layer of mason's sand, around 2 inches (5.1 cm) deep, into the hole to cover any rocks or sticks that could puncture the liner. Then, place the pond liner on top of the sand. The pond liner will be held in place by stones and the weight of the water.[15] [16]
- If necessary, cut the pond liner down to size using scissors or a utility knife.
- The pond liner will look wrinkly when you unfold it and place it. It will form to the earth once you add in the water.
-
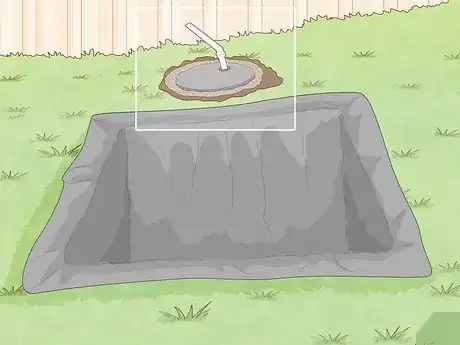
6Install a filter pump if you plan to have fish in your pond. Place the pump into the hole you dug out for it, on top of the liner. Run its cord from the pond to an outlet. Use an extension cord if you need to. Or, if you are using a filter pump designed to stay outside of the pond, place it next to the pond. Camouflage it with attractive stones or plants, if you like.[17]
- If the installation instructions that come with your pump are more complicated, call an electrician for help.
- Fish need the water to be filtered in order to add enough oxygen to the water and keep it clean of pollutants.
-
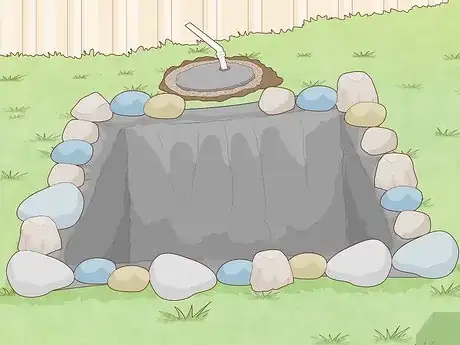
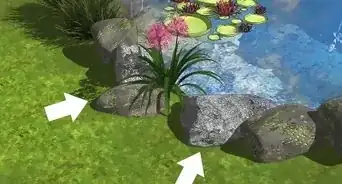
7Stack decorative stones around the pond to attract more wildlife. This is optional, but adding stones can be attractive to animals because it gives them somewhere to rest and hide. Use a variety of stones, large and small, to create an aesthetically pleasing arrangement.[18]
- You can use stones that you find around the pond naturally, or you can buy decorative stones.
-
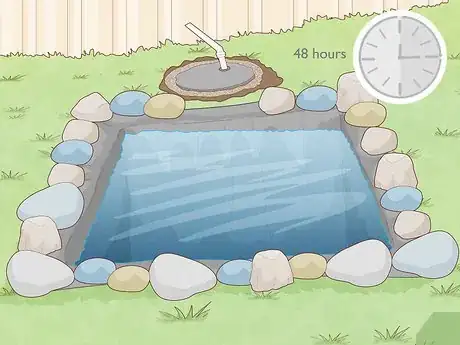
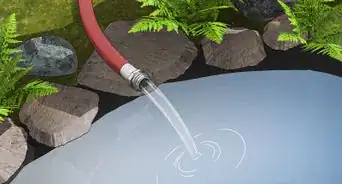
8Fill the pond with water and let it sit for 48 hours. Once you have the pond arranged how you like, you can add in water. Use rainwater if you have enough on hand, or use regular tap water.[19]
- Allowing the water to sit for 2 days before adding in plants and fish will allow any chlorine to evaporate out. It also allows the pond to settle into place, so it's best to let it sit even if you are using rainwater.
-
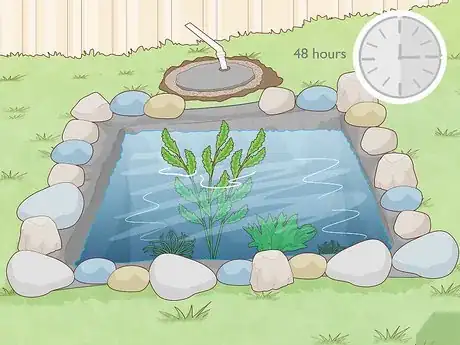
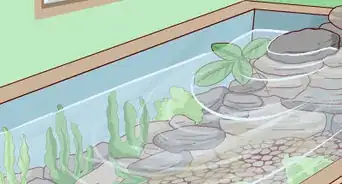
9Add plants and fish to your pond. Place aquatic plants into your pond first. Remove the plants from their containers and place them into a mesh pond planter with pond soil. Then place them into the pond. Once you have them in place, you can add in some fish. Regular goldfish will grow to the size of the container they live in, so they are always a good choice for small ponds. Simply place the fish into the pond and let them be. You can feed them during warm months, but skim out what they don't eat in 5 minutes so that it doesn't become mush.[20]
- Choose a variety of plants that grow under and over the surface of the water to attract more wildlife. Some good choices include cattail, lotus, iris, and water hyacinth.[21]
- If your pond is in an area that could attract mosquitos, fish will help minimize the problem by eating the bugs.
- If you think your pond will freeze completely in the winter, bring your fish inside.
Community Q&A
-
QuestionWill frogs spawn in this?
 Community AnswerIf it's warmer water, then they may do so in the spring/summer.
 -
QuestionCould I put soil in it?
 Community AnswerIt is not a good idea. Not only could your fish eat the soil, but it can make the water dirty, causing your fish to get sick or die.
 -
QuestionHow does the pond stay clean?
 Gini PugCommunity AnswerYou'll need a filter that is designed for twice the amount of water you have. For a pond this small, weekly 20% water changes are also necessary.
Things You'll Need
Using an Old Container
- Waterproof container/ basin
- Pond liner (optional)
- Rainwater
- Aquatic plants
- Rocks
Digging a Pond in Your Garden
- Shovel or backhoe
- Rope or chalk for outline
- Sand
- Pond liner
- Stones
- Water
- Aquatic plants
- Fish
Warnings
- Check local ordinances about where you are allowed to have a pond on your property. It may need to be placed a certain distance from the edge of your property.⧼thumbs_response⧽
- Ponds can be a safety hazard for small children and animals. Check with local requirements about fencing around small ponds.⧼thumbs_response⧽
References
- ↑ http://www.bbc.co.uk/gardening/basics/techniques/ponds_minipond1.shtml
- ↑ https://www.gardenersworld.com/how-to/diy/how-to-make-a-mini-pond/
- ↑ Clark Hill. Plant Specialist & VP of Operations, Platt Hill Nursery.
- ↑ http://www.bbc.co.uk/gardening/basics/techniques/ponds_minipond1.shtml
- ↑ https://www.rspb.org.uk/get-involved/activities/give-nature-a-home-in-your-garden/garden-activities/createaminipond/
- ↑ https://www.rspb.org.uk/get-involved/activities/give-nature-a-home-in-your-garden/garden-activities/createaminipond/
- ↑ https://www.rspb.org.uk/get-involved/activities/give-nature-a-home-in-your-garden/garden-activities/createaminipond/
- ↑ https://www.wildlifetrusts.org/actions/how-create-mini-pond
- ↑ https://www.rspb.org.uk/get-involved/activities/give-nature-a-home-in-your-garden/garden-activities/createaminipond/
- ↑ https://www.rspb.org.uk/get-involved/activities/give-nature-a-home-in-your-garden/garden-activities/createaminipond/
- ↑ https://myfarmlife.com/home-garden/12-steps-to-build-a-small-pond/
- ↑ https://www.popularmechanics.com/home/outdoor-projects/how-to/a661/2770526/
- ↑ https://myfarmlife.com/home-garden/12-steps-to-build-a-small-pond/
- ↑ https://www.popularmechanics.com/home/outdoor-projects/how-to/a661/2770526/
- ↑ Clark Hill. Plant Specialist & VP of Operations, Platt Hill Nursery.
- ↑ https://myfarmlife.com/home-garden/12-steps-to-build-a-small-pond/
- ↑ https://www.thisoldhouse.com/ideas/everything-you-need-to-know-to-build-perfect-backyard-pond
- ↑ https://myfarmlife.com/home-garden/12-steps-to-build-a-small-pond/
- ↑ https://myfarmlife.com/home-garden/12-steps-to-build-a-small-pond/
- ↑ https://myfarmlife.com/home-garden/12-steps-to-build-a-small-pond/
- ↑ Clark Hill. Plant Specialist & VP of Operations, Platt Hill Nursery.
About This Article
Making a mini pond is a great way to give your garden character without too much money or effort. All you’ll need is a waterproof container or basin at least 2 feet in diameter. Choose a location where your pond will get half a day of sunshine so it won’t get too hot. You’ll need to dig a hole for your container with a shovel or backhoe. Once you’ve placed the container, line the bottom with a layer of aquarium gravel to help plants grow. Decorate the pond with stones, logs, and aquatic plants. Fill the pond halfway with tap water, then let the rest fill with rainwater. Don’t use only tap water, since it contains chemicals that can be harmful to wildlife. For more tips, including how to safely add fish to your pond, read on!
