X
wikiHow is a “wiki,” similar to Wikipedia, which means that many of our articles are co-written by multiple authors. To create this article, 14 people, some anonymous, worked to edit and improve it over time.
This article has been viewed 116,059 times.
Learn more...
Google Earth's "3D Buildings" layer is entirely comprised of models made from Google SketchUp or Google Building Maker. It is simple and easy to make a model for Google Earth.
Steps
-
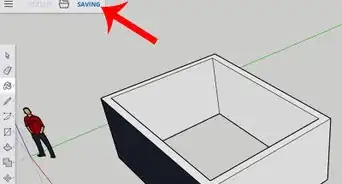
1Open SketchUp. It is the most commonly used tool for Google Earth Modeling. SketchUp 2016 Make is recommended (It is completely free, unless you upgrade to Sketchup Pro)
-
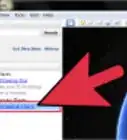
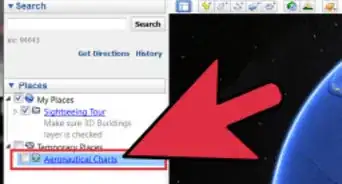
2Go to "File", then click "Geo-location". A window will appear with satellite imagery.Advertisement
-
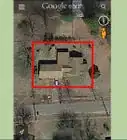
3Enter a location. Then adjust your view until you get a full view of the building you want to model.
-
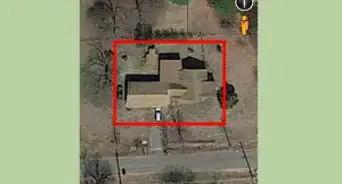
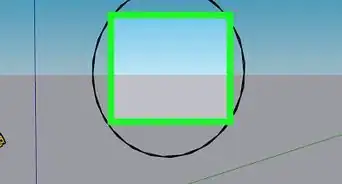
4Click "Select Region", resize the box that appears to fit around your building, then click, "Grab". This will take a "screenshot" of the imagery.
-
5The imagery should appear in your model. To make it easier to model, outline your building with the "Line" tool. If any, move the preloaded person out of your way.
-
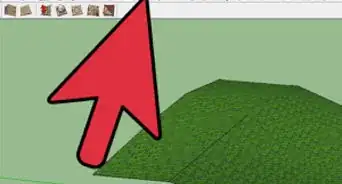
6Create the shell of your model. Google Earth does not view the inside of buildings, making it easier on your part. You won't be adding textures yet.
-
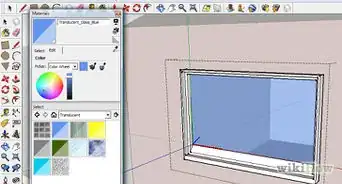
7Add the roof image. Click on the "Materials" tool (signified by a paint bucket), then click on the "Dropper" tool on the right of the new window that appeared. With that tool selected, click on the satellite imagery. Finally, click on the roof of your model. The roof will look like the top of the real building.
-
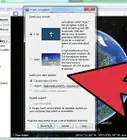
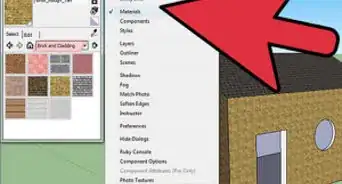
8Add "Photo Textures". Go to "Window", then select Photo Textures. Click a face on your building, then click, "Select Region". When you match the photo with the face, click "Grab"; that side will be photo textured. Do the same to the rest of your model.
-
9Your building should look like the photo on the right. Make sure it is accurately and entirely photo textured.
-
10Upload to the 3D Warehouse. While entering in your model information, make sure "Google Earth Ready" is checked.
-
11Wait. Reviewers will look at your model and see if it meets the criteria for entering the Google Earth 3D Buildings layer.
-
12Check your model status after a while. If it was accepted, you should see a ribbon next to its name, signifying it was added. If not, you should see a ribbon with a red symbol across it.
-
13You may also view it in Google Earth to make sure it was accepted.


Advertisement
Things You'll Need
- Google Earth
- SketchUp
- A working Internet connection

About This Article
Advertisement