X
wikiHow is a “wiki,” similar to Wikipedia, which means that many of our articles are co-written by multiple authors. To create this article, volunteer authors worked to edit and improve it over time.
This article has been viewed 19,355 times.
Learn more...
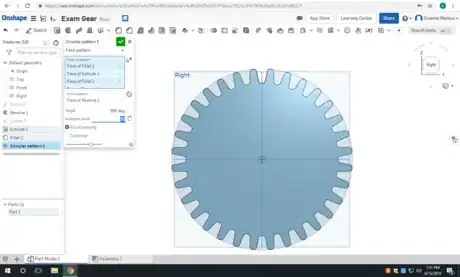
This wikiHow will teach you how to make a 3D model of a gear using Onshape, allowing you ideally to 3D print the structure. This guide assumes you have used and are comfortable with Onshape.
Steps
Part 1
Part 1 of 3:
Starting with the Wheel
-
1Open Onshape and sign in. Go to your documents and click on Create. Then in the drop down menu pick Document.... Name your document and press OK.
-
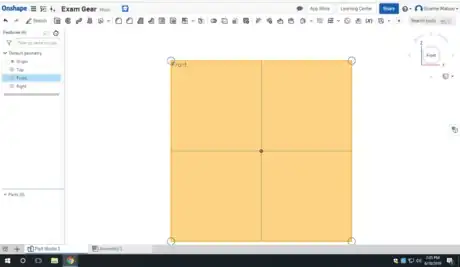
2Go to the front view. Start a sketch on the front face.Advertisement
-
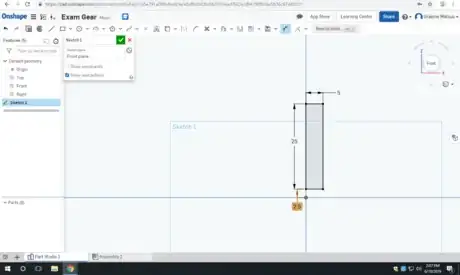
3Draw a rectangle starting somewhere on that middle vertical line.
-
4Add relevant dimensions to your rectangle.
- Whatever you input for the vertical dimensions will be doubled when the gear is done. This can be changed to adjust for different applications.
-
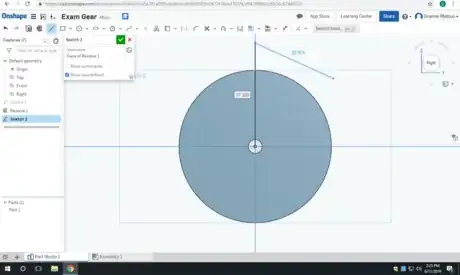
5Draw a line across the horizontal line from the front view coincidental to the origin.
-
6Click this line and make it a construction line.
-
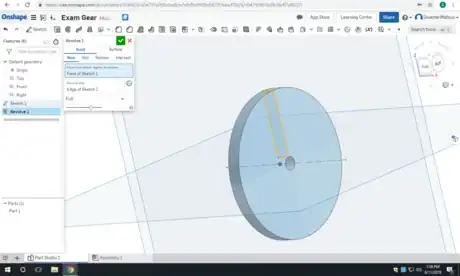
7Find and click the revolve tool. Select the rectangle sketch as the face you want to revolve and select the construction line as the revolve axis.
Advertisement
Part 2
Part 2 of 3:
Making a Tooth
-
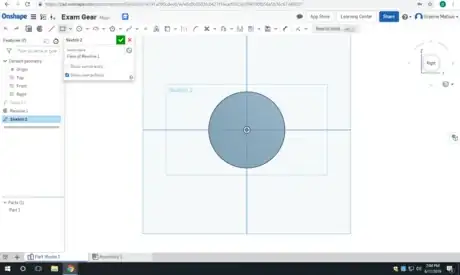
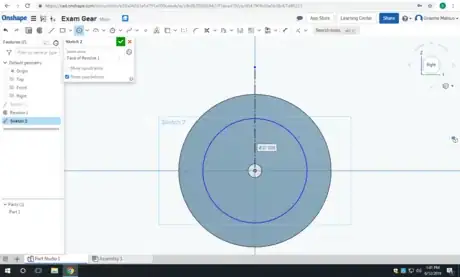
1Go to the right view of your document. Start a sketch on the right face of your wheel.
-
2Draw a line starting at the origin and going vertically until past the end of the wheel.
-
3Make the line into a construction line.
-
4Draw a center point circle coincidental to the origin.
-
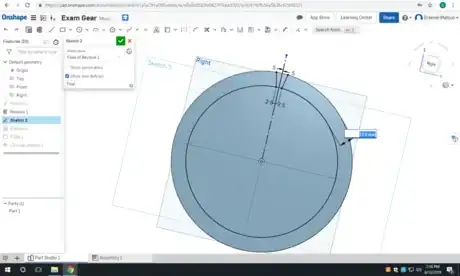
5Set the dimension as the difference between the two circles.
-
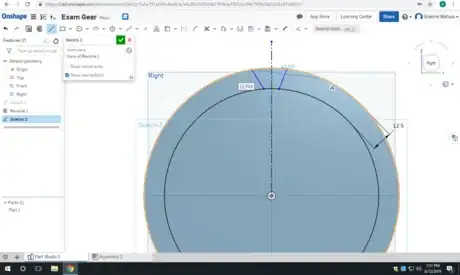
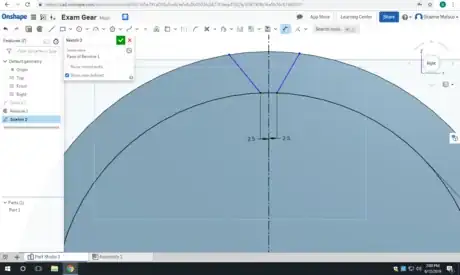
6Draw two lines coincidental to both circles near the construction line you drew earlier.
-
7Set the dimensions for the points at the bottoms of the lines to the construction line.
-
8Set the dimensions for the points at the tops of the lines to the construction line.
-
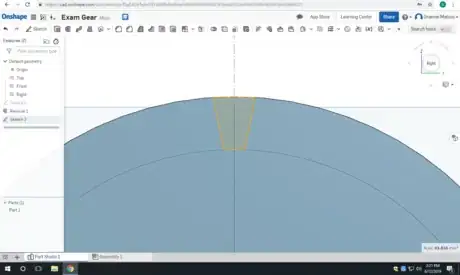
9Select the region that you just worked on.
-
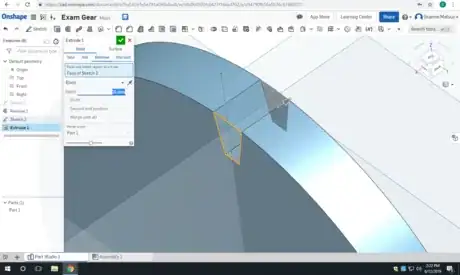
10Select the Extrude tool. Remove that area from the wheel.
-
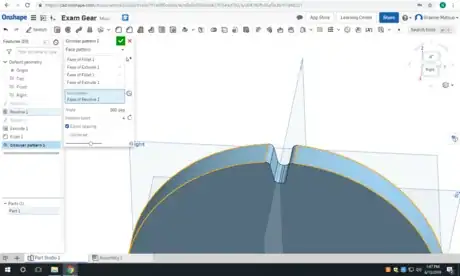
11Select the Fillet tool. Apply it to the four lines in yellow above. The default radius is 5mm but you can use 2.5 mm as well.
Advertisement
Part 3
Part 3 of 3:
Finishing Up
About This Article
Advertisement
