This article was co-authored by wikiHow Staff. Our trained team of editors and researchers validate articles for accuracy and comprehensiveness. wikiHow's Content Management Team carefully monitors the work from our editorial staff to ensure that each article is backed by trusted research and meets our high quality standards.
The wikiHow Video Team also followed the article's instructions and verified that they work.
This article has been viewed 122,588 times.
Learn more...
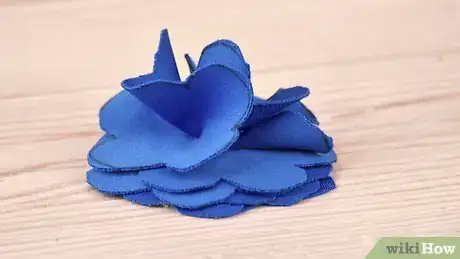
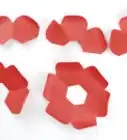
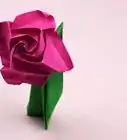
Fabric roses make a great craft project because they take very little supplies and take very little time. They also can be used for all sorts of things, from simple decorating to personalized accessorizing. Fabric roses can be made out of any old fabric you've got lying around, even just scraps from previous projects. Turn your extra fabric into something cute and fun by making some fabric roses!
Steps
Making a Basic Fabric Rose
-
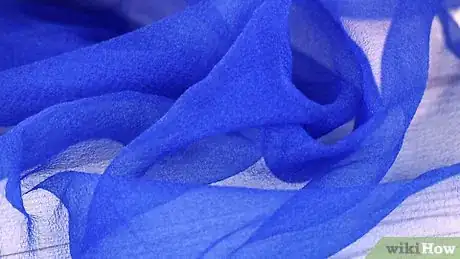
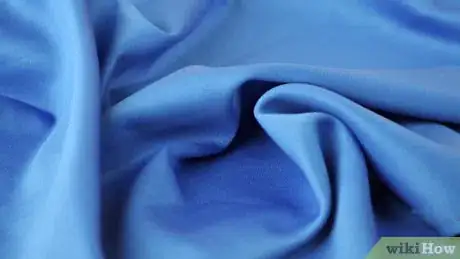
1Gather your materials. For a basic fabric rose, you'll need some fabric (no more than a foot or two should be necessary), scissors, a needle and thread, and a hot glue gun.
-
2Cut out 6 to 8 petals in two sizes. Cut the fabric into petal shapes. You'll want some of the petals to be slightly larger than others. Make half of them smaller, and half of them larger.
- To make petal shapes, cut the fabric into ovals, then cut off one of the ends of the ovals.
Advertisement -
3Line the petals up. Lay the petals in a line so that they all overlap each other a little. Place the smaller petals at the beginning and the larger ones at the end.
-
4Sew the petals together. Sew along the bottoms of the petals, using loose, longer stitches.
-
5Gather the petals together. Pull the running stitch a little to gather to petals in a bunch. Tie a knot where the flower petals are gathered to keep them bunched up.[1]
-
6Gather the rose together. Bring the edges of the petal row together to form a circle. Make sure the bottom edges are aligned. You should have a circular flower with all the petals facing outward.
-
7Glue the rose. Take a low-temp glue gun and apply a little glue on the bottom of the rose. You want to glue together all the ends of the petals, where they all meet in the center.
-
8Cover the bottom of the rose and add a pin. Attach a small piece of felt to the bottom with hot glue to hide all the rough edges. Then you can run a safety pin through the bottom to wear the rose as a brooch.[2]
Making a French Pouf Rose
-
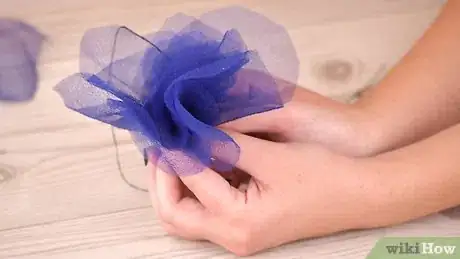
1Gather your materials. To make a French Pouf rose, you'll need a few feet of fabric, scissors, and a hot glue gun.
-
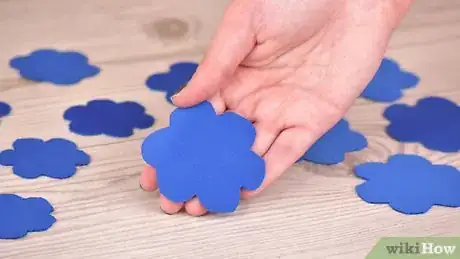
2Cut out the flower shapes. Draw a basic flower shape on a piece of fabric the size that you want our flower to be. It can be as large or small as you'd like, but working with flowers smaller than about two inches across will be difficult. Around 4" will work well. Cut along the line. Then use the first flower shape to trace the same shape on four to nine other pieces of fabric. Cut out all the flower shapes.
- To draw a flower shape, start with a circle, then draw half circles around the circle. If you want, you can print out and use of the templates provided here http://www.oneprojectcloser.com/make-fabric-flowers-tutorial/.
- How many flower shapes of fabric you use depends on how thick the fabric you're using is. Make fewer when using thicker fabric.
-
3Prepare the base. Cut out a small circle of fabric. If you cut your flower shapes around 4" wide, a 2" inch wide circle will do. Place a dot of hot glue in the center of the circle.
-
4Place the first flower shape. Fold one of the flower shapes in half. Place the edge of the flower on the dot of hot glue so that when the flower is unfolded it is centered on the circle
-
5Glue the rest of the flower shapes. For each of the other flower shapes, place another dot of hot glue in the center of the flower, fold the flower shape in half, and place it on the hot glue. Rotate the base slightly in between gluing each flower shape so that the shapes aren't aligned. Stop before you use the last two of your flower shapes.
-
6Add the final petals. For the final two flower shapes, fold them in half, then push the two outer edges inward so that they touch. Do this with both of the last flower shapes. Then glue them to the center of the flower.[3]
-
7Fluff the petals so that it looks more like a flower. If your fabric rose is lying a little flat, you can use your fingers to ruffle and wrinkle the petals. That way it looks more flower-like.
Making a Button Rose
-
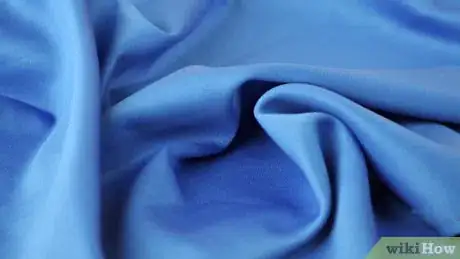
1Gather your materials. For a rose with a button in the middle, you'll need at least a foot of fabric, a hot glue gun, and something to put in the center (like a button, a pin, or a small gem).
-
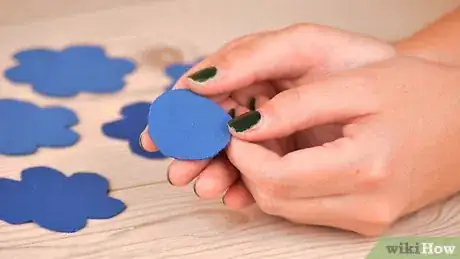
2Cut your petals. Cut out 12 petal shapes out of the fabric. Make 6 about an inch long, and 6 a little less than an inch long.
-
3Pinch and glue the petals. For each petal, pinch the base and put a dot glue to secure it like that.[4]
-
4Glue the large petals to a base. First, cut out a small circle from the fabric for the base of the rose. Then glue all of the pinched bases of the petals to the center of the circle.[5]
- The circle you use for the base should be something around 1" to 2" wide.
-
5Glue the smaller petals on. Glue each of the smaller petals on to their larger counterparts. Be careful not to burn yourself with the glue.
- You can either glue the petals directly over the large petals or you can place them so that they point out at a different angle.
-
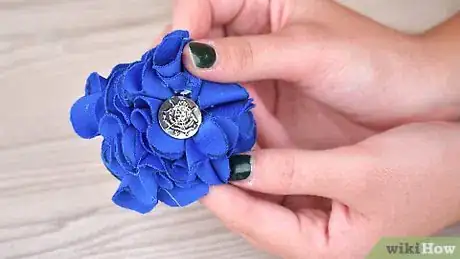
6Add the button and a pin. Glue the button or other center piece to the middle of the rose. If you want, you can attach a safety pin to the back of the flower to use it as a brooch.[6]
References
- ↑ http://www.mazkwok.com/2012/09/denim-flower-tutorial.html
- ↑ http://www.mazkwok.com/2012/09/denim-flower-tutorial.html
- ↑ http://www.oneprojectcloser.com/make-fabric-flowers-tutorial/
- ↑ http://www.thehouseofsmiths.com/2010/09/fabric-flower-tutorial.html
- ↑ http://www.thehouseofsmiths.com/2010/09/fabric-flower-tutorial.html
- ↑ http://mrspriss.com/2010/05/18/classic-felt-flowers-tutorial/
About This Article
To make a fabric rose, cut fabric into 6 to 8 petal shapes in 2 different sizes so that some petals are larger than others. Next, starting with the smaller petals, line the petals up so that they overlap and sew along the bottom. Then, pull the running stitch to bunch the petals and tie a knot where the petals are gathered. Form a circle by aligning the bottom edges and apply glue to the bottom of the rose. Finally, glue a piece of felt to the bottom to cover the rough edges and add a pin. For more guidance, including how to make a French Pouf rose, keep reading!
