Forging your very own homemade weapon for any adventure
X
wikiHow is a “wiki,” similar to Wikipedia, which means that many of our articles are co-written by multiple authors. To create this article, 22 people, some anonymous, worked to edit and improve it over time.
There are 8 references cited in this article, which can be found at the bottom of the page.
This article has been viewed 103,026 times.
Learn more...
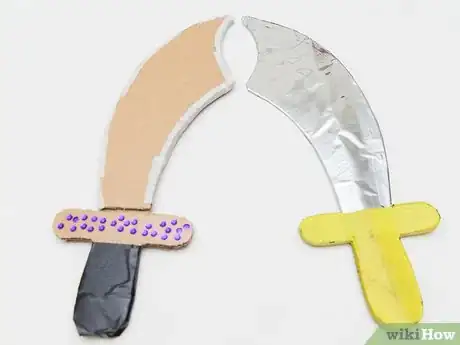
Whether you're a swash-buckling pirate or a fearsome samurai, you'll need a trusty, flashy sword to accompany you on your adventures. They're easy to make, and the only limit is your imagination. All you'll need is some cardboard, tape or glue, and whatever decorations you can find. Then, we'll help you cut, decorate, and use the sword you forged yourself.
Things You Should Know
- Select a sword design and use a pencil or marker to trace it onto a piece of cardboard.
- Cut out your sword with scissors. Cut out 2 copies and glue them together for a stronger sword.
- Wrap your sword in tin foil to give it a steely shine, and decorate it with beads, plastic jewels, or drawings.
- Cover the hilt in masking tape to make a secure, comfortable grip.
Steps
Part 1
Part 1 of 3:
Cutting Out a Sword
-
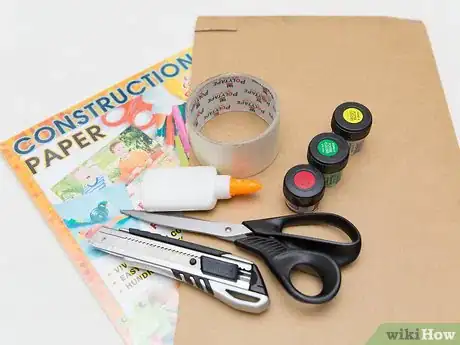
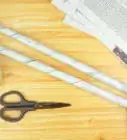
1Gather sufficient materials. Above anything else, you'll need cardboard for this project. Your cardboard should preferably be thick, and in large enough pieces that you can make the sword in one piece. Other than that, the only necessary thing is a set of scissors. Other things, like markers, paint, masking tape or construction paper, can and should be added to suit the design of your sword. Gather as many of these ingredients as you can. Even if you don't end up using all of it, it's still useful to have nearby just in case.
- If you don't have enough cardboard, a nearby store (such as a liquor store) may be willing to give you some of their spare boxes.
-
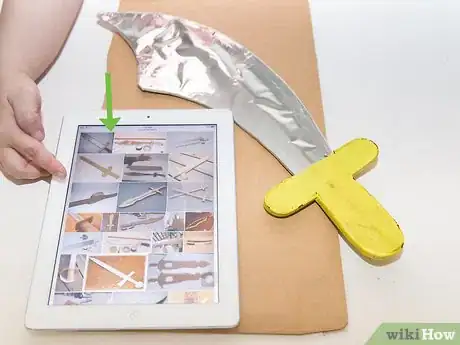
2Look into different types of swords. Even if you already have an idea what you want your sword to look like, it doesn't hurt to research some different kinds of swords. The different visuals designs are bound to factor into your own design, resulting in a more nuanced and interesting weapon. There are lots of sites online that compare and contrast swords, and historical encyclopedias should have a section on weapons you can browse for inspiration.[1]
- Cardboard sword designs are also available, whether as templates or finished examples. Taking a look at what other people have made with cardboard will give you inspiration.[2]
- Note the difference between one-handed, two-handed, and one-and-a-half-handed (colloquially known as 'bastard') swords. Swords were originally designed with weight considered. Due to how much lighter cardboard is than metal, you'll be able to play around with potentially bigger sizes than if you were smithing a real sword.
Advertisement -
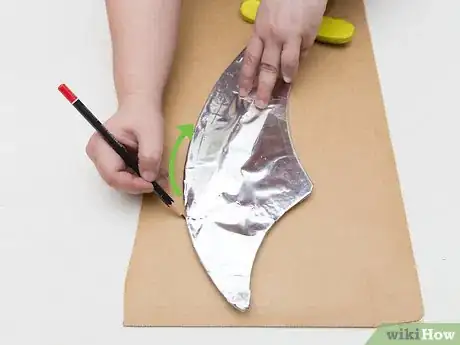
3Design and draw your sword outline. Once you've chosen a sword design, it's time to carve out the outline. Using a marker, draw out the sword on a piece of cardboard, using the exact dimensions you'd like your sword to be. Whether it's a small dagger-type blade or a major two-handed affair, all of this will be decided in the outline you draw. Remember to include a guardrail if your design suggests it, and leave enough room on the hilt to comfortably fit your hands.
- Swords all end with a pointed tip, so work that into your design as well.
- Put your hand (clenched into a fist) up against the cardboard to see approximately how much space you'll need for your hilt.
- You should play around with some conceptual designs on paper before setting don to trace one out for real. A well-thought out design will be a lot more fun to use.
-
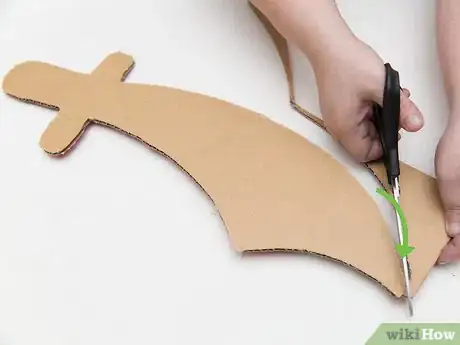
4Cut out your sword. once the outline is in place, take a pair of scissors and cut it out.[3] Try to be smooth with your cuts, as a roughly-hewn sword will look sloppy. Depending on the type of cardboard you're using, an exacto-knife may be used as well, although you're better off using construction scissors if the cardboard is corrugated.
-
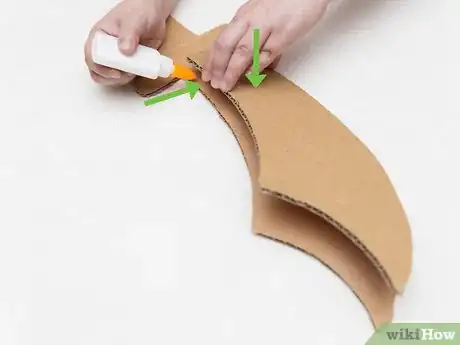
5Reinforce your sword.[4] You could technically leave your sword as an outline if you wanted, but it will soon risk breaking if you ever put it to use. Bolstering a sword with a second layer of cardboard is recommended for the sake of duelling. Put your sword cutout on a bigger piece of cardboard and trace it out. From there, cut out the tracing to make a second half. Glue the two pieces together, and cut off any excess sections that stick out from the blade outline.
- For the best stability, you can add a wooden or plastic rod to the blade section, and glue the cardboard pieces on either side of and around it. This will keep the blade from bending if it's hit too hard.[5]
-
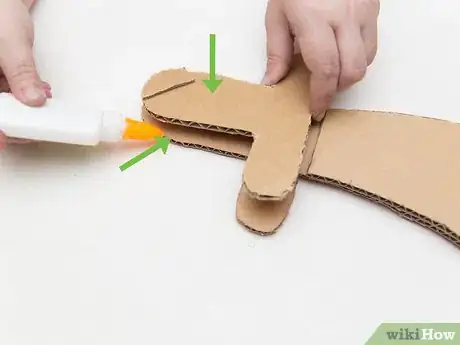
6Bolster the hilt. A sword hilt will be the part of the sword you hold when you're wielding it, so comfort should be taken into consideration as much as the look. It may be worth it to glue a third layer of cardboard on the hilt area if you think you'll need the added grip. You should verify that your hilt has enough space for your hand to grip it comfortably. If there's still not enough space, you can cut into the guard of the sword.
- If you need more hilt space and your sword does not have a guard area, you can cut into some of the blade itself. In the majority of cases where extra hilt space is needed, it'll be an inch or two at max. You shouldn't have to worry about starting a new sword from scratch if there are some issues with your current design.
Advertisement
Part 2
Part 2 of 3:
Decorating Your Sword
-
1Consider the type of sword you're going for. Even if you have your sword's shape set in stone, there are countless ways your finished product could go once it's through the decoration phase. Do you want a relatively realistic sword, or something zany and playful? Suffice to say, a spray painted blade and taped hilt will elicit a different impression than if you colour your sword with pink crayons.
- With this or any crafts project, there are no 'bad' creative decisions to be made. Take a minute to decide what you want to do, and build your decoration off of that concept.
-
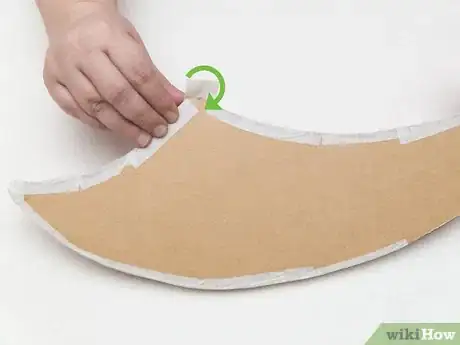
2Tape the edges. Using some duct or masking tape, tape off the edges of your sword. This is for safety's sake as much as for looks.[6] Even though no one's going to be fooled that your sword is real, you still want to create the illusion that the sword has tempered edges.
- Taping is especially important if the cardboard you're using is corrugated. Corrugated cardboard is great for stability's sake, but nothing kills the illusion of a sword more than be able to see into it!
-
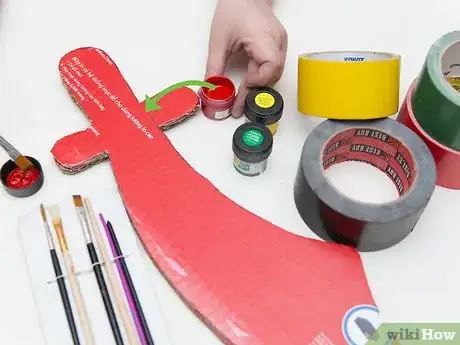
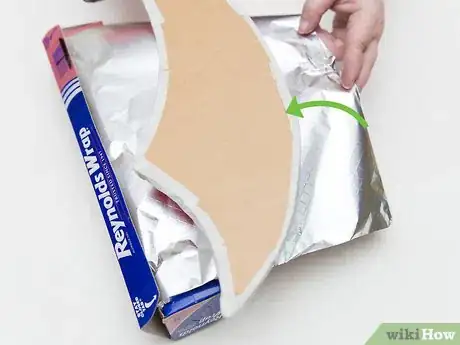
3Decorate the blade. There are many different ways you can go around decorating the blade (or metallic) part of your sword. You want to make the blade distinct from the guardrail and the hilt below it. There are many ways you can go around this. A blade can be wrapped with duct tape for a vaguely metallic look.[7] Spray paint or wrapping aluminum foil tightly around the blade are arguably the best homemade solutions for a blade look.[8]
- In the end, the artistic choices are completely up to you. You might even draw a pattern on the blade if you're not too concerned with realism.
- It may be prudent to draw up some concept art on a separate sheet of paper so you'll have a guide to work off of.
-
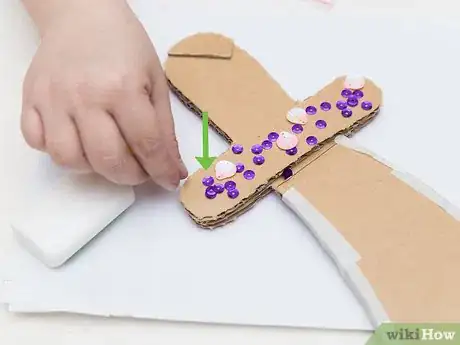
4Detail the guardrail. Many historical swords took the guardrail and hilt as opportunities to express some artistic creativity. You may want to do the same with your own sword. If your guardrail is large enough, you can get to work on an elaborate design, or glue decorations (like crafts gems) onto it.[9] Sword designs can be done as creatively and as colourfully as you'd like. The only thing to limit you is your imagination.
- For example, you could outline a guardrail pattern in pencil, and trace the outline with permanent marker once you're happy with it.
- A realistic sword should be minimal on the ornaments. After all, you still may want your sword to look slightly dangerous.
-
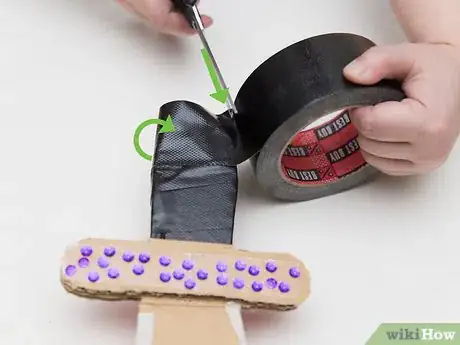
5Furnish the hilt. Because a hilt should be comfortable and distinct from the blade section, you should cover your hilt with masking tape. This will approximate the look of a real sword hilt, and give a much better grip than plain cardboard. The tape should be wrapped from just below the guard to the bottom of the hilt. Following this, you can draw upon the tape if you still want your hilt to be decorated somehow.
Advertisement
Part 3
Part 3 of 3:
Putting Your Sword to Use
-
1Get a friend to make a sword. What's a swordsman without an opponent to duel with? If you want, you can repeat the prior steps and make a second sword. It's usually more fun to get a friend to make one of his own however. That way, your duel will be a test of your craftsmanship as well as your duelling skills.
-
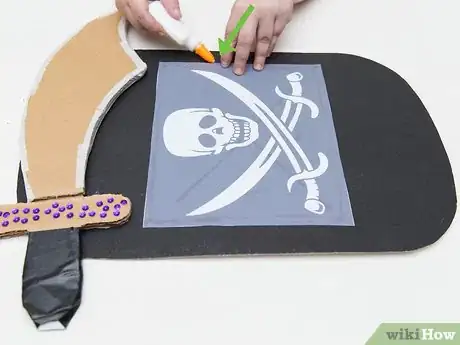
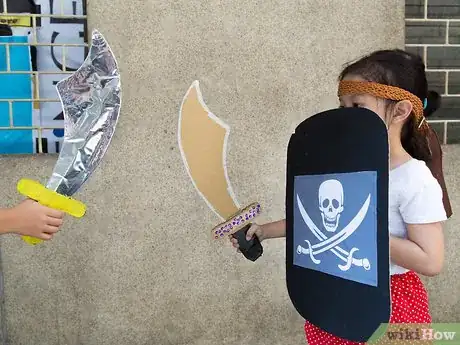
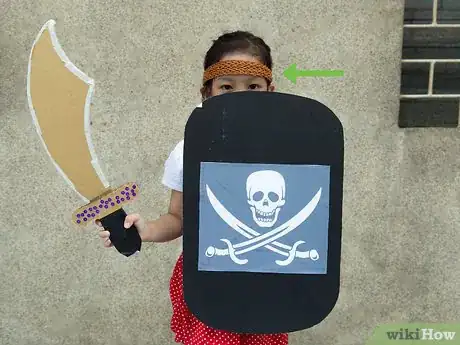
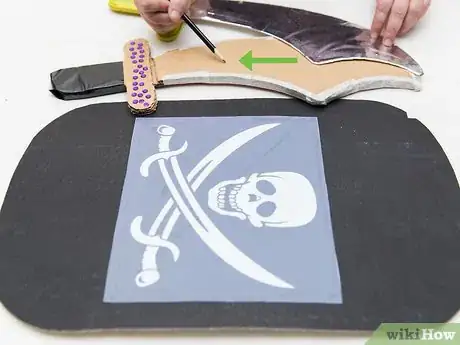
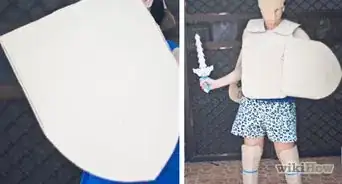
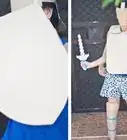
2Make cardboard armour. Now that you have a sword, you could go the extra mile and make matching armour to boot. Armour may constitute a breastplate, grieves, gauntlets and even a shield. Part of the fun is thinking up ways to transform the cardboard you have into functional pieces of armour, but plenty of fancy designs are available online as well.
- Don't forget to decorate your armour! Anything from felt-tipped markers to glued-on construction paper can liven up your cardboard and bring the armour to life.
- If you're tired of working with cardboard, you can make great looking armour sets using crafts foam.[10]
-
3Duel with a friend. Duelling is possibly the most enjoyable part of having a sword. It allows you to put your sword design to the test. If your friend has a cardboard sword of his own, you should lay down some quick ground rules and jump into it. Duels are most enjoyable when there are rules of how to win. Going in blindly usually results in the swords being swung as hard as possible and getting broken within the first couple of minutes.
- Bear in mind that the swords are relatively fragile when compared to real swords, and they should be used with that in mind.
- Start a cardboard fighting group if the idea interests you enough. There are already groups in existence where people meet up and play fight with cardboard weapons. Instead of starting one of your own with friends, you can look online to see if there's already a group in your city.
- Working some kind of live-action roleplaying (or LARPing) into the game can be fun if you're interested in fantasy or Medieval history.
-
4Apply your sword to a costume. Cardboard swords are perfect for use in costumes and events like Halloween. Even if you have a costume in mind that doesn't necessarily befit a sword, feel free to mix and match ideas.[11] You might be surprised at the response you get when you combine unexpected ideas together.
-
5Develop an improved sword design. Now that you're relatively experienced in the art of sword craft, you might go back to the drawing board and make a better kind of sword. Consider what was good and bad about the sword you made. If you were to make one again, what would you improve? There's nothing so helpful as hands-on experience, and you'll probably find the second sword is a lot easier (and more enjoyable) to make, now that you know precisely what you're doing.
Advertisement
References
- ↑ http://medievalswords.stormthecastle.com/ten-types-of-swords.htm
- ↑ http://makezine.com/2013/09/27/the-art-of-the-halloween-costume-cardboard-sword/
- ↑ http://www.creatifulkids.com/cardboard-sword/
- ↑ http://www.stormthecastle.com/how-to-make-a/cardboard-prop-swords/how-to-make-a-cardboard-sword.htm
- ↑ http://www.stormthecastle.com/how-to-make-a/cardboard-prop-swords/how-to-make-a-cardboard-sword.htm
- ↑ http://www.stormthecastle.com/how-to-make-a/cardboard-prop-swords/how-to-make-a-cardboard-sword.htm
- ↑ http://30minutecrafts.com/2014/03/duck-tape-sword-shield.html
- ↑ http://www.stormthecastle.com/how-to-make-a/cardboard-prop-swords/how-to-make-a-cardboard-sword.htm
- ↑ http://www.creatifulkids.com/cardboard-sword/
Community Q&A
-
QuestionCan it be longer, like katana style?
 Community AnswerIf you have enough cardboard to make it in one piece, then it would most likely work. If it is too long, however, it may be flimsy, so make sure your cardboard is also thick.
Advertisement
Warnings
- Cardboard swords are relatively safe and harmless to duel with, but you can still hurt someone by thrusting it with enough force. If you plan on play fighting with the swords, have consideration for the person you're dueling with.⧼thumbs_response⧽
- It should go without saying that cardboard swords won't stand up to abuse like their real-life counterparts. They are usually fine to duel with other cardboard swords provided you bolster them as per the instructions, but they're likely to break or bed if they're bashed hard enough.⧼thumbs_response⧽
Advertisement
About This Article
Advertisement
