X
This article was co-authored by wikiHow Staff. Our trained team of editors and researchers validate articles for accuracy and comprehensiveness. wikiHow's Content Management Team carefully monitors the work from our editorial staff to ensure that each article is backed by trusted research and meets our high quality standards.
This article has been viewed 48,652 times.
Learn more...
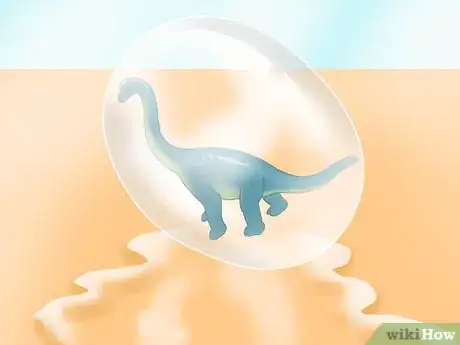
It's fun to make your own dinosaur eggs at home. There are various methods you can use, but each needs only a few simple materials. You could display the dinosaur eggs, or hide them and encourage children to go on a dinosaur hunt in your backyard or in a park.
Steps
Method 1
Method 1 of 3:
Making Plaster of Paris Eggs
-
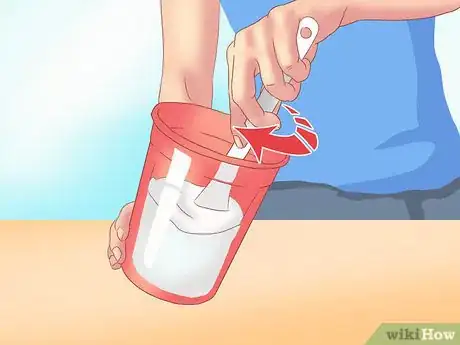
1Mix the plaster. Plaster of Paris can be purchased from many craft stores. Mix 1 cup of plaster compound with ½ cup water. This should provide enough plaster for several eggs. Stir the mixture until it has a smooth and creamy texture, like a thin milkshake.
- Do not pour excess plaster of Paris down the drain, as it can harden and clog pipes.
-
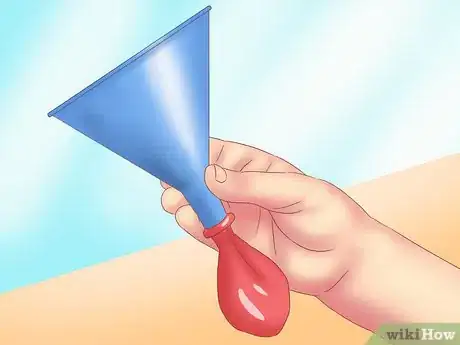
2Insert a funnel into the end of a balloon. Regular latex balloons and an ordinary kitchen funnel will work just fine. Make sure to insert the end of the funnel far enough into a balloon so that it won’t fall out or spill the plaster.
- Alternatively, you could fill a clean squeeze bottle with plaster of Paris so that you can squirt it into the balloon.
Advertisement -
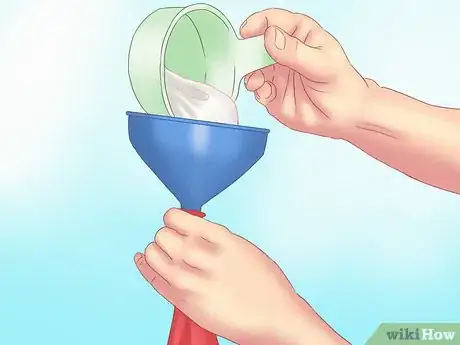
3Put the plaster inside the balloon. Carefully spoon the plaster of Paris mixture into the funnel so that it pours into the balloon (or use a squeeze bottle to fill it). Fill the balloon until it is nice and round. Be careful not to fill the balloon so much that it can burst.
-
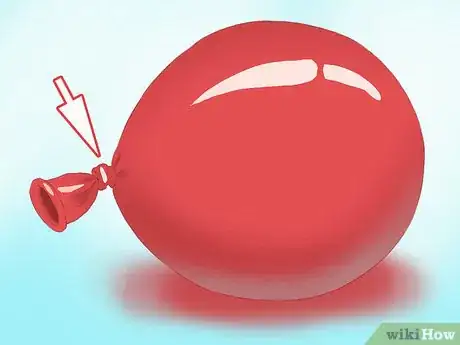
4Tie the balloon. Remove the funnel, taking care not to spill the plaster out of the balloon. Close the end of the balloon with a tight not and/or tie it closed with a piece of string.
-
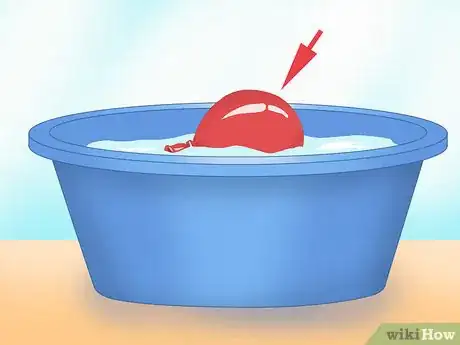
5Float the balloon. Place the tied-up balloon in a bucket of water while the plaster of Paris sets. This ensures that you do not have a dinosaur egg that is flat on one side. The setting process may take up to several hours (follow the plaster of Paris package instructions for details).
-
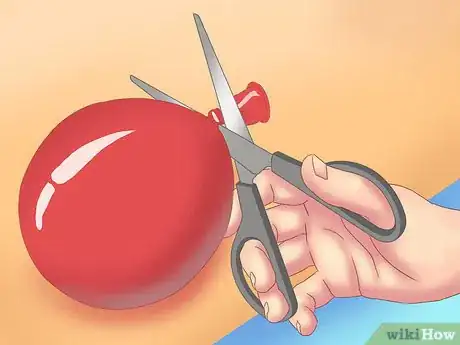
6Cut away the balloon. Dry the balloon and cut the end off. Carefully cut or peel the rest of the balloon off. Smooth out any rough spots with sandpaper.
-
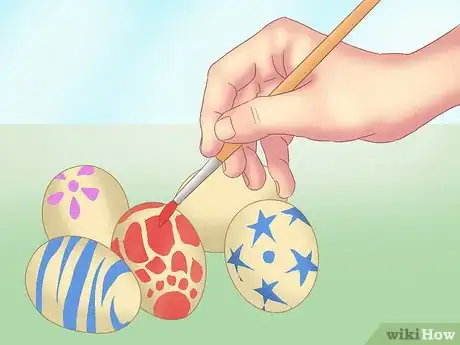
7Decorate your eggs. Let the plaster of Paris eggs dry for about 24 hours. Then, you can decorate them with paint, glitter, etc. Have fun and use your imagination!
Advertisement
Method 2
Method 2 of 3:
Crafting Hatching Eggs
-
1Gather small dinosaurs. You can create “hatching” dinosaur eggs by forming a non-edible dough around plastic dinosaur toys. Once the dough dries, you can have fun cracking the eggs open to “hatch” the toys. Small plastic dinosaurs can be found in many toy stores.
-
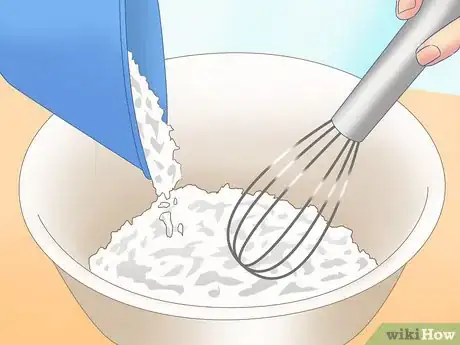
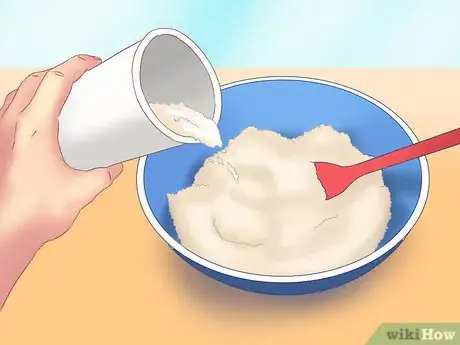
2Mix dry ingredients. Prepare to make your eggs by mixing together 2 ½ cups flour, 2 ½ cups dirt, 1 cup sand, and 1 ½ cups salt. Make sure that the dry ingredients are thoroughly and evenly mixed. This will make the base for a dough.
-
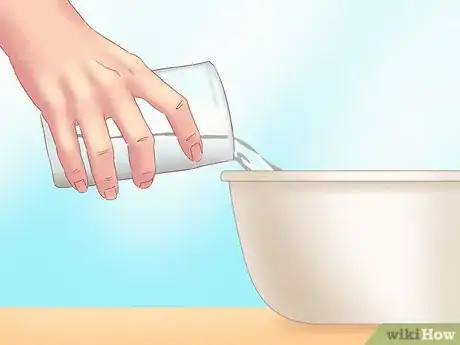
3Add water. Gradually add clean water to the dry ingredients. Stir as you pour just a little bit at a time. The exact amount of water to add depends on the type of dirt you are using and the humidity in your area. In any case, stir in enough water that the dry ingredients stick together so that they can be formed into egg-shaped clumps.
-
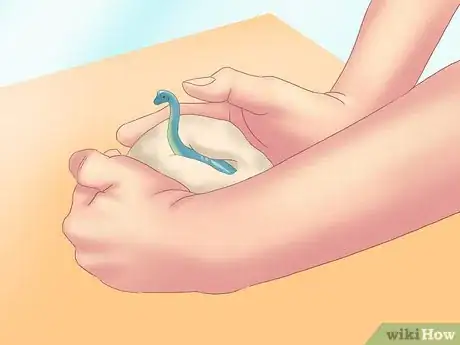
4Enclose the plastic dinosaurs. Take each plastic dinosaur and wrap it in some of the dough. Make sure to completely enclose each dinosaur. Using your hands, form the clump of dough into an egg shape.
- You can dip your fingers in water and rub them over the eggs to smooth them out, if you want.[1]
-
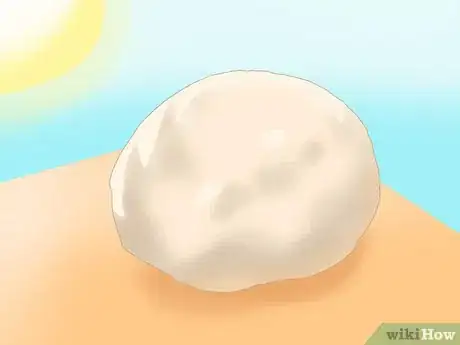
5Let the eggs dry. It may take several days for your dinosaur eggs to dry hard to the touch, depending on how wet the dough was, and on how high the humidity in your area is. Leave them in a safe, dry place while you wait.
- Dry your eggs in the sun if it is warm in your area, but bring them in at night.
- Rotating your eggs occasionally can help them dry evenly.
- You can speed the drying process by placing the eggs in an oven set to 200 degrees Fahrenheit for approximately 4 hours, turning them every half hour. After the first hour, set the eggs on a rack on top of a baking sheet to help them dry more evenly.[2]
-
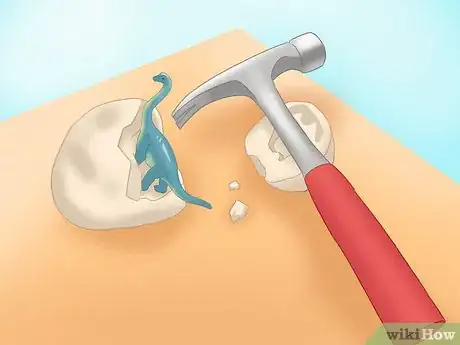
6Crack the eggs. The thoroughly dry eggs can be cracked open using a hammer to “hatch” the dinosaur inside. You can have fun by hiding the dinosaur eggs in your yard or a park, then letting children hunt for them and crack them open.
Advertisement
Method 3
Method 3 of 3:
Trying Variations
-
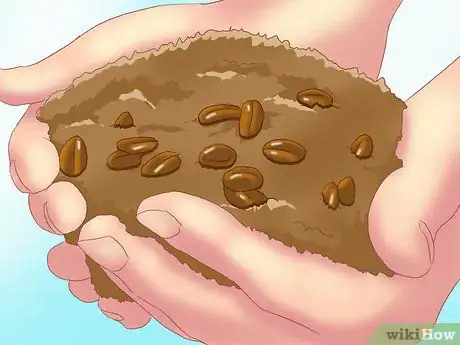
1Use coffee grounds instead of dirt.[3] Coffee grounds can provide a nice texture for your dough, and are more sanitary than dirt. Simply follow a recipe for dinosaur egg dough, but replace some or all of the dirt with coffee grounds.
-
2Make fizzing dough.[4] You can add a fun fizzy factor by using 1 cup of baking soda (instead of 1 cup of salt) in your dinosaur egg dough.[5] As you crack open the dried eggs, set them in a dish of vinegar (or citric acid).[6] The baking soda will react with the vinegar, causing fizzing and foaming.
-
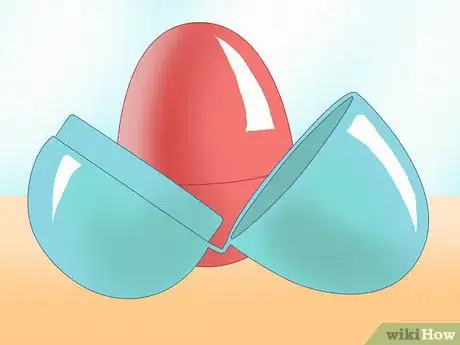
3Shape the eggs using plastic eggs.[7] You can create dinosaur eggs by filling plastic Easter eggs with whatever dough mixture you are using. Once the plastic egg is full, close it to squeeze out excess dough. Open it again, and remove the dough egg. Let the eggs dry thoroughly, and crack them open. While these eggs will be relatively small, they will have a uniform appearance.
-
4Make frozen dinosaur eggs.[8] Take a small plastic dinosaur and place it inside an empty balloon. Fill the balloon with water using a faucet or funnel, then tie it closed. Place it in the freezer. Once it is fully frozen, cut the balloon away to reveal a frozen dinosaur egg! Have fun melting the eggs to “hatch" the dinosaurs inside.
Advertisement
Community Q&A
-
QuestionWhat can I use to replace flour that isn't cornstarch?
 T. ChinsenTop AnswererIf you are not using the recommended items in the article, you may run into problems. You could try a paper mache version using toilet paper instead of newsprint for a finer texture. With any glue mix, you may want to coat the toy with plastic wrap or vegetable oil to prevent the paper mache from getting stuck on the toy.
Advertisement
References
- ↑ http://www.bystephanielynn.com/2014/06/how-to-make-dinosaur-fossil-rocks-passport-to-imagination-kids-crafts.html
- ↑ http://www.bystephanielynn.com/2014/06/how-to-make-dinosaur-fossil-rocks-passport-to-imagination-kids-crafts.html
- ↑ http://www.bystephanielynn.com/2014/06/how-to-make-dinosaur-fossil-rocks-passport-to-imagination-kids-crafts.html
- ↑ http://www.growingajeweledrose.com/2013/04/dinosaur-activities-for-kids-eggs.html
- ↑ http://pagingfunmums.com/2013/05/15/diy-dinosaur-eggs/
- ↑ http://www.funathomewithkids.com/2013/10/diy-bath-bombs-magic-hatching-dinosaur.html
- ↑ http://www.adventure-in-a-box.com/dinosaur-egg-hunt-hatch/
- ↑ http://littlebinsforlittlehands.com/frozen-dinosaur-eggs-ice-excavation-sensory-play/
About This Article
Advertisement
