This article was co-authored by wikiHow Staff. Our trained team of editors and researchers validate articles for accuracy and comprehensiveness. wikiHow's Content Management Team carefully monitors the work from our editorial staff to ensure that each article is backed by trusted research and meets our high quality standards.
This article has been viewed 8,390 times.
Learn more...
This wikiHow teaches you how to install the Jenkins automation server on your computer. Jenkins is an open-source, Java-based automation server that allows you to automate your software development process with continuous integration. While writing and checking in code as a developer, you can use Jenkins to easily automate the non-human functionalities like build, test, deploy, package, and integrate. It's free software, and you can easily extend its functionality by writing your own Java plugins.
Steps
Using Windows
-
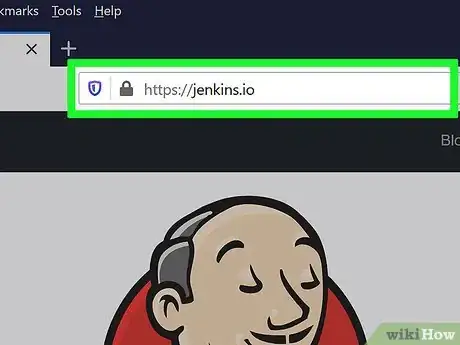
1Open the Jenkins website in your internet browser. Type https://jenkins.io into your browser's address bar, and press ↵ Enter or ⏎ Return on your keyboard.
-
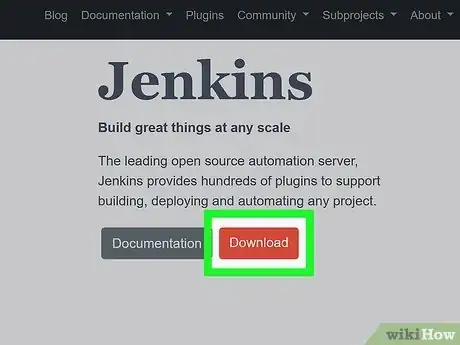
2Click the Download button. This is a red button below the "Jenkins" heading. It will open a list of all the download versions in the bottom half of the page.Advertisement
-
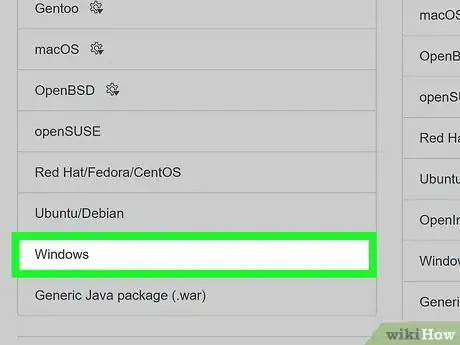
3Click Windows under the "Long Term Support (LTS)" heading. This will download a compressed ZIP file containing the latest available stable Jenkins installer.
- If you're prompted, select a saving location for the download.
- Alternatively, you can find the latest weekly release on the right-hand side column, but weekly releases may not be stable, and have small software bugs or errors.
-
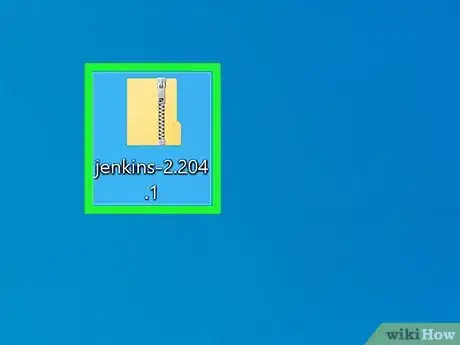
4Open the downloaded ZIP file on your computer. Find and double-click the downloaded ZIP file in your Downloads folder to open, and view its contents.
- You will find an executable (EXE) installer file in the ZIP archive.
-
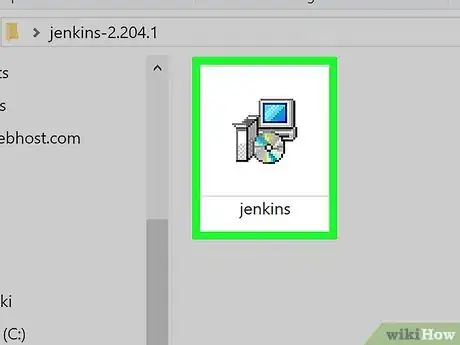
5Launch the "jenkins" installer file in the ZIP archive. This will start the setup wizard in a new window.
-
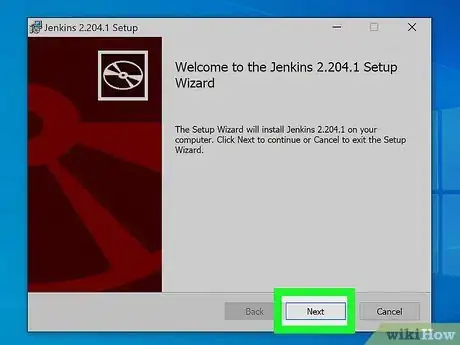
6Click Next in the installation window. This will allow you to view, change or confirm the installation location in the next step.
-
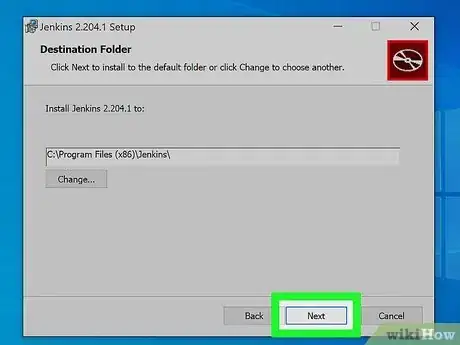
7Click Next in the Destination Folder step. This will confirm the install location.
- Optionally, you can click Change, and select a different location to install Jenkins.
-
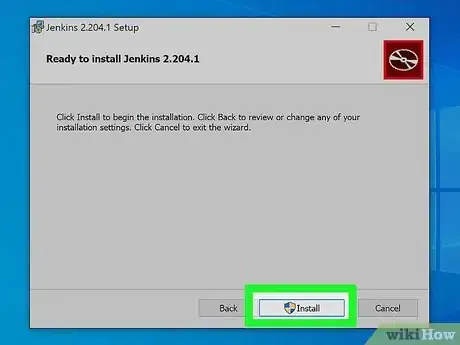
8Click the Install button in the setup wizard. This button is in the lower-right corner of the setup wizard window. It will start your Jenkins installation.
- If you're prompted by your firewall, click Yes in the pop-up window to allow the installation.
- You can track the install status on a green progress bar.
-
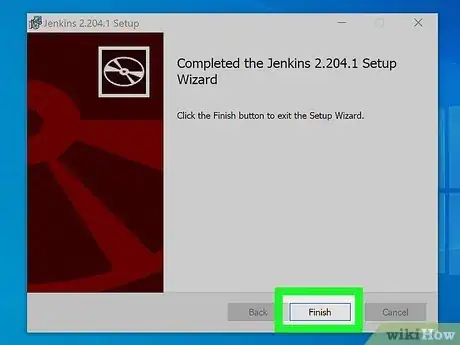
9Click Finish. This will close the setup wizard.
- You will have to complete your install configurations in your internet browser.
-
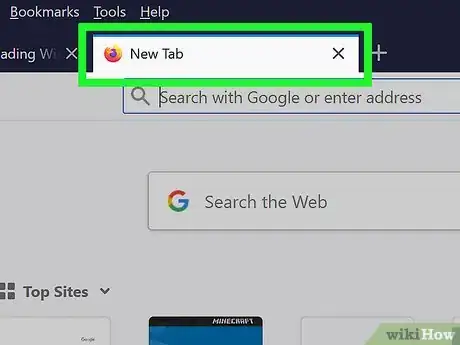
10Open a new tab in your internet browser. You can use any browser like Edge, Chrome or Firefox.
-
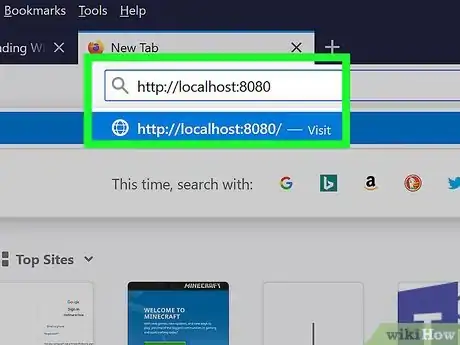
11Go to http://localhost:8080 in your internet browser. Type or paste this link into your browser's address bar, and press ↵ Enter or ⏎ Return.
- This will open the "Unlock Jenkins" page in your browser.
-
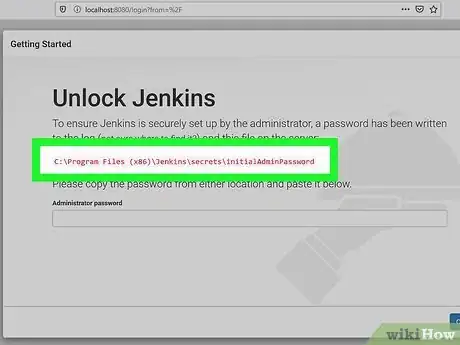
12Copy the folder directory address from the "Unlock Jenkins" page. You'll find the folder directory for your Jenkins install location written in red Unicode characters. Select and copy the address here.
- This address is often C:\Program Files (x86)\Jenkins\secrets\initialAdminPassword or a similar directory depending on your configurations.
-
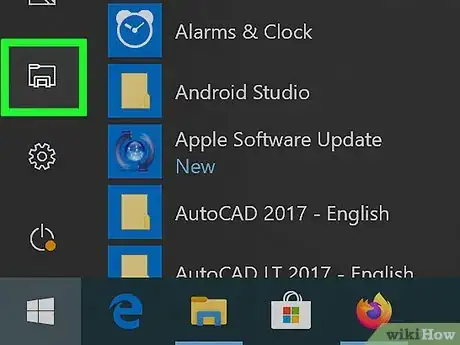
13Open a new File Explorer window. You can just open any folder on your computer to open a new window.
-
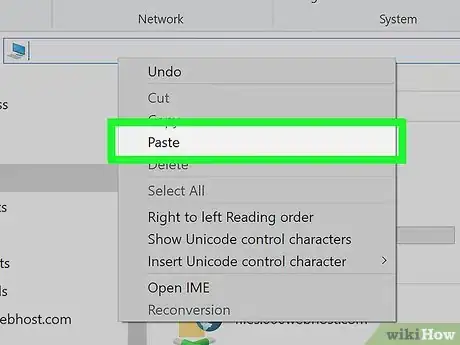
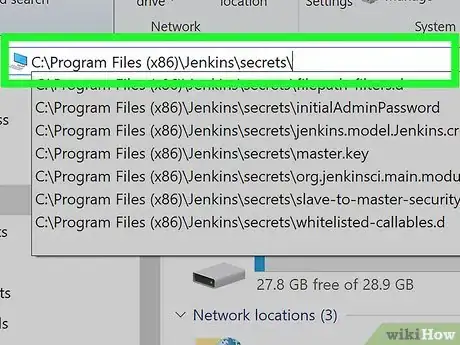
14Paste the copied folder directory into the address bar in File Explorer. Click the directory address bar at the top of your File Explorer window, and paste the copied Jenkins directory here.
-
15Delete \initialAdminPassword from the end of the link. You won't need this part to open the selected folder directory.
- This part indicates the name of the file you want to open in this folder.
-
16Press ↵ Enter or ⏎ Return on your keyboard. This will open the specified Jenkins folder in your File Explorer window.
-
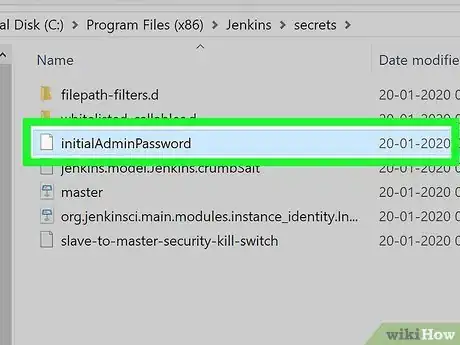
17Right-click the initialAdminPassword file. This folder contains your admin password to finish your setup.
-
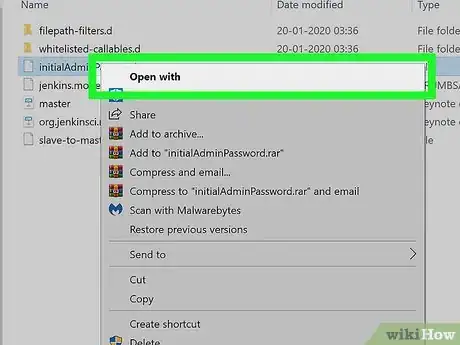
18Hover over Open with on the right-click menu. This will show the available programs you can use to open this file.
-
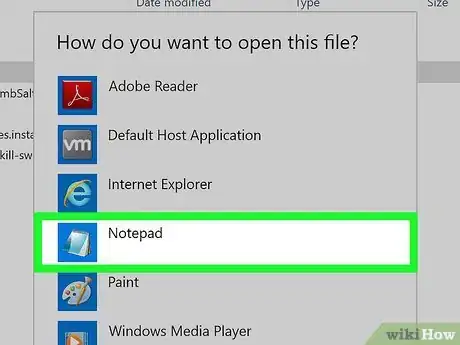
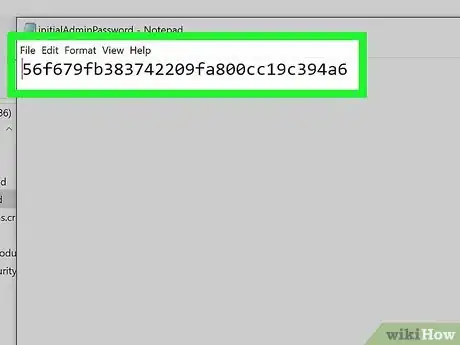
19Select Notepad or another simple text editor. This will open the file in your text editor, and show your admin password.
-
20Select and copy the password from the text file. Double-click the password in the text file to select it, right-click on the selected string to see your options, and click Copy.
- You can paste this password to the password field on the "Unlock Jenkins" page, and finalize your setup with plugin installations.
- Make sure to check out Method 4 below to see how you can finalize your plugin installations.
Using Mac
-
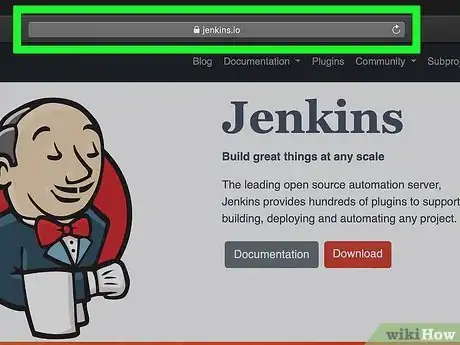
1Open the Jenkins website in your internet browser. Type https://jenkins.io into the address bar, and press ⏎ Return on your keyboard.
-
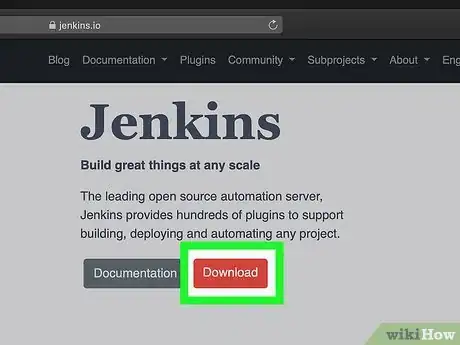
2Click the Download button. This is a red button below the "Jenkins" heading at the top. It will open a list of all the download versions at the bottom.
-
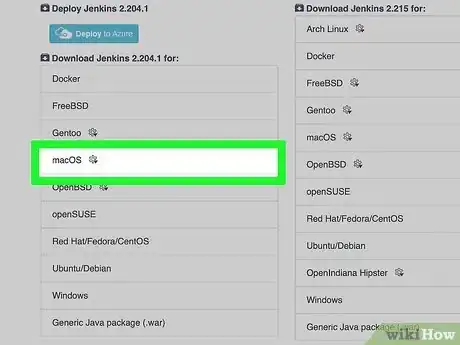
3Click the Mac OS X option under "Long Term Support (LTS)". This will download a package installer file to your Downloads folder.
- Alternatively, you can download the latest weekly release on the right-hand side column, but weekly releases may not be stable, and have small bugs or errors.
-
4Open the downloaded installer file on your Mac. Find and double-click the Jenkins PKG file in your Downloads folder to start the installation wizard.
-
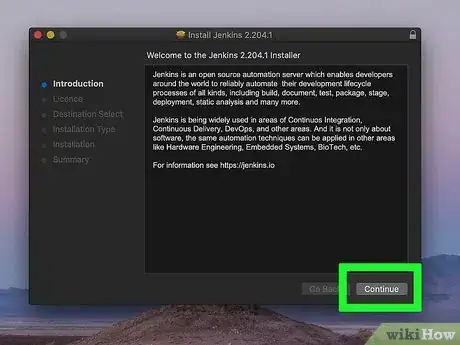
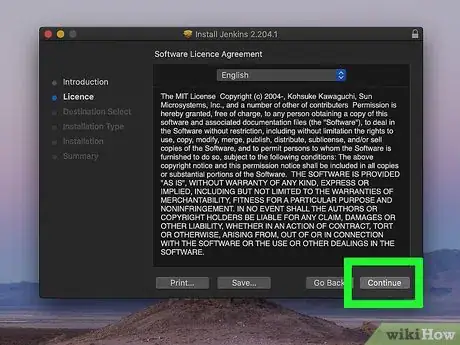
5Click Continue on the bottom-right. This button is in the lower-right corner of the installation window. It will open the license agreement on the next page.
-
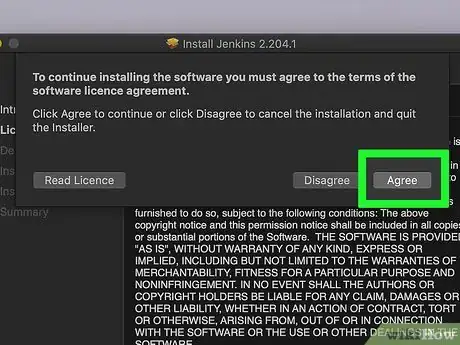
6Click Continue on the bottom-right. You'll be prompted to agree to the license terms before you can proceed.
-
7Click Agree in the pop-up. This will agree to Jenkins' license terms, and continue with the installation process.
-
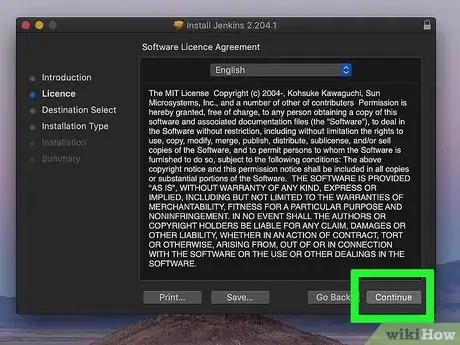
8Click Continue. This will confirm your installation location.
-
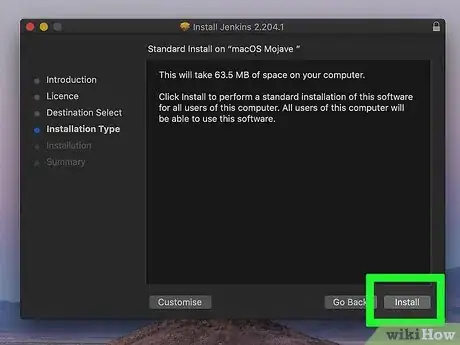
9Click the Install button. It's in the lower-right corner of the setup window.
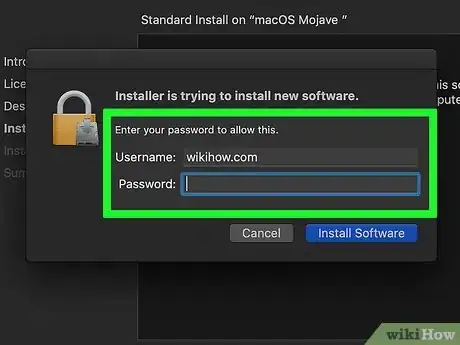
- You will need to enter your Mac's user password to begin the install.
-
10Enter your Mac's admin user name and password. This will allow you to start the installation.
-
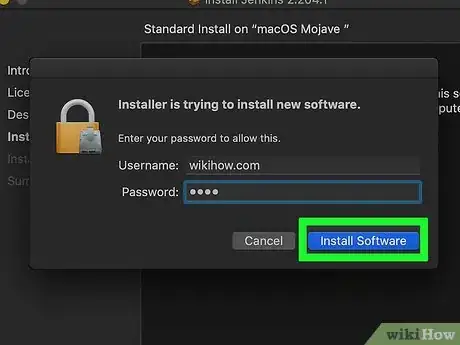
11Click Install Software in the pop-up. This will confirm your user details, and start the Jenkins installation.
-
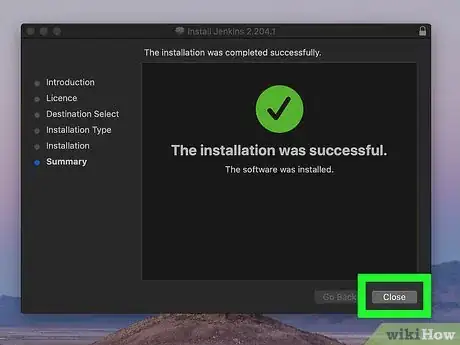
12Click Close in the setup window. This will close the setup wizard.
- When your install is finished, Jenkins will automatically open the configuration portal in your internet browser.
- If the configuration portal doesn't automatically pop up, open your internet browser, and go to http://localhost:8080 in your browser.
-
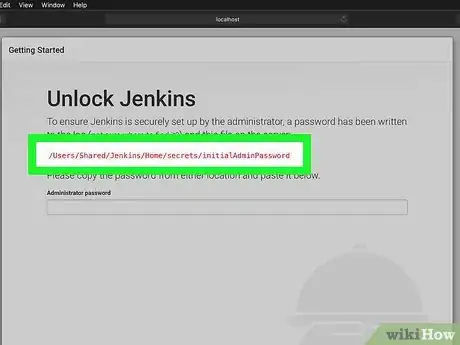
13Copy the red folder directory from the "Unlock Jenkins" page. You can find your Jenkins folder directory address written in red Unicode characters on this page. Select the full address, right-click on it, and click Copy.
- This address is often /Users/Shared/Jenkins/Home/secrets/initialAdminPassword or a similar directory.
-
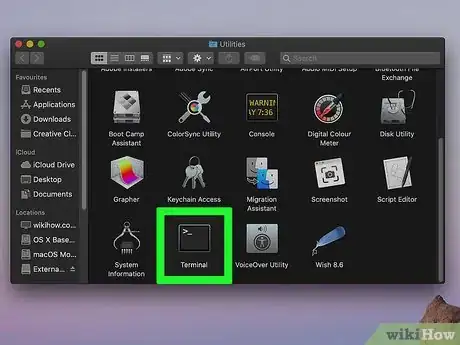
14Open a Terminal window on your Mac. Click the Applications folder on the Dock, open Utilities, and select Terminal here to open a new Terminal window.
- If you're having trouble opening Terminal, check out this article to see different ways of opening it.
-
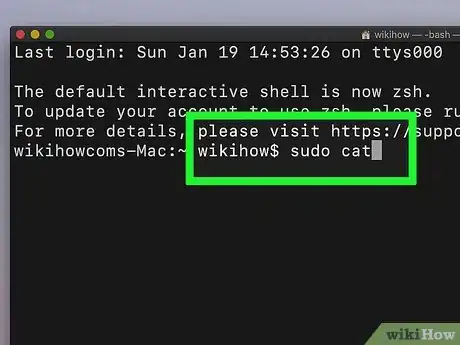
15Type sudo cat in Terminal. This command will allow you to view your initial admin password to configure your Jenkins plugins in your browser.
-
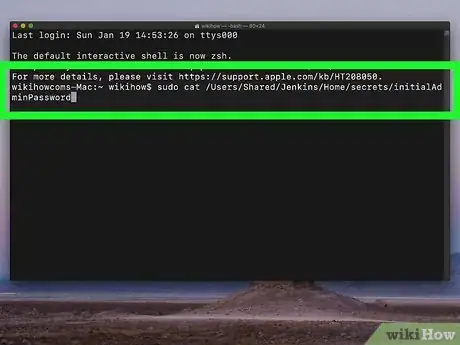
16Paste the copied folder directory at the end of sudo cat . This command will show your admin password in the Terminal window.
- The full command will look something like sudo cat /Users/Shared/Jenkins/Home/secrets/initialAdminPassword.
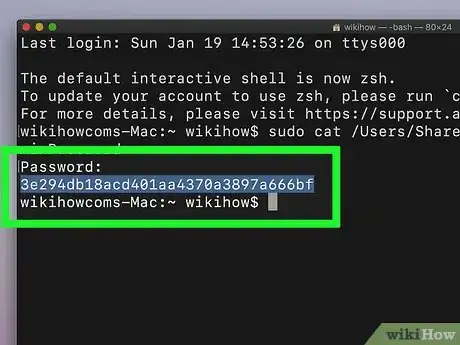
- Press ⏎ Return on your keyboard to run the command, and see your Jenkins password.
-
17Copy the Jenkins admin password from Terminal. Select the password string in the Terminal window, right-click on it, and click Copy.
- You can now paste this password on the "Unlock Jenkins" page in your browser, and finalize your installation.
- Make sure to check out Method 4 below to see how you can finalize your plugin installations.
Using Debian/Ubuntu Linux
-
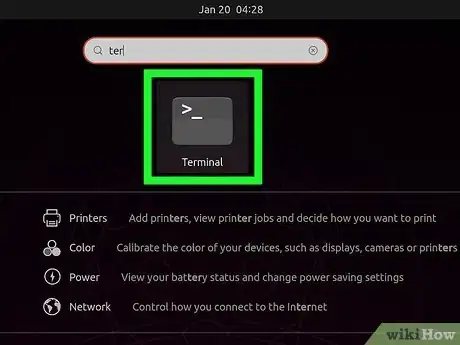
1Open a Terminal window on your computer. Click the Dash icon on the top-left corner of your desktop, and click Terminal on the app list to open a new window.
- Alternatively, you can press Ctrl+Alt+T to open the Terminal.
- If you're using a non-Debian version of Linux, you can find the specific command lines for your system on the https://jenkins.io/download page.
-
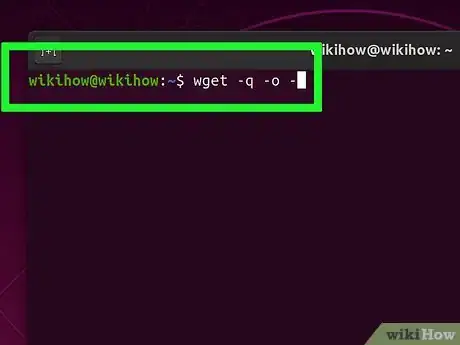
2Type wget -q -O - in Terminal. This command will allow you to add the Jenkins key to your system in order to use the official install repository.
-
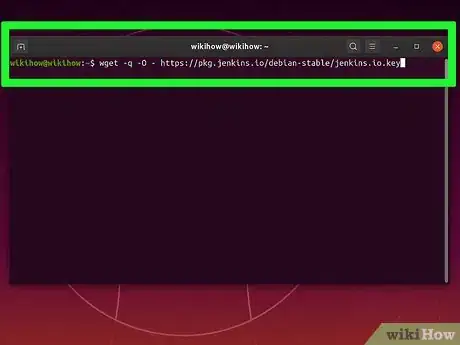
3Add https://pkg.jenkins.io/debian/jenkins.io.key. Click at the end of the Terminal command, and add this link here. It's the official key address for the latest Jenkins release.
- Alternatively, you can use the https://pkg.jenkins.io/debian-stable/jenkins.io.key link if you want the stable version instead of the latest release.
-
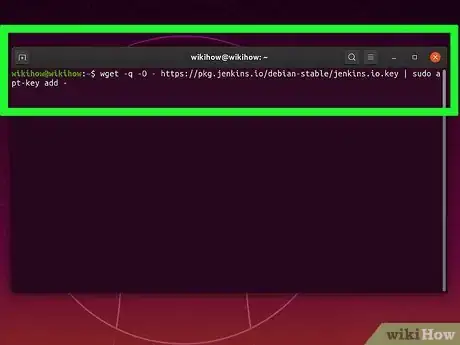
4Add | sudo apt-key add - at the end of the command. This will complete your command line to add the repository key to your system.
- The full command should now look like wget -q -O - https://pkg.jenkins.io/debian/jenkins.io.key | sudo apt-key add -.
-
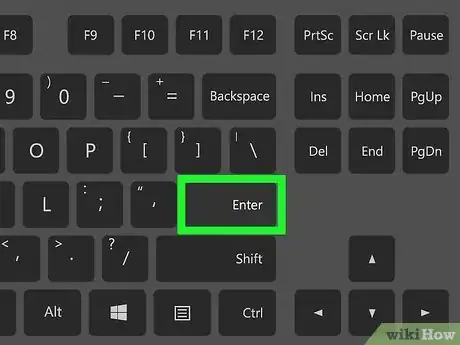
5Press ↵ Enter or ⏎ Return on your keyboard. This will run the command, and add the key to your system.
- If you're prompted, enter your admin password to proceed.
-
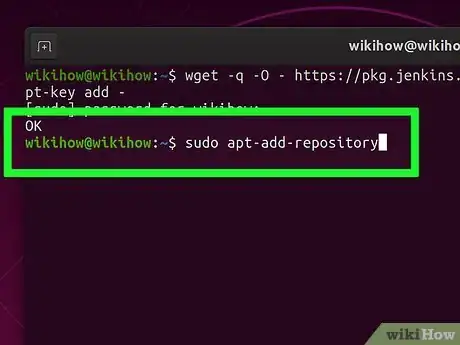
6Type sudo apt-add-repository on a new Terminal line. This command will allow you to add the official Jenkins repository to your system.
-
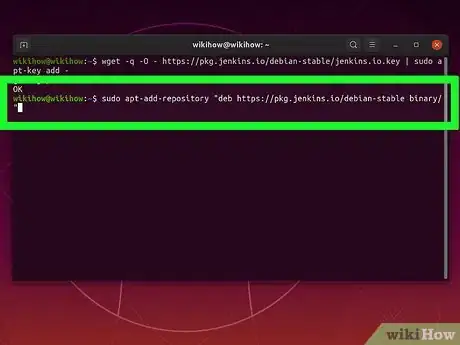
7Add "deb https://pkg.jenkins.io/debian binary/". This will now add the official Jenkins repository to your system.
- The full command should look like sudo apt-add-repository "deb https://pkg.jenkins.io/debian binary/"
- If you're going for the stable version with the stable key from the beginning, use "deb https://pkg.jenkins.io/debian-stable binary/" instead.
- Press ↵ Enter or ⏎ Return to run the full command.
-
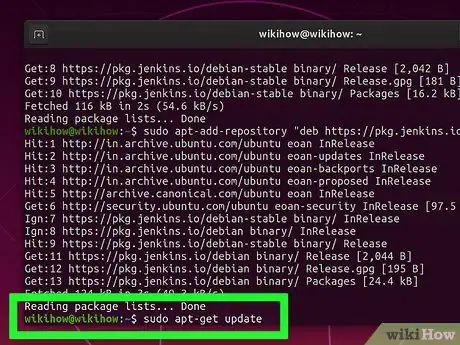
8Type and run sudo apt-get update in Terminal. This will update all your official repositories.
- You should be ready for installation after the update is finished.
-
9Type and run sudo apt-get install jenkins. This command will install Jenkins from the official repository.
- If you're prompted to install extra packages, type Y and press ↵ Enter to proceed.
-
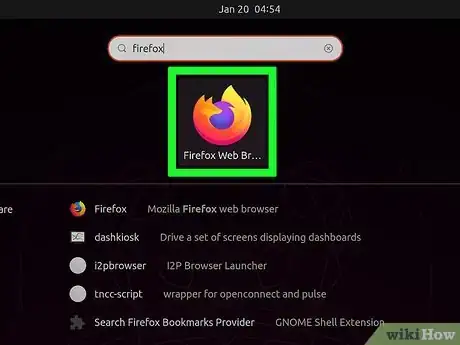
10Open your internet browser. You can use any browser like Firefox or Opera here.
-
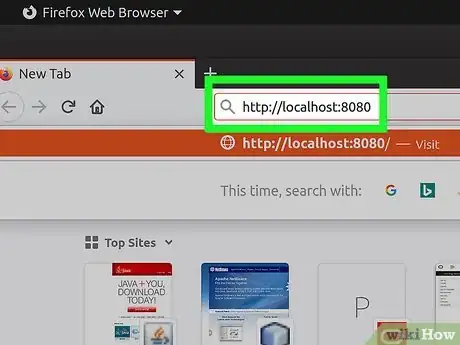
11Go to http://localhost:8080 in your browser. This will open the "Unlock Jenkins" page.
-
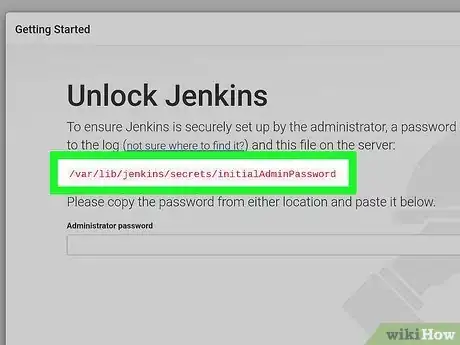
12Copy your Jenkins folder directory from the Unlock Jenkins page. You'll find your install directory in red Unicode letters here. Select and copy the full directory from the page.
- This directory will usually look like /var/lib/jenkins/secrets/initialAdminPassword.
-
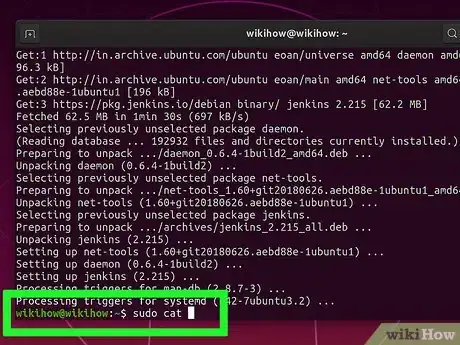
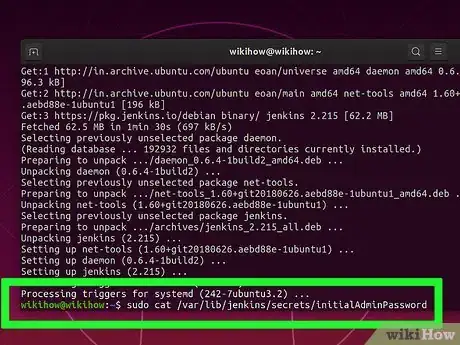
13Type sudo cat in the Terminal window. This command will allow you to read the Jenkins admin password from the specified file directory.
- Alternatively, you can use sudo gedit to view your password in a graphical text viewer interface.
-
14Add the copied directory at the end of the command. This command will read the file's contents, and show your password in the Terminal window.
- The full command should look something like sudo cat /var/lib/jenkins/secrets/initialAdminPassword.
-
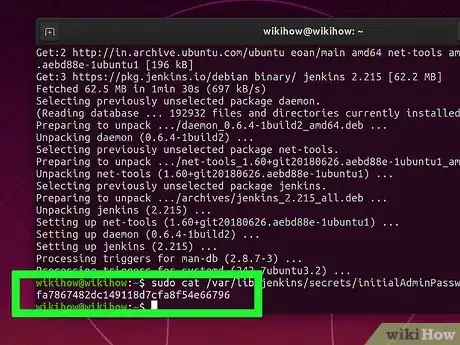
15Press ↵ Enter or ⏎ Return on your keyboard. This will print your initial admin password in the Terminal window.
-
16Copy the Jenkins password from Terminal. Select the password in the Terminal window, right-click, and click Copy.
- You can now paste the admin password on the "Unlock Jenkins" page in your browser, and finalize your installation.
- Make sure to check out Method 4 below to see how you can finalize your plugin installations.
Finalizing Setup With Plugins
-
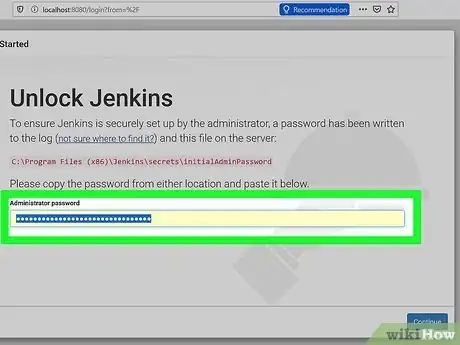
1Paste the admin password to the text field in the browser. Go back to the "Unlock Jenkins" page in your browser, right-click on the password field, and select Paste.
- This page opens at http://localhost:8080.
-
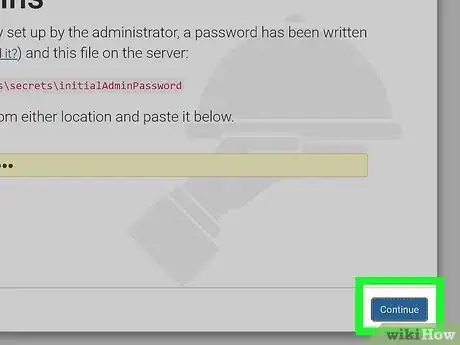
2Click the Continue button. This is a blue button in the lower-right corner of the page. It will confirm your initial admin password, and allow you to finalize your Jenkins setup.
-
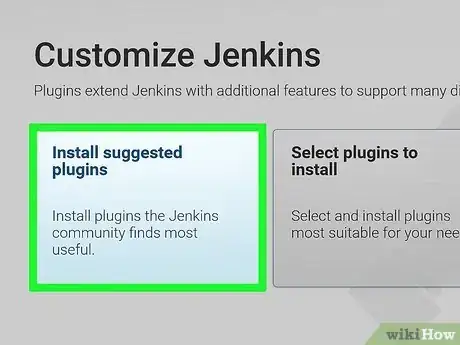
3Click the Install suggested plugins box. This option will install the most popular, useful, and crucial Jenkins plugins on your computer.
- Alternatively, you can click Select plugins to install, and manually select which plugins you want.
- You can track the plugin install on a blue progress bar.
- When your install is finished, you'll be prompted to create your first admin user for your Jenkins system.
-
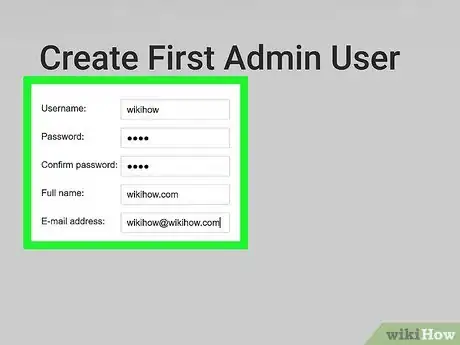
4Fill out the "Create First Admin User" form in your browser. You will need to create an admin username and password here, and enter your full name and email address.
-
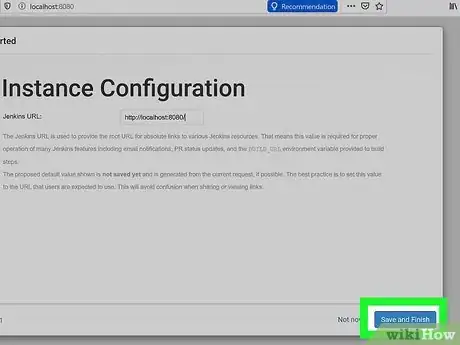
5Click Save and Finish on the bottom-right. This is a blue button in the lower-right corner of the page. It will create your first admin user, and finish your Jenkins installation.
-
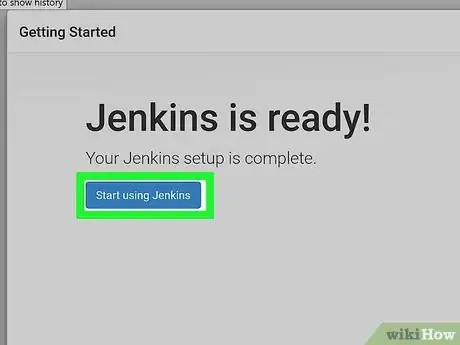
6Click the blue Start using Jenkins button. You will see a message saying "Jenkins is ready!" when your install is finished. Click this button to quit the installer, and open the Jenkins dashboard.
Warnings
- You need to have the latest version of JDK (Java Development Kit) installed on your system in order to run Jenkins. If you're not sure how to do this, make sure to check out this article for detailed instructions.⧼thumbs_response⧽
About This Article
1. Open https://jenkins.io/download in your browser.
2. Download the installer for your system.
3. Launch the installer, and follow the simple steps.
4. Open http://localhost:8080 in a browser.
5. Copy the red folder directory from the page.
6. Open the "initialAdminPassword" file in the specified directory.
7. Copy the password.
8. Paste the password on the "Unlock Jenkins" page.
9. Finalize the setup in your browser.
