X
wikiHow is a “wiki,” similar to Wikipedia, which means that many of our articles are co-written by multiple authors. To create this article, 30 people, some anonymous, worked to edit and improve it over time.
This article has been viewed 206,778 times.
Learn more...
Cheap or inexpensive guitars can easily be upgraded to sound of better quality. For my metal style, the bridge pickup is of big importance. Replacing with upgraded models increases power, sustain, and crunch.
Steps
-
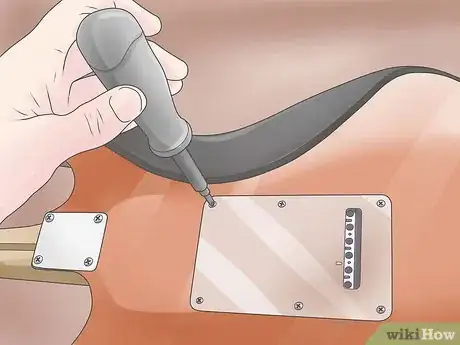
1Remove electrical covers.[1] These are on the back of guitar or is the pickguard assembly such as on a Stratocaster. You will need to detach any wires leading from the pickguard assembly so you can easily replace any pickup or or other hardware.
-
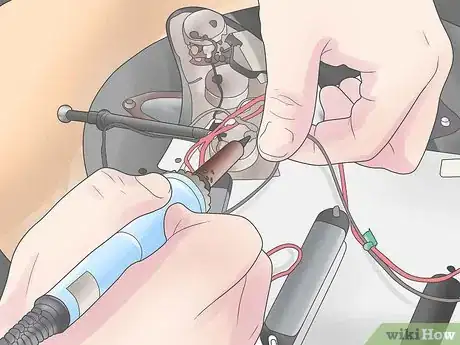
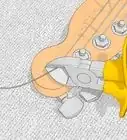
2Remove the solder.[2] There is a small amount of solder from the hot and ground wires from the pickup that you will be replacing. To remove them you need to touch the solder with the soldering gun and pull the wires apart. Don’t forget where they were because you need to know that when you place in the replacement pickup. If you need to, draw a basic schematic if you cannot get a wiring diagram.Advertisement
-
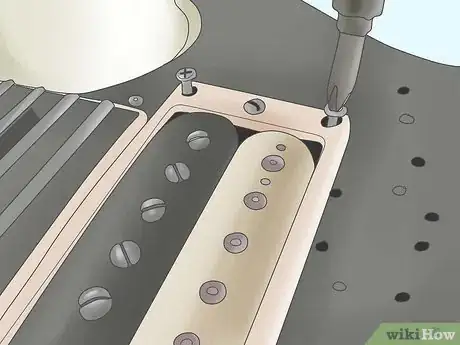
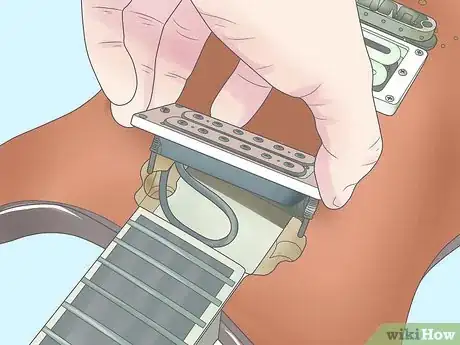
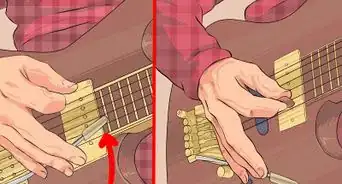
3Remove the pickup(s). Take out the two screws on either side of any old pickup. Now gently remove it, making sure you leave enough lead wire for both positive and ground. Be certain you keep the springs, screws, and any pickup cover.
-
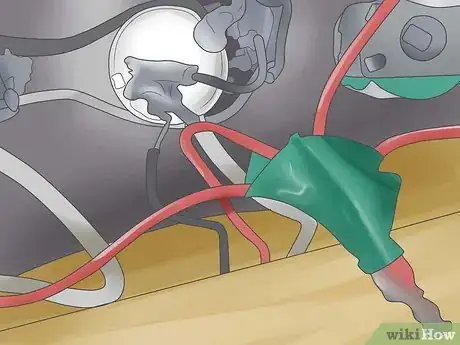
4Use shortcuts. Unless you want to try “fishing” wires through precisely drilled holes, taping a guide string or small gauge wire to the ends of the hot and ground will save you much frustration and time.
-
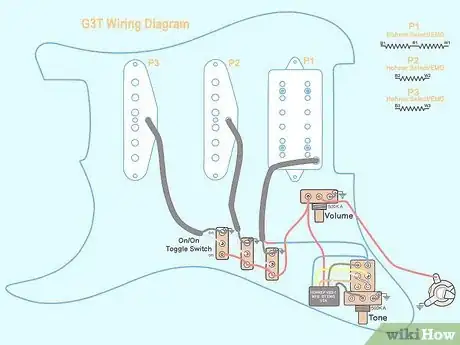
5Reference a diagram.[3] When you buy new pickups they come with a wiring diagram. Use this diagram to distinguish which color represents the hot and ground. Then tape those wires to the guide string if needed. Be sure to pull gently or you may rip the wires out of the guitar.
-
6Solder in your pickups.[4] Once you have placed in the new wires and have enough lead wire, solder them to their necessary places.
-
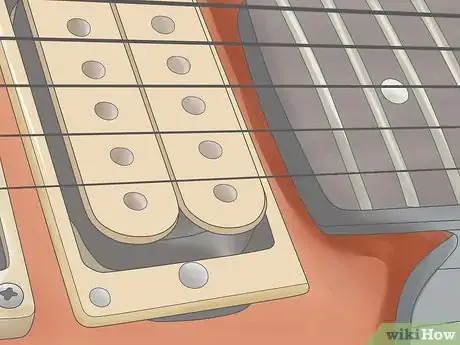
7Replace hardware. Secure the new pickup by doing the opposite of taking it out and replace all electrical covers; make sure you have firmly placed them in level so there is no room for distortion in sound.
-
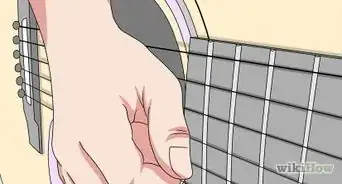
8Play to check your work.[5] If you can hear a signal, congratulations! You have just installed your first replacement pickup. If you cannot get any signal, go back and find a problem by referencing your diagram.
Advertisement
Community Q&A
-
QuestionHow do I install a pickup with only a volume pot?
 Clem WestCommunity AnswerThe pickup will often have two wires, (+) and (-). (+) is the signal, and goes to the middle lug of the pot. When you turn the pot all the way to the left, the middle lug will go to the left lug (and to the right lug if turned to the right). The left lug should be the ground, that way when you turn all the way to the left, the signal goes nowhere, so no sound. So get a wire from the left lug as well as the PU's (-) wire to the guitar's grounding point (often the back of a pot). The right lug is the output (all of the signal goes through if you turn the pot all the way to the right), so it leads to the jack. (Don't forget the jack also has to be grounded!)
 -
QuestionHow do I to convert a 4-wire dual coil pickup to a 2-wire pickup?
 Fastbob72Community AnswerYou can use just two of the wires or more, usually 3, as you most likely have 4 insulated wires and one bare uncovered earth wire. Humbuckers have either 2 or 4 wires. The 4 wire kind are wired to allow you to connect each coil of the pair individually for coil tap/coil splitting mods. If you aren't interested in coil tap/split mods, then basically work out which wire is the hot for one coil and the ground for the other and connect these into your main harness as if it were a 2 wire HB. Then, cut and tape up the other two to stop them from touching any metal parts inside the pickup routing.
 -
QuestionWhat will adding more springs to the tramel do?
 Espinoza ChristianCommunity AnswerSprings determine tension of the bridge, assuming it's a Floyd Rose or something of that sort. Adding springs to this kind of system would make it tougher to use the whammy and increase the chances of you snapping the strings from playing or tuning the guitar. If it's a regular system, it does the same, of course excluding the whammy situation.
Advertisement
Warnings
- Make sure everything is grounded. If not your guitar will produce a very loud buzzing noise!!⧼thumbs_response⧽
- If you don't know a lot about electronics, Do not try to replace them yourself if you're replacing any electrical hardware on expensive guitars. Find an expert to do this sort of thing.⧼thumbs_response⧽
- There's a chance that the hole for the pickups will be really small. Ask a technician about how to fit the string in, or you can try to use a drill to resize the hole.⧼thumbs_response⧽
- A soldering pencil that is more than 50 watts is too hot for electrical applications. More importantly, the solder you use can have an overwhelming effect on the electrical connections. Make sure it has a rosin center or you must buy it separately. Furthermore, it must be electrical grade solder.⧼thumbs_response⧽
Advertisement
Things You'll Need
- Small Phillips and a small flat head screwdriver
- Electrical tape (optional)
- Soldering pencil or iron(10-25W)
- Solder with rosin center (lead free)
- Steady Hand
- A pair of wire strippers
- First-Aid kit for burns and cuts
References
- ↑ https://www.musicradar.com/tuition/guitars/guitar-modding-how-to-change-your-guitars-pickups-625874
- ↑ https://www.youtube.com/watch?v=tgcDg8-vcC8
- ↑ https://guitargearfinder.com/guides/how-to-change-guitar-pickups-step-by-step-with-tips
- ↑ https://guitargearfinder.com/guides/how-to-change-guitar-pickups-step-by-step-with-tips/
- ↑ https://www.youtube.com/watch?v=zpZMjTUIYjU
About This Article
Advertisement
