X
This article was co-authored by wikiHow Staff. Our trained team of editors and researchers validate articles for accuracy and comprehensiveness. wikiHow's Content Management Team carefully monitors the work from our editorial staff to ensure that each article is backed by trusted research and meets our high quality standards.
This article has been viewed 150,352 times.
Learn more...
Guitar straps are important for performing live and with friends. You don’t have to go out and spend money on one if the straps at the store don’t stand out to you. You can craft your own guitar strap from home. Make a glamorous guitar strap or construct a simple design to save a few dollars.
Steps
Part 1
Part 1 of 3:
Preparing the Base
-
1Use a belt. Belts make a good base for a guitar strap. Find an old belt that you don’t use anymore. You will be removing the buckle that makes the belt useful for clothing. You are basically going to strip the belt of any extra parts and leave the belt in its raw state.
- Use scissors or a sharp blade to remove the buckle from the belt.
- Place the belt around your shoulder as you might hold a guitar. Most belts will need to be cut to better fit a guitar. You can also make adjustments so that the strap can be adjusted.
-
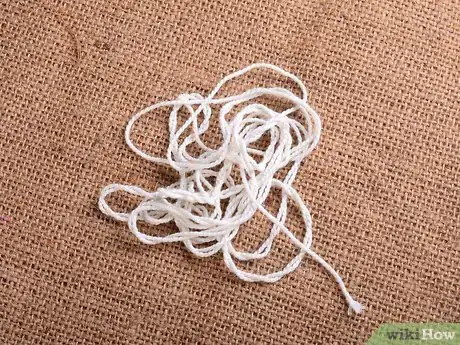
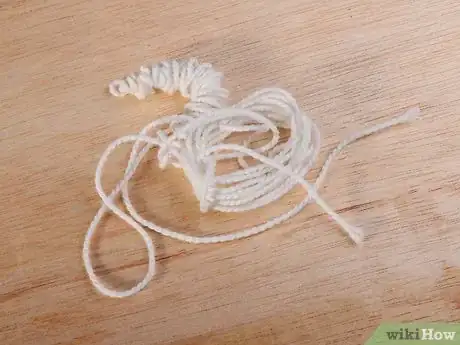
2Get a length of string or rope. Use a strong string material like paracord for the guitar strap. Don’t use anything too slim or else it may break. If you have extra rope, you can arrange multiple lines for the strap by twisting or gluing them together. Measure the string by draping it over your shoulder and hold your guitar.
- A good length is one that will allow you to make adjustments.
- You might need a friend to help you measure the strap.
Advertisement -
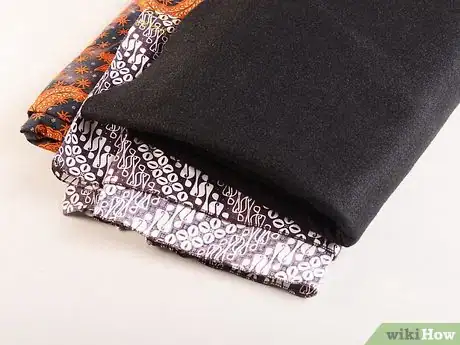
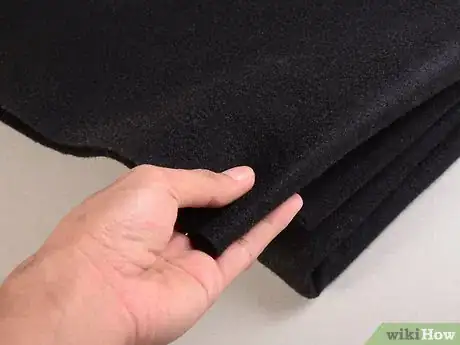
3Use fabric. Instead of a belt or string you could also use fabric as the base of your guitar strap. It will be important to layer the fabrics on top of each other to create a durable base. Arrange about three or four layers of fabric on top of each other and then cut out an outline for the strap. Measure out the width of the shoulder the strap will rest on.
- A durable fabric like denim may work best.
- Trace the dimension onto the layered fabrics before cutting. Attempt to make a clean cut.
- Attach the fabrics together by sewing them or by using glue.
- Many synthetic fibers like acrylic tend be more durable than natural fibers.[1]
Advertisement
Part 2
Part 2 of 3:
Adding Details and Support
-
1Find and use a decorative fabric to add some color to your base. Go to a linens shop and search through the raw linens. This is the best way to find a unique fabric design that you can use for your guitar strap. There are plenty of options for the guitar strap’s design. Pick out a fabric design that suits your style and music.
- For instance, classic paisley is a design that was popular in the late 1960s.
-
2Use fabric that you already own. Look through your wardrobe or linens closets to see if you have anything that you don't use anymore. This is a great way to truly personalize your strap. If you have a favorite t-shirt or bed sheet that you no longer use, it could be great as a cover for your guitar strap base. This will add an element from your past that could inspire you to play a certain way.
- Use something that you'll feel comfortable playing with. Don't choose something that you might be embarrassed by.
- Tie die will especially look good if you like this type of look.
-
3Fit the fabric onto the base. The fabric you selected will act as a cover for the base of your strap. Lay out the base of your strap on a surface and wrap the fabric over the base. Make sure the fabric fits tight around the base. Once your cover is snug and covering the base, cut off any excess fabric from the cover. Sew the cover onto the base using a simple cross stitch. The base of the strap should stay in one place and not move around too much.
- It may benefit you to glue your fabric to the base before sewing to ensure everything stays in place.
- Don’t forget to sew the fabric at the ends of the strap closed.
-
4Add additional details. You can add plenty of extra features and designs, based on your style. Some players will choose a minimal strap design, while others like to make their strap burst with personality. You can add studs if you’re into hard rock or metal. You can also be creative and stitch patches or other linens to the strap.[2]
- Add fray to your strap if you want to have an eccentric cowboy look.
- You could even glue glitter onto your strap. This style works well for glam rock.
-
5Pad the shoulder. The second most important area of the strap is the shoulder section that will be holding the brunt of the weight. This is where comfort comes into play, which is very important if you're going to be standing for an extended period of time.
- The wider the strap at this area, the more space the weight will be distributed over, and the less sore your shoulder will be! Padding is a great thing to add to this area as well.
- Foam or a similar material can easily be attached to the underside of the strap using glue or needle and thread. You can get fancy and glue Velcro onto the padding and the strap for removable padding.
- If you construct your strap with two pieces of material, you can sandwich padding between them.
Advertisement
Part 3
Part 3 of 3:
Creating Holes for Your Strap
-
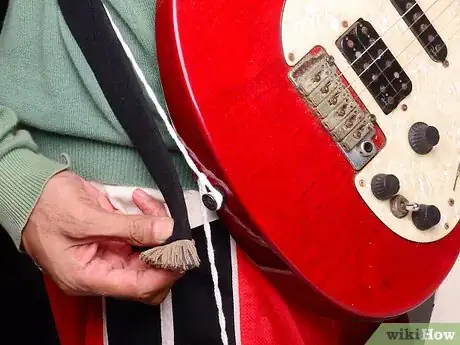
1Use string to secure your strap. You can setup your guitar strap to fit the strap pegs using string. The string you choose needs to be a durable material like paracord. You should also try to use a thin string. Create a hole in the guitar strap using an awl or leather punch. Create a hole just large enough to weave the string through.
- Tie the string to the top end of the guitar strap and connect it to the top strap peg on the guitar.
- You can alternatively use a knife or scissors but an awl or leather punch will be easier.
- Consider a good length for your guitar strap before attaching the string - string can be difficult to adjust later if you change your mind.
-
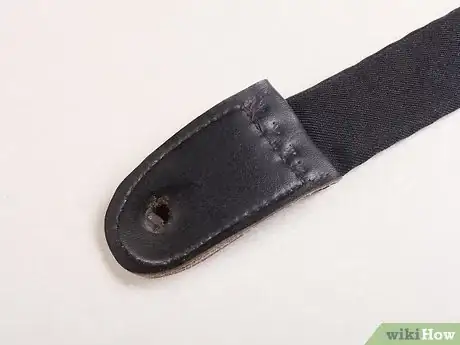
2Attach strap tips. You can buy authentic guitar strap tips that you can attach to your homemade strap. This is a good way to ensure your guitar strap will be secure enough to hold the guitar while playing. You can either find these online or make them yourself. You need a strip of leather to make them from home.
- Measure out the width of the strap and outline that width on the leather. Cut out two pieces of leather.
- Look at guitar straps for an example of the end’s curvature. The end typically gets narrower towards the hole.
-
3Create holes for adjustment. One end of your custom strap should allow you to easily adjust the looseness of your guitar. The best way to do this for your strap is to create a series of holes to fit the bottom strap peg on your guitar. It is easier to make an adjustment from the bottom. A leather punch will be the easiest way to create even holes.[3]
- Use a blade to create a series of holes that are about an inch apart.
- Don’t make the hole too big for the strap peg. The idea is to make the strap fit onto the guitar snugly.
Advertisement
Community Q&A
-
QuestionWhat is maximum and minimum length for a guitar strap?
 Community AnswerThere's really no maximum length for a guitar strap. If you need to make it longer than normal, that's fine. The minimum should be just a little over the length of the body of your guitar.
 -
QuestionHow do you attach it to the guitar?
 Community AnswerThere should be little slots on the guitar and strap that slide together.
Advertisement
Warnings
- Make the holes/loops for the strap pegs reliable! This can't be stressed enough, you don't want to drop a guitar!⧼thumbs_response⧽
- Make sure any dyes, paints, adhesives, etc. don't rub off onto either you or your guitar!⧼thumbs_response⧽
- Careful with sharp tools you might need for this project such as knives.⧼thumbs_response⧽
Advertisement
Things You'll Need
- Material of your choice (leather, rope, denim, webbing, duct tape, etc.)
- Leather punch
- Knife
- Scissors
- Measuring tape
References
About This Article
Advertisement

