X
This article was co-authored by wikiHow staff writer, Jack Lloyd. Jack Lloyd is a Technology Writer and Editor for wikiHow. He has over two years of experience writing and editing technology-related articles. He is technology enthusiast and an English teacher.
The wikiHow Tech Team also followed the article's instructions and verified that they work.
This article has been viewed 804,602 times.
Learn more...
This wikiHow will teach how to create a mix CD using music downloaded from YouTube videos.
Steps
Part 1
Part 1 of 4:
Getting YouTube Music Addresses
-
1Open a text editor on your computer. The default text editor on Windows is Notepad, while you'll use TextEdit on a Mac. You'll use the text editor to collect the addresses of the videos from which you want to download music.
-
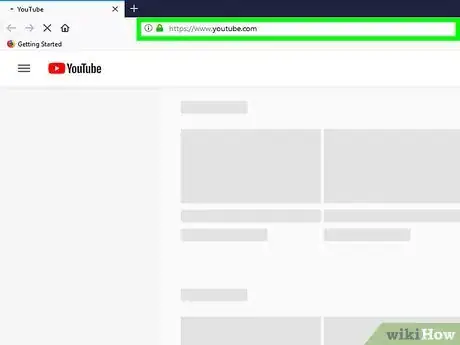
2Open YouTube. Go to https://www.youtube.com/ in your computer's browser. This will open the YouTube home page.
- If you need to download music that's restricted to an 18+ audience, you'll need to be signed into YouTube. If you aren't signed in, click SIGN IN in the top-right corner of the page, then enter your email address and password.
Advertisement -
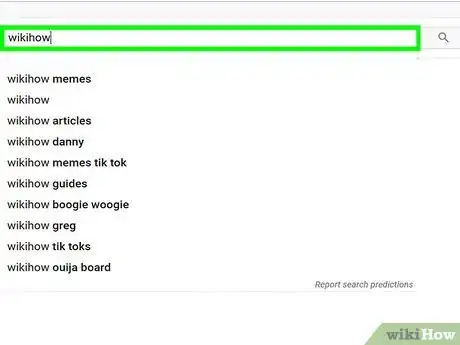
3Search for a video. Click the search bar, type in the name of the song that you want to download, and press ↵ Enter.
- You might also want to type in the song's artist and/or album if it has a popular title.
-
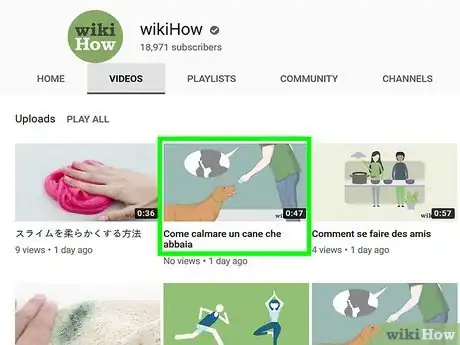
4Select a video. Click the video that contains the song you want to download. The video will open.
- You can't always download music from videos hosted by reputable sources, such as Vevo. If your video refuses to download later, try finding a user-created video with the song (e.g., a lyric video) instead.
-
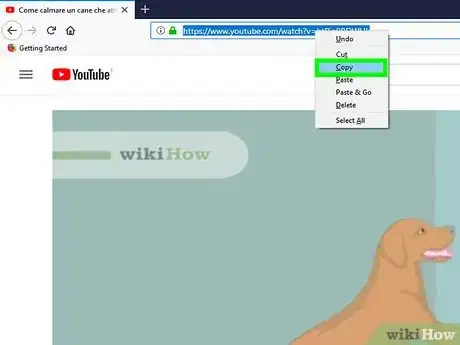
5Copy the video's address. Click the video's address in the address bar that's at the top of your browser window, then press Ctrl+C (Windows) or ⌘ Command+C (Mac).
-
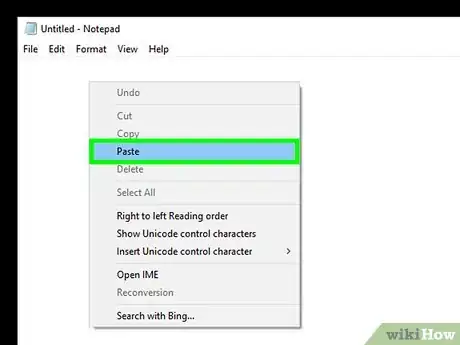
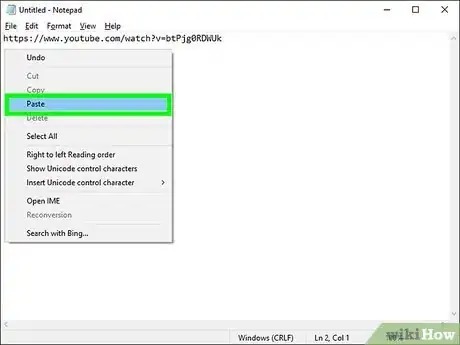
6Paste the address into the text editor. Open the Notepad or TextEdit window and click it, then press Ctrl+V (Windows) or ⌘ Command+V (Mac).
-
7Repeat this process with other videos. Once you have around 80 minutes' worth of music video addresses in the text editor, you can proceed to downloading the music.
Advertisement
Part 2
Part 2 of 4:
Downloading YouTube Music
-
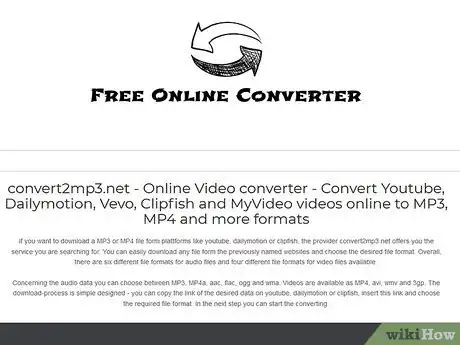
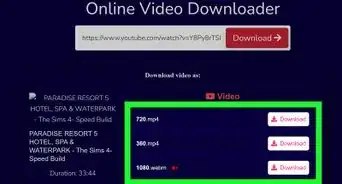
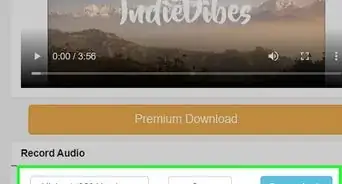
1Open Convert2MP3 in your browser. This website allows you to download MP3 audio files for your selected YouTube videos.
-
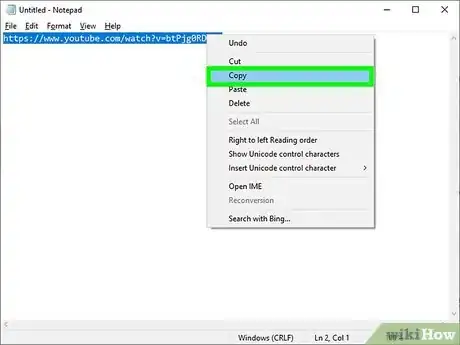
2Copy one of the addresses from the text editor. Click and drag your mouse pointer across the address to highlight it, then press Ctrl+C (Windows) or ⌘ Command+C (Mac).
-
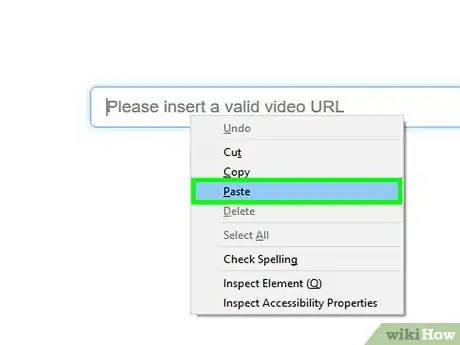
3Paste the address into the "Insert video link" text box. This text box is in the middle of the Convert2MP3 page; click it, then press Ctrl+V (Windows) or ⌘ Command+V (Mac).
-
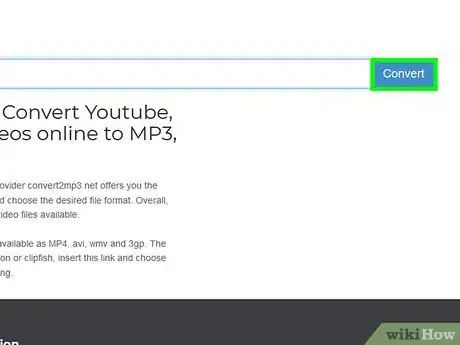
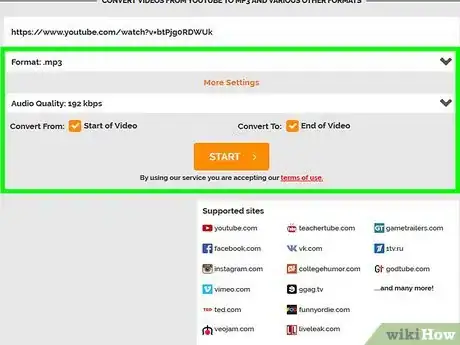
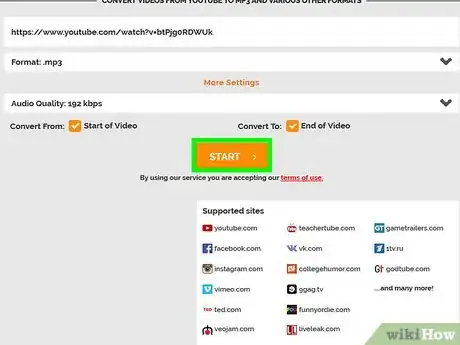
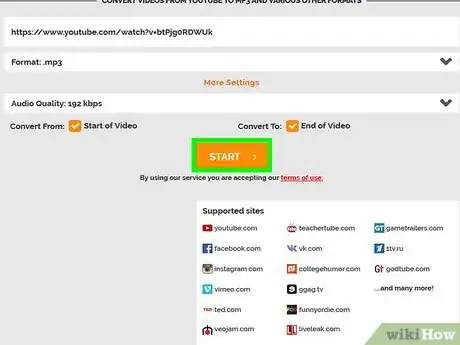
4Click convert. It's an orange button on the right side of the page.
-
5Add music tags. Enter an artist name and a song name in the "artist" and "name" text fields, respectively.
-
6Click Continue. This green button is near the bottom of the page.
-
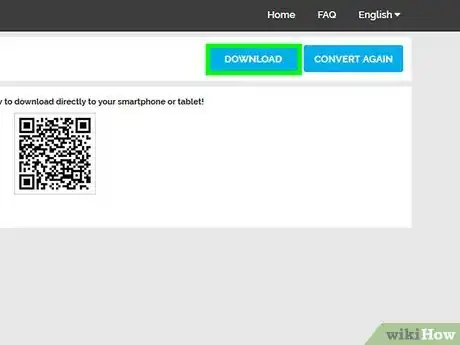
7Click Download. It's a green button in the middle of the page. Your song will immediately begin downloading.
- On some browsers, you'll need to select a save location and then click Download, OK, or Save in order to download the file.
-
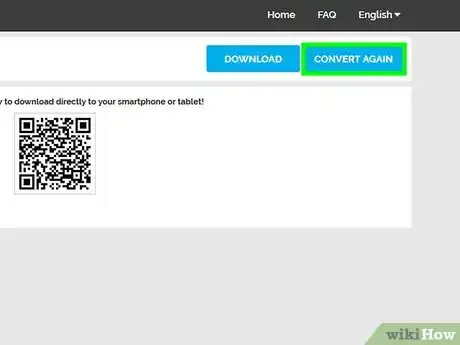
8Click convert next video. This white button is on the right side of the page. This will take you back to the convert page.
-
9Repeat the download process with your next address. Once you've downloaded all of the songs via their addresses, you can proceed to making a mix CD by using iTunes or Windows Media Player.
Advertisement
Part 3
Part 3 of 4:
Burning a CD with iTunes
-
1Insert a blank CD into your computer. You'll do so using your computer's built-in DVD drive.
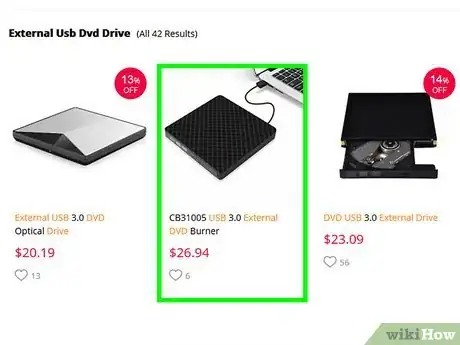
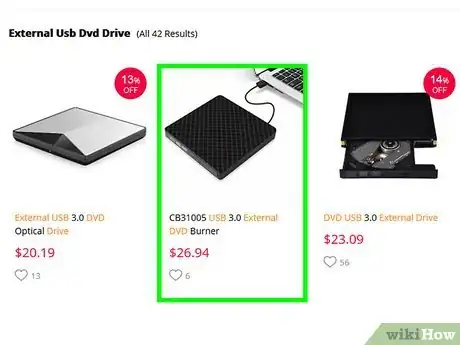
- If your computer doesn't have a built-in DVD drive, you'll need to buy a USB DVD drive.
- On a Mac, you may need to buy a USB 3.0 to USB-C adapter in order to plug your USB DVD drive into your computer.
-
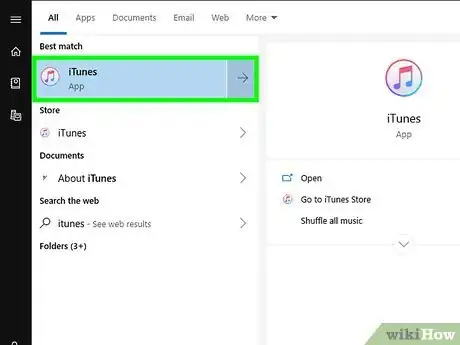
2Open iTunes. Its app icon resembles a multicolored musical note on a white background.
- If prompted to update iTunes, click Download iTunes on the prompt, then restart your computer when iTunes finishes updating.
-
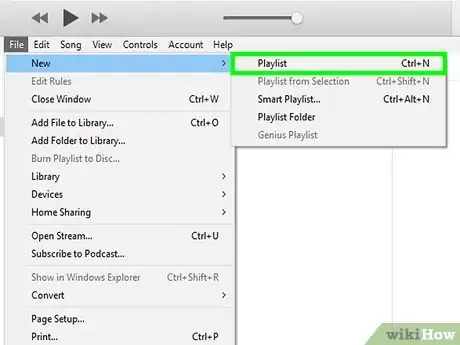
3Create a new playlist. Click File in the upper-left corner of the window (Windows) or screen (Mac), select New, and click Playlist, then type in your playlist's name and press ↵ Enter.
-
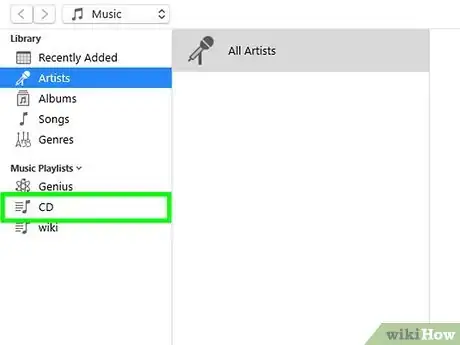
4Open your playlist. Click the playlist's name in the left-hand column of options to do so. The playlist's window will open.
-
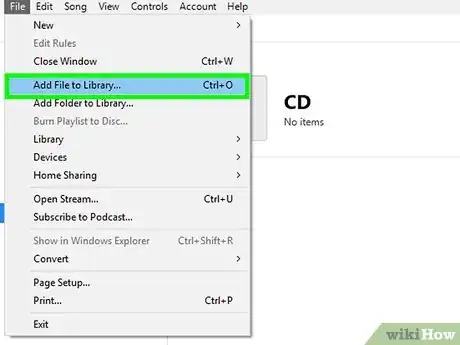
5Add your music to the playlist. Select the downloaded YouTube music in its folder, then click and drag it into the playlist's window.
-
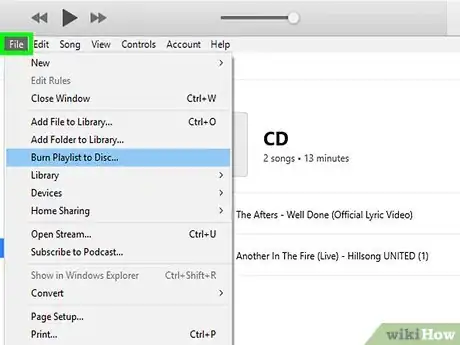
6Click File. It's in the top-left corner of the window (Windows) or screen (Mac).
-
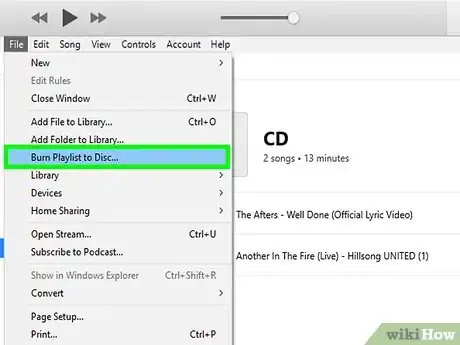
7Click Burn Playlist to Disc. You'll find this option in the File drop-down menu. Clicking it prompts a new window to open.
-
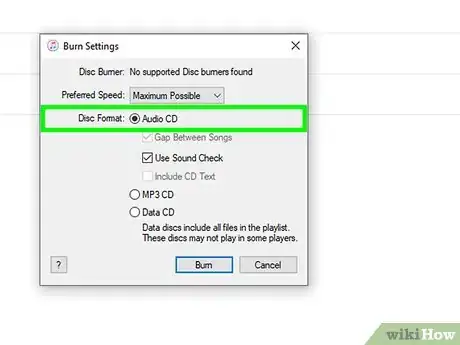
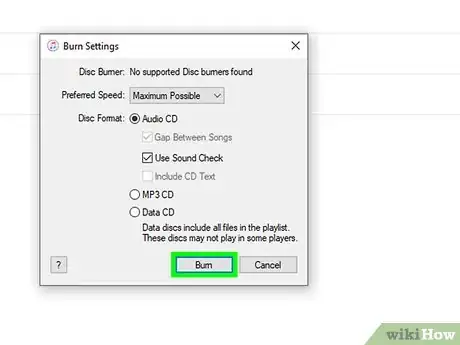
8Check the "Audio CD" box. It's in the middle of the window.
-
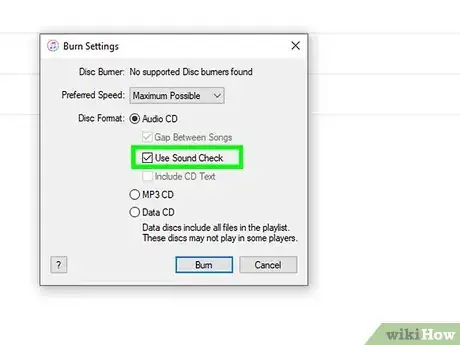
9Check the "Use Sound Check" box. You'll find it near the middle of the window. This option ensures that your music stays in the same range when playing.
-
10Click Burn. This option is at the bottom of the window. Your music will begin burning onto the CD; once the burn completes, your CD should eject.
Advertisement
Part 4
Part 4 of 4:
Burning a CD with Windows Media Player
-
1Insert a blank CD into your computer. You'll do so using your computer's built-in DVD drive.
- If your computer doesn't have a built-in DVD drive, you'll need to buy a USB DVD drive.
-
2
-
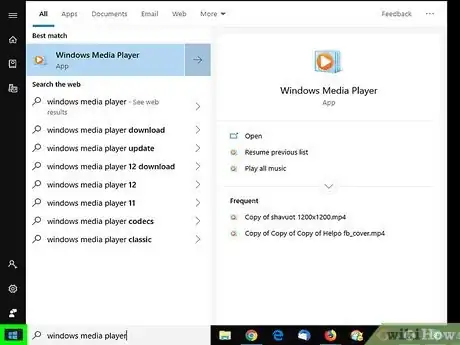
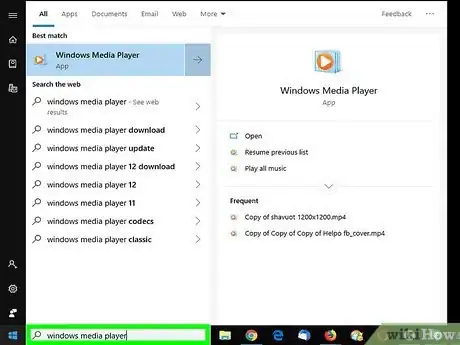
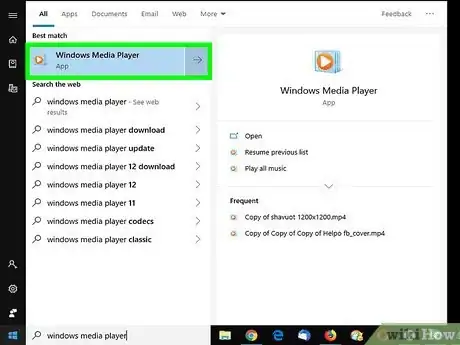
3Type in windows media player. This will search your computer for the Windows Media Player program.
-
4Click Windows Media Player. It's at the top of the Start window. Windows Media Player will open.
-
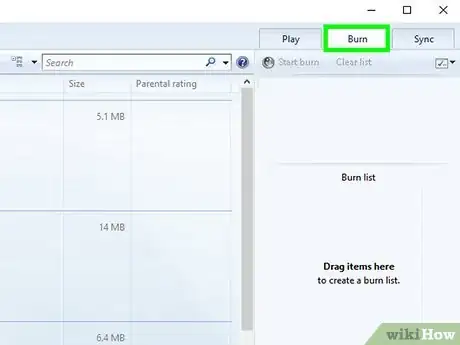
5Click the Burn tab. This option is in the upper-right corner of the window.
-
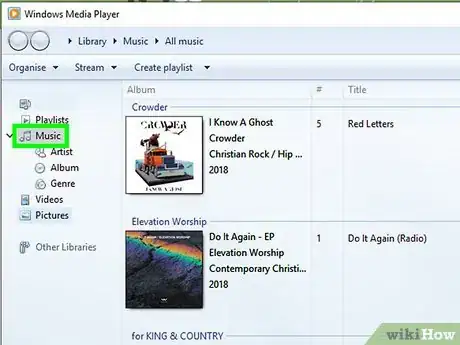
6Select your music. Go to the folder where you downloaded the music from YouTube, then hold down Ctrl while clicking each song that you want to burn.
-
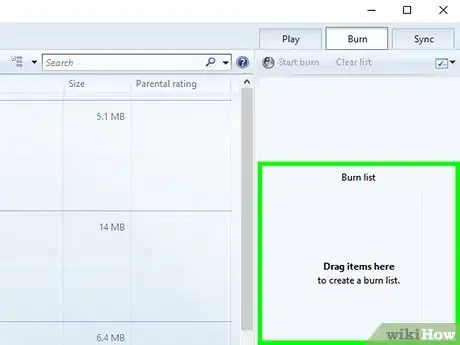
7Click and drag your music into the Burn tab. This will allow you to drop the music in the Burn tab, after which point you should see each song that you selected listed there.
-
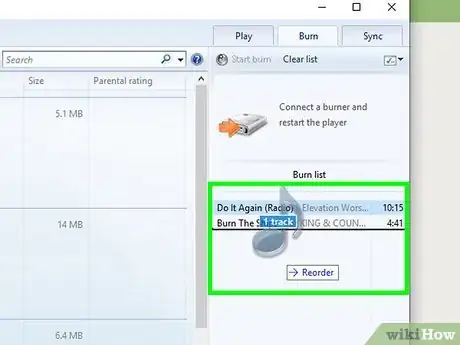
8Re-order your music if needed. Click and drag a song up or down to change its position in the Burn tab. This will determine where the song plays on your CD.
-
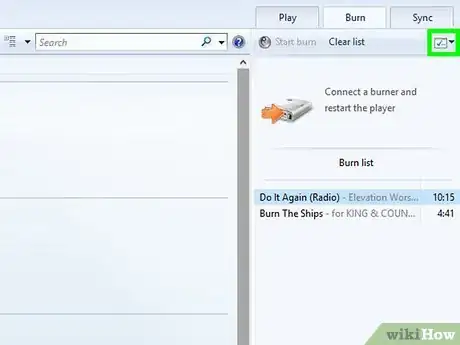
9Click the "Options" button. It's a white box with checkmarks on it in the upper-right side of the Burn tab. A drop-down menu will appear.
-
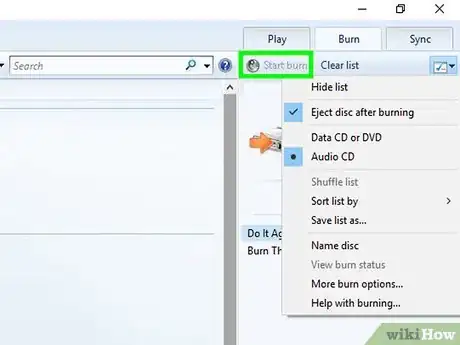
10Click Audio CD. This option is in the middle of the drop-down menu. Doing so ensures that your CD will be optimized for audio play.
-
11Click Start burn. It's in the upper-left corner of the Burn section. Your CD will immediately begin burning; once the burn completes, you can remove the CD from your computer.
Advertisement
Community Q&A
-
QuestionHow can I download CD burning software?
 Community AnswerBoth Mac and Windows can burn discs for free using the media players that come installed. On a Mac, you can use iTunes to burn music files to disc. In Windows, you can use Windows Media Player. If you need different or additional features, there are a variety of burning programs available online for free and for purchase.
 -
QuestionHow do I get all the songs as the same volume on the CD?
 Community AnswerBoth iTunes and Windows Media Player will automatically level the volume of tracks before they are burnt to the CD. Make sure "Sound Check" is enabled in the Burn window when burning in iTunes.
 -
QuestionAfter I burn a CD using this software, can I add more music to the same disc?
 Community AnswerFollowing this page's steps, no, you cant. You can burn a disc with special configurations allowing you to add more music later, but you may find that the CD won't play in every CD player.
Advertisement
Warnings
- Downloading copyrighted music is against the law in most places. Distributing YouTube MP3s without explicit permission may result in fines or even criminal charges.⧼thumbs_response⧽
Advertisement
About This Article
Advertisement

