wikiHow is a “wiki,” similar to Wikipedia, which means that many of our articles are co-written by multiple authors. To create this article, volunteer authors worked to edit and improve it over time.
This article has been viewed 123,074 times.
Learn more...
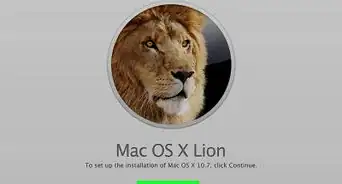
Formatting your Macbook Pro involves reinstalling OS X, and can be useful when your computer runs slow or malfunctions due to the installation of adware or faulty software, you accidentally installed an outdated version of OS X incompatible with your Macbook, or you erased your startup disk. There are three ways to format your Macbook Pro: reinstalling OS X from Recovery, restoring OS X from a Time Machine backup, or erasing the drive and installing a clean version of OS X.
Steps
Reinstalling OS X from Recovery
-
1Power on your Macbook Pro and listen for the startup sound.
-
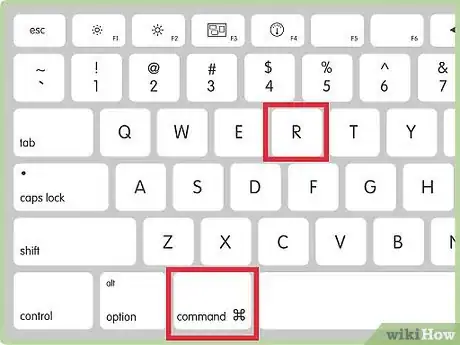
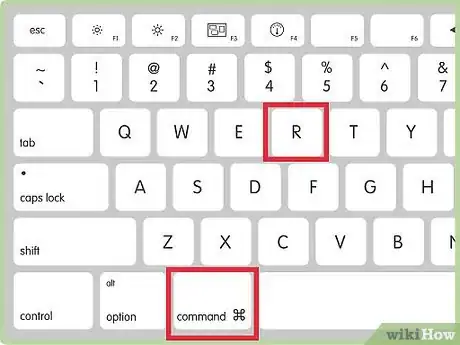
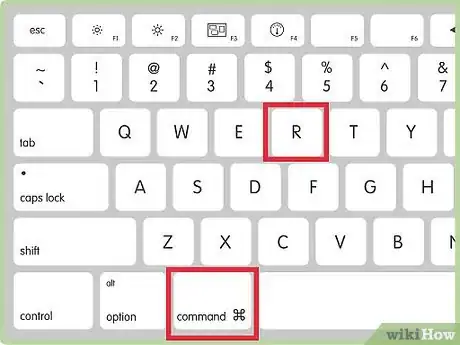
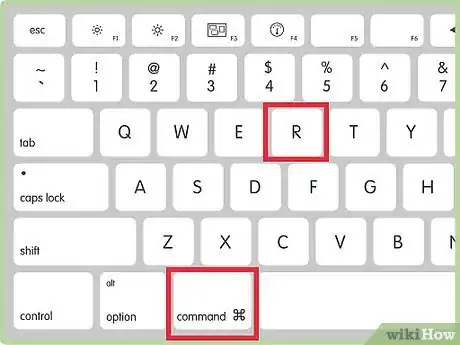
2Press and hold the Command + R keys on your keyboard immediately after you hear the startup sound. This command will reinstall the version of OS X that was previously installed on your Macbook Pro.
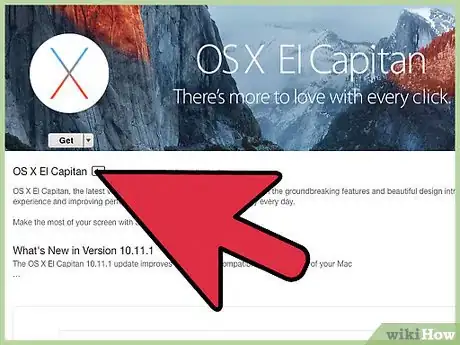
- To install the version of OS X that was originally installed on your Macbook, press and hold the Command + Option + R keys instead.
Advertisement -
3Release the Command + R keys when the Apple logo displays on-screen. Your Macbook will prompt you to select an Internet connection.
-
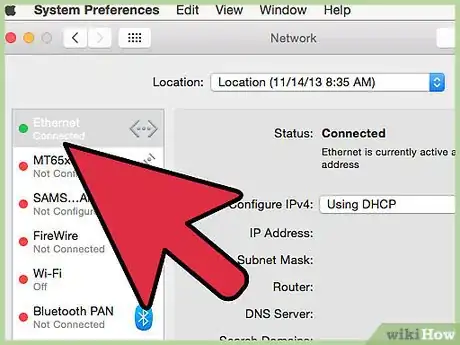
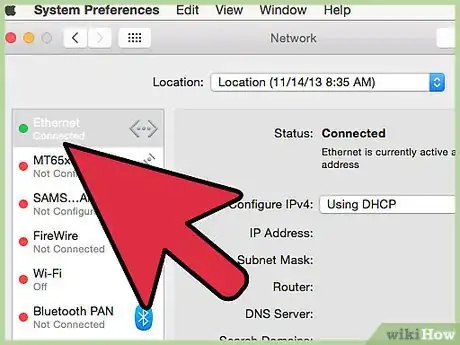
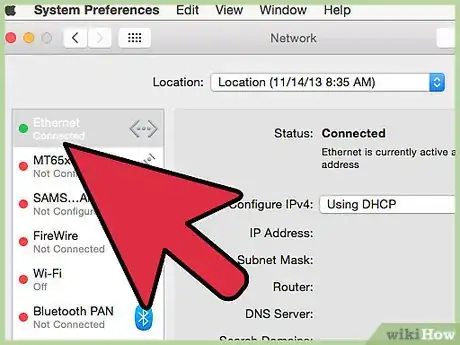
4Select the option to connect the Macbook to your Wi-Fi network, or connect the Macbook to your Internet router using an Ethernet cable. You must be connected to the Internet to reinstall OS X using Recovery.
-
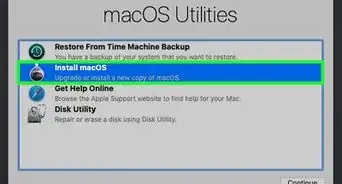
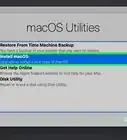
5Select “Reinstall OS X” from the Recovery menu, then click on “Continue.”
-
6Follow the on-screen instructions to reinstall OS X on your Macbook Pro. Your Macbook will guide you through the installation process, and you’ll be prompted to choose the hard disk on which you want OS X installed. When complete, your Macbook Pro will be formatted and OS X will be installed as new.[1]
Restoring from a Time Machine Backup
-
1Power on your Macbook Pro and listen for the startup sound.
-
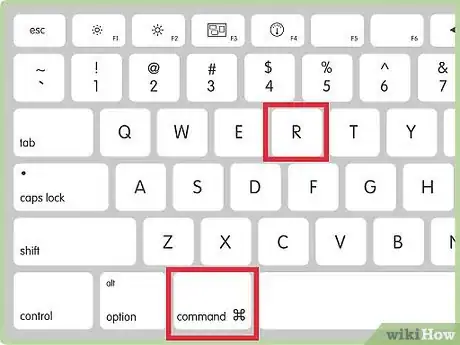
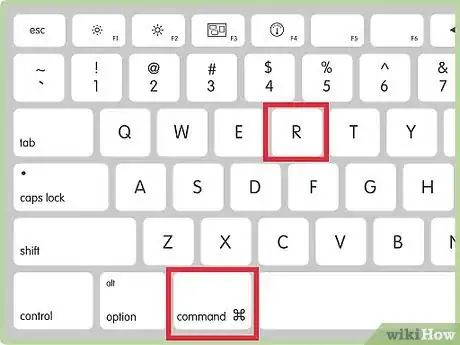
2Press and hold the Command + R keys on your keyboard immediately after hearing the startup sound.
-
3Release the Command + R keys when the Apple logo displays on-screen. Your Macbook will prompt you to select an Internet connection.
-
4Select the option to connect the Macbook to your Wi-Fi network, or connect the Macbook to your router using an Ethernet cable. You must be connected to the Internet to restore OS X using Time Machine. The Recovery menu will display on-screen after connecting to the Internet.
-
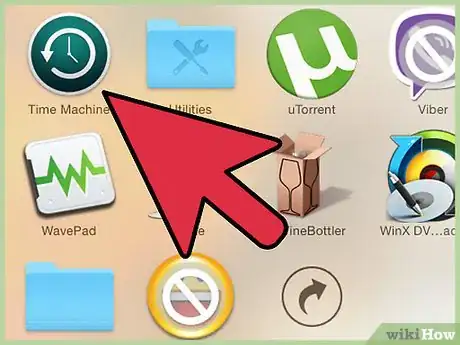
5Select “Restore from Time Machine Backup,” then click on “Continue.”
- This method only works if you previously backed up your system using Time Machine. If you have never created a backup using Time Machine, follow the steps outlined in Methods One or Three of this article to format your Macbook Pro and reinstall OS X.
-
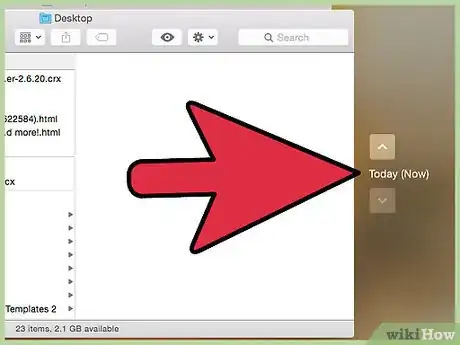
6Select your Time Machine backup disk, then select the Time Machine backup you want restored. Formatting your Macbook Pro using this method will reinstall OS X, as well as your personal files. For example, if you are formatting your Macbook to reverse the effects of a virus, select a Time Machine backup that was created before the virus was installed on your system.
-
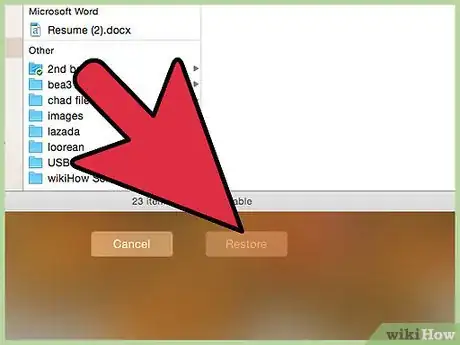
7Click on “Continue,” then follow the on-screen instructions to reinstall OS X and your personal files. When complete, your Macbook Pro will be formatted and OS X will be reinstalled along with your personal data.
Erasing the Drive and Installing OS X
-
1Power on your Macbook Pro and listen for the startup sound.
-
2Press and hold the Command + R keys on your keyboard immediately after hearing the startup sound.
-
3Release the Command + R keys when the Apple logo displays on-screen. You will be prompted to choose an Internet connection type.
-
4Select the option to connect the Macbook to your Wi-Fi network, or connect the Macbook to your router using an Ethernet cable. You must be connected to the Internet to reinstall OS X using this method. The Recovery menu will display on-screen after your Macbook is connected to the Internet.
-
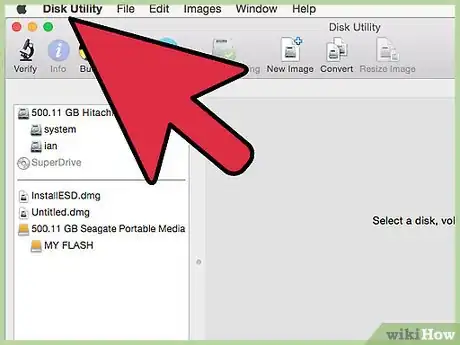
5Select “Disk Utility” from the Recovery menu, then click “Continue.” This will open the Disk Utility menu.
-
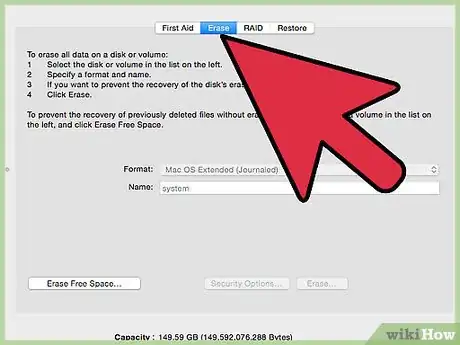
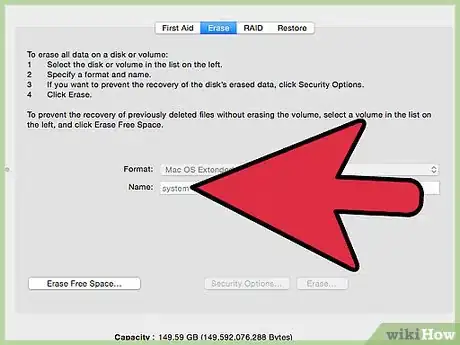
6Select the name of your startup disk in the left pane of Disk Utility, then click on the “Erase” tab. For most users, the name of the default startup disk is “Macintosh HD OS X.”
-
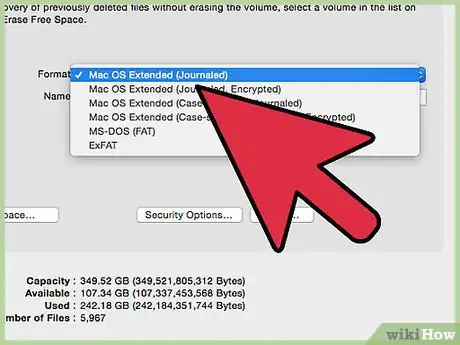
7Select “Mac OS Extended (Journaled)” from the Format dropdown menu.
-
8Type a name for your disk, then click on the “Erase” button. Your Macbook Pro will now erase your startup disk.
-
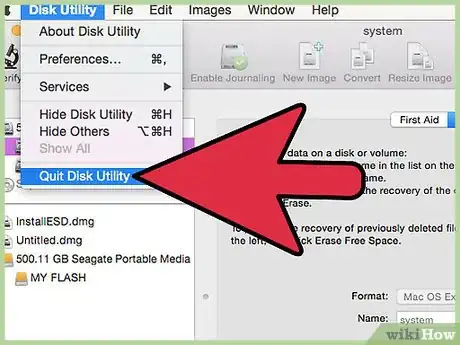
9Close the Disk Utility window, then click on “Reinstall OS X” from the Recovery menu.
-
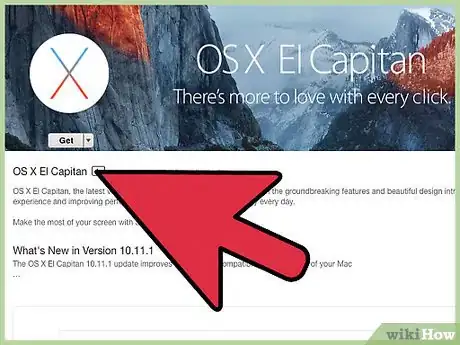
10Click on “Continue,” then follow the on-screen instructions to reinstall OS X. When complete, your Macbook Pro will be formatted and OS X will be installed as new.
Community Q&A
-
QuestionWhy do I get message it can't format hard drive it is I use when I try to format?
 Community AnswerAfter you back up everything, you need shut down your computer. Straight after you press the power button (to power on laptop), hold down keys Command + R. This will make the computer boot up from the recovery partition. Select Disk Utility from the menu. Now you will be able to format the main partition. You will then have to install a new copy of Mac OS from the recovery menu to use your computer again.
 -
QuestionCan I install a new version of macOS after formatting my MacBook?
 Matt KhouryCommunity AnswerYou can reinstall macOS and maintain your files/settings, or you can reformat your HD and install a fresh copy of macOS.
Warnings
- Formatting your Macbook Pro will erase all personal contents from your computer. If possible, back up your Mac using an external hard drive or cloud storage system prior to formatting your disk to avoid personal data loss.⧼thumbs_response⧽
