This article was written by Chiara Corsaro and by wikiHow staff writer, Megaera Lorenz, PhD. Chiara Corsaro is the General Manager and Apple Certified Mac & iOS Technician for macVolks, Inc., an Apple Authorized Service Provider located in the San Francisco Bay Area. macVolks, Inc. was founded in 1990, is accredited by the Better Business Bureau (BBB) with an A+ rating, and is part of the Apple Consultants Network (ACN).
The wikiHow Tech Team also followed the article's instructions and verified that they work.
This article has been viewed 1,954,680 times.
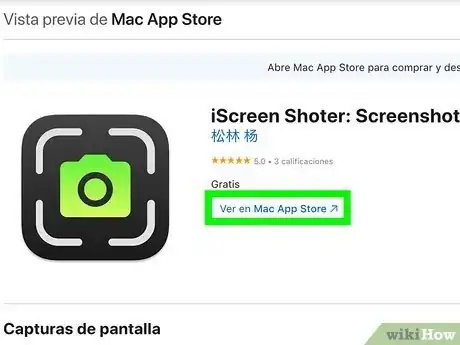
Taking screenshots on a MacBook is pretty simple. You can take several types of screen captures, such as screenshots of your whole screen, a selection, or even a single window, by using your Mac’s default keyboard shortcuts. If your computer is running macOS 10.14 (Mojave) or higher, you can also use a shortcut to launch the Screenshot app, which offers even more options—including screen recordings. In this article, we’ll talk you through the basics and touch on some of the third-party screen capture apps that are available for Mac.
Things You Should Know
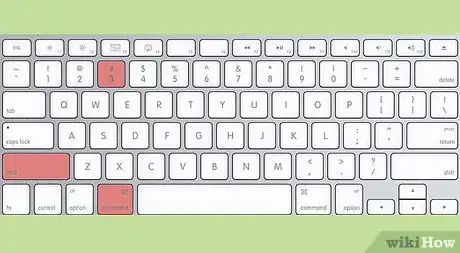
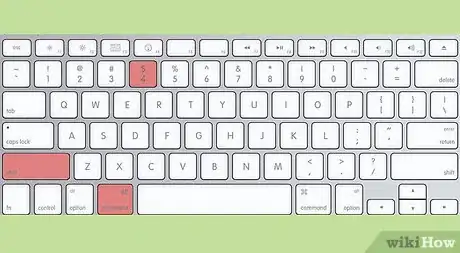
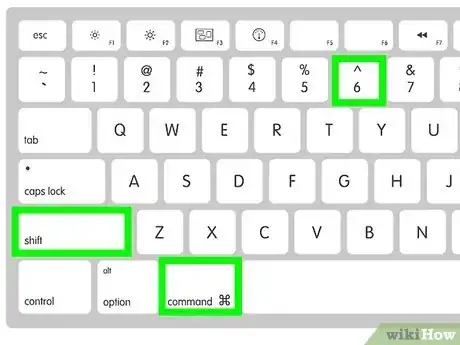
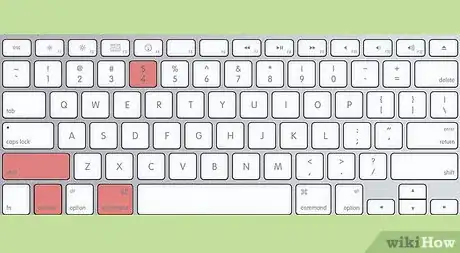
- Press ⇧ Shift + ⌘ Command + 3 to capture your entire screen, or ⇧ Shift + ⌘ Command + 4 to capture a selection.
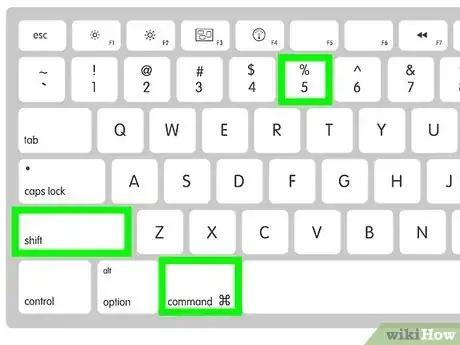
- In macOS 10.14 (Mojave) and later, use ⇧ Shift + ⌘ Command + 5 to launch the Screenshot app.
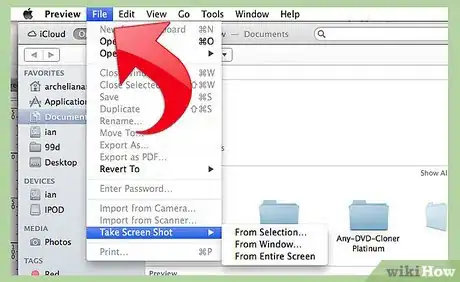
- You can also take and edit screenshots in the Preview app.
Steps
Community Q&A
-
QuestionHow do I change where my screenshots are saved? My desktop is a mess.
 wikiHow Staff EditorThis answer was written by one of our trained team of researchers who validated it for accuracy and comprehensiveness.
Staff Answer wikiHow Staff EditorStaff AnswerIf you're using macOS Mojave or later, launch the Screenshot app by pressing shift + command + 5. Click the Options menu in the app toolbar to edit where your screenshots are saved. Otherwise, you will have to move them manually.
 -
QuestionHow do you screen record on a MacBook?
 wikiHow Staff EditorThis answer was written by one of our trained team of researchers who validated it for accuracy and comprehensiveness.
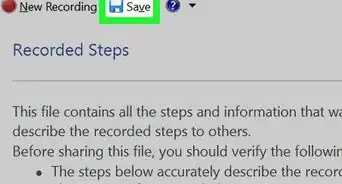
Staff Answer wikiHow Staff EditorStaff AnswerIf your MacBook is running Mojave or a later operating system, you can do this with the Screenshot app. Launch it by holding down Shift + Command + 5, then select one of the Screen Record options. If you're using an older operating system, you can do it by downloading a third-party screen recording app.
 -
QuestionCan I change the keys used to make a screenshot?
 wikiHow Staff EditorThis answer was written by one of our trained team of researchers who validated it for accuracy and comprehensiveness.
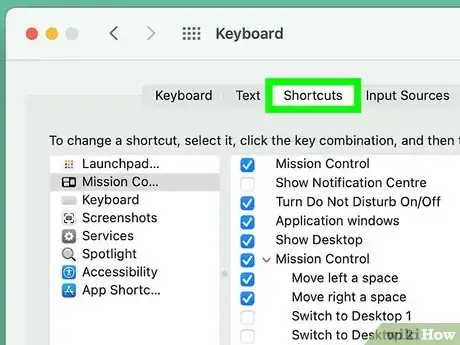
Staff Answer wikiHow Staff EditorStaff AnswerYes. Open the Apple menu in the top left corner of your screen, then System Preferences. Click Keyboard, then select the Shortcuts tab. From there, select Screenshots in the menu at left, then change the default shortcuts to whatever you like.
References
- ↑ https://support.apple.com/en-us/HT201361
- ↑ https://support.apple.com/en-us/HT201361
- ↑ https://support.apple.com/en-us/HT201361
- ↑ https://support.apple.com/guide/mac-help/take-a-screenshot-or-screen-recording-mh26782/mac
- ↑ https://support.apple.com/guide/mac-help/take-a-screenshot-or-screen-recording-mh26782/mac
- ↑ https://support.apple.com/en-us/HT201361
- ↑ https://support.apple.com/en-us/HT201361
- ↑ https://support.apple.com/guide/mac-help/take-screenshots-or-screen-recordings-mh26782/10.14/mac/10.14
- ↑ https://support.apple.com/guide/preview/take-a-picture-of-your-screen-prvw1092/mac
About This Article
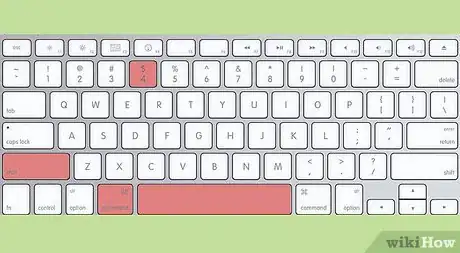
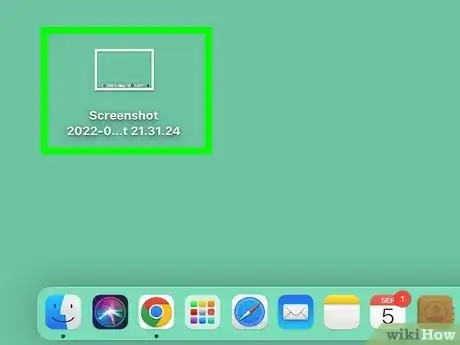
To take a screenshot of the entire screen of a MacBook, press the Command key, the Shift key, and the number 3 key at the same time. You'll find your screenshot file on the desktop. To take a screenshot of a single window, such as your web browser, press the Command key, the Shift key, the number 4 key, and the Spacebar at the same time. When the cursor turns to a tiny camera, click the window you want to capture. The file will be saved to your desktop. If you just want to capture one particular area of the screen, press the Command key, the Shift key, and the number 4. Your regular mouse cursor will turn into a crosshair. Click and drag the crosshair to select the part of the screen. Release your finger from the mouse or trackpad button to take the screenshot. The final image will be saved to your desktop. For more tips, including how to take a screenshot in Preview, read on!
