This article was co-authored by Jeremy Mercer. Jeremy Mercer is the Manager and Head Technician at MacPro-LA in Los Angeles, CA. He has over ten years of experience working in electronics repair, as well as retail stores that specialize in both Mac and PC.
This article has been viewed 474,366 times.
Usually, when you want to connect an external hard drive to your computer, you just plug it in and that's it. However, if you are using a Macbook Pro or any Mac computer, the hard drive must be formatted with a file system your Mac can support. Formatting the drive will erase all of the data on it. If the hard drive is pre-formatted as NTFS, like most hard drives in the market, the Mac OS X can only read data from it, not write any data on it.
Steps
Connecting the Drive
-
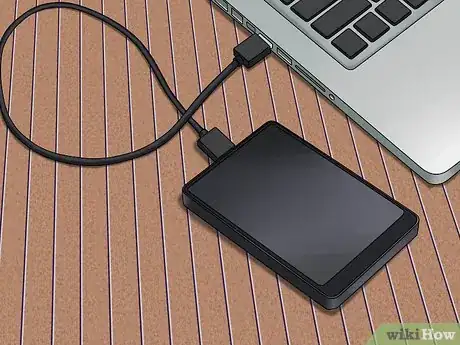
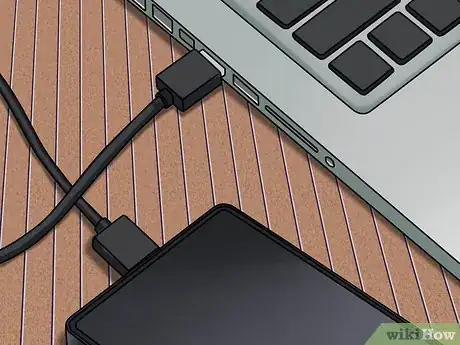
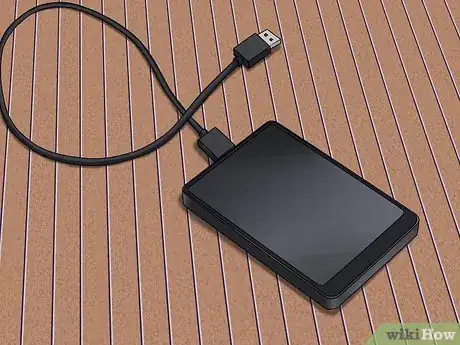
1Plug the hard drive into the Mac using the cable that came with it. Most hard drives connect via USB, so you'll just need to plug the USB cable into an open port on your Mac. You'll typically find at least one USB port along each side of the Mac.
- Some Mac-specific drives may come with a Thunderbolt or FireWire cable instead. If this is the case, you'll need to plug it into the correct port, or get an adapter if you don't have the proper port on your Mac.
EXPERT TIPJeremy Mercer is the Manager and Head Technician at MacPro-LA in Los Angeles, CA. He has over ten years of experience working in electronics repair, as well as retail stores that specialize in both Mac and PC.Computer Repair Technician
 Jeremy Mercer
Computer Repair TechnicianYou can choose an external hard drive based on price or speed. Some external hard drives have HDD drives in them, which makes them a cheaper, slower option that has a lot of storage. There are also solid-state hard drives that cost a little more but are much faster. Make sure you have the right cords to connect the drive to your Mac.
-
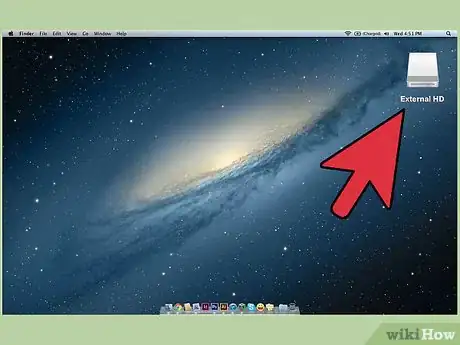
2Check for your drive on your desktop. If the drive is formatted and connected properly, it will appear on your Mac's desktop as a drive with a USB or Thunderbolt icon.
- The drive icon may not appear on your desktop even though it is connected properly. You can check for the drive in the left frame of any Finder window, under the "Devices" heading.
- You can set drives to appear on your desktop by clicking the Finder menu, selecting "Preferences," and then checking the "External disks" box.[1]
- If the drive does not appear in Finder or on your desktop, see the next section.
Advertisement -
3Open the drive to view its contents. Double-click the drive on your desktop or select it from the left frame of a Finder window to view the contents of the drive. You can start dragging and dropping files into the drive, or copy files to your Mac's internal hard drive.
Formatting a New Drive
-
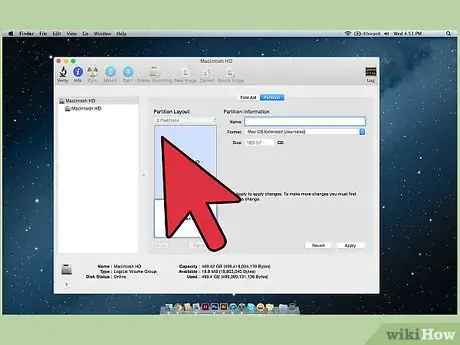
1Open the Disk Utility. Most external hard drives are pre-formatted to work with Windows computers, but this severely limits their functionality on a Mac. If your new external drive is formatted for Windows, you'll be able to read from it but you won't be able to write to it. You can format it to the proper file system using Disk Utility.
- On the Desktop, click the "Go" menu, select "Utilities," and then "Disk Utility."
- Formatting the drive will erase everything on it. This is fine for new drives, but if you're trying to use an older drive that already has files on it, you'll need to save them before you start formatting.
-
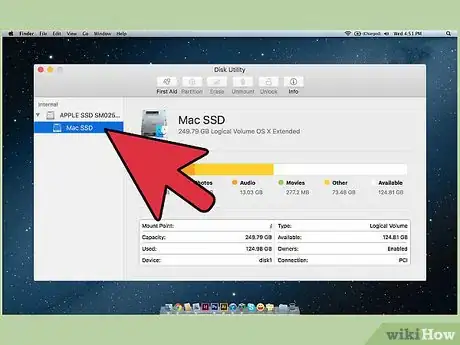
2Select the hard drive from the left menu. You'll see a list of all of your connected drives in this menu. Select your new external drive from the list.
- If you don't see your drive here, see the next section.
-
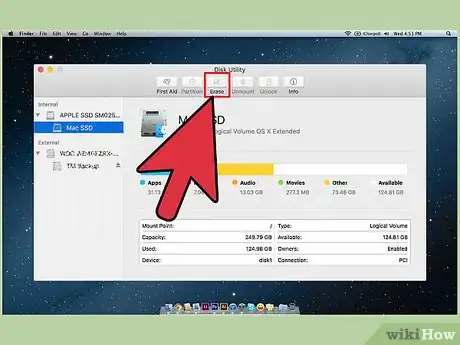
3Click the "Erase" button at the top of the Disk Utility window. This will start the drive formatting process.
- This will erase everything on the hard drive, so make sure any important data has been backed up. If the drive is in Windows format, you can still copy the files you want to save to your Mac before formatting it.
-
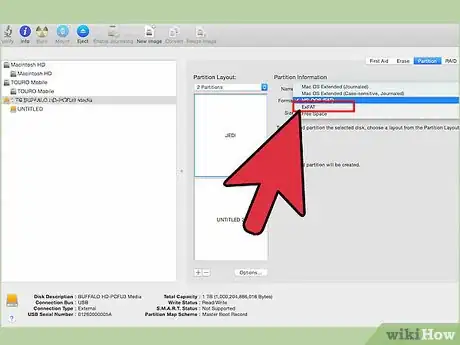
4Select "ExFAT" from the "Format" menu. This format is compatible with Mac OS X, Windows, and Linux, allowing you to move your hard drive easily between systems. unlike earlier versions of FAT, there are no practical limits on file size or volume size, which means you can use it on any size drive.
- If you're only planning on using the drive with your Mac, select "Mac OS Extended (Journaled)." This will allow you to take advantage of all of your Mac's features with the drive, such as Time Capsule.
-
5Click "Erase" to format the drive with the selected format. This is irreversible, and will erase all data that is currently on the drive. The time the format takes will vary depending on the size of the drive.
-
6Try your newly-formatted drive. Once the drive has been formatted properly, it will appear on your desktop. Double-click it to open it, and you should be able to add file to it and remove files from it.
Troubleshooting
-
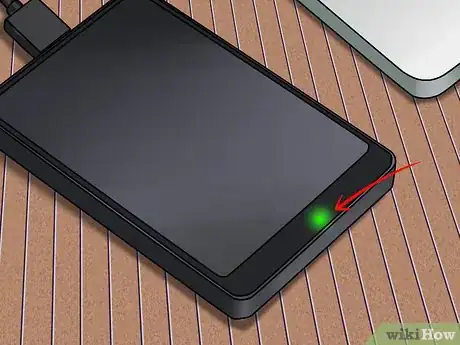
1Ensure the drive is properly connected. Make sure that all of the cables are properly connected to the drive and to the Mac. If a cable has come lose, the drive will not appear.
-
2Make sure the drive has enough power. Some external drives require a separate power connection. You may need to get dual USB cable. This cable has a single USB plug on one end that goes into the external drive, and then splits into two plugs that both get inserted into your Mac.[2]
-
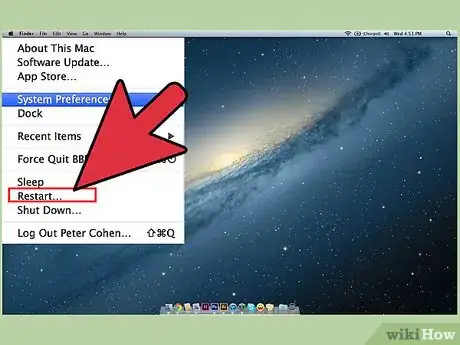
3Restart your Mac. Oftentimes, there are problems with your Mac or hard drive that can be fixed with a simple power cycle. Shut your computer down completely from the Apple menu, and then turn it back on with the Power button. There's a good chance that the drive you connected will appear after restarting.
-
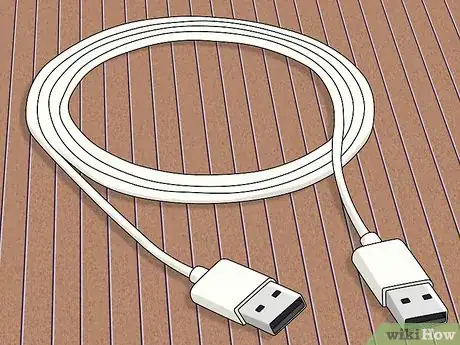
4Try different cables and ports. You may have a faulty USB cable, or one of the USB ports on your Mac may be malfunctioning. Try plugging the hard drive into a different USB port using a different USB cable.[3]
-
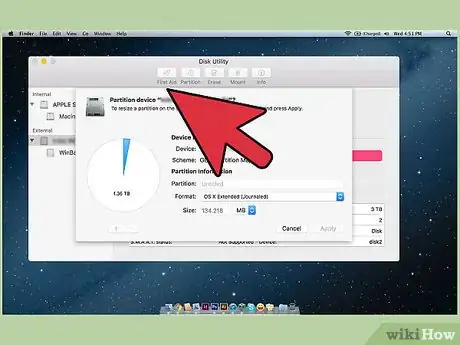
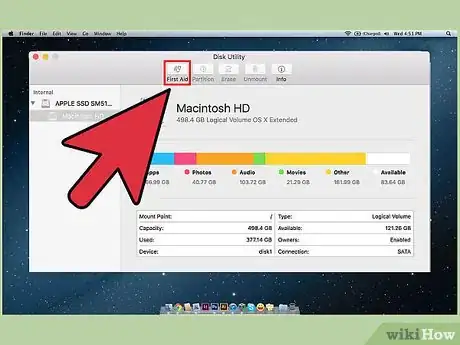
5Run First Aid on the drive. Disk Utility includes some drive repair functions that can get a malfunctioning drive working again.
- Open Disk Utility from the Utilities folder.
- Select your drive and click the "First Aid" button.
- Click "Run" to begin scanning the drive for errors.
- Allow the utility to fix any errors it finds. This may allow you to start using the drive again. Be aware that if errors have appeared, this could be an early warning sign of impending disk failure.
-
6Consider replacing the drive. All hard drives eventually fail. The probability that you hard drive will fail increases with each year that you use it. Even new drives fail at a rate that would surprise most people. If your drive is four years or older and isn't appearing no matter what you do, there's a very good chance that it's simply dead.
- You can try plugging it into a different computer to see if it appears. If it's not appearing anywhere, it may be time for a new drive.
Community Q&A
-
QuestionAfter formatting with Exfat, Will my HDD work on both Windows and Macbook?
 Paulo GonçalvesCommunity AnswerYes.
 -
QuestionI have an external hard drive that it is attached to the new Macbook pro via an adapter. How can I access the drive?
 Paulo GonçalvesCommunity AnswerIf it has the correct format, it will show up in you desktop. If it doesn´t show up in the desktop, check if the the option "external drives" is checked in Finder Preferences, General.
 -
QuestionWill this erase all of my files?
 Paulo GonçalvesCommunity AnswerNo. The contents will only be erased if you format or partition the connected hard drive.
