X
This article was co-authored by Marvin Woo. Marvin Woo is a licensed electrician and the Owner of Woo's Electrical & Appliance based in East O’ahu. With over two decades of experience, he specializes in troubleshooting issues and maintaining residential electrical systems. Marvin is both licensed and insured to complete electrical work in the state of Hawaii.
This article has been viewed 116,471 times.
This article will show you how to expand electrical-insulating heat shrink tubing by stretching it.[1]
Steps
-
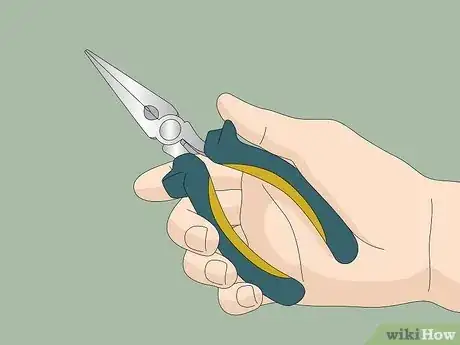
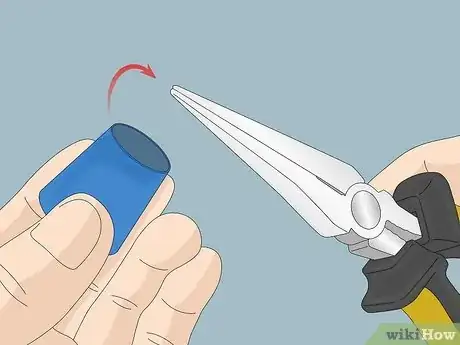
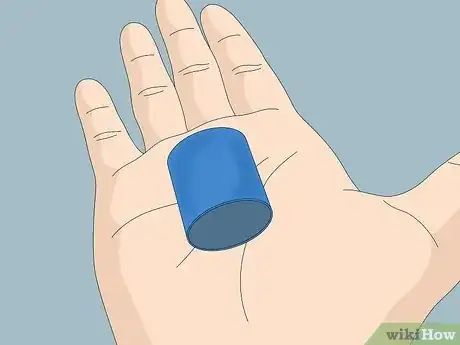
1Select the right tool for the size of the heat shrink tubing you want to expand.
Most smaller tubing is easy to stretch with needle-nose pliers. If possible, find a pair with extended ends to accommodate longer sections of tubing.[2] -
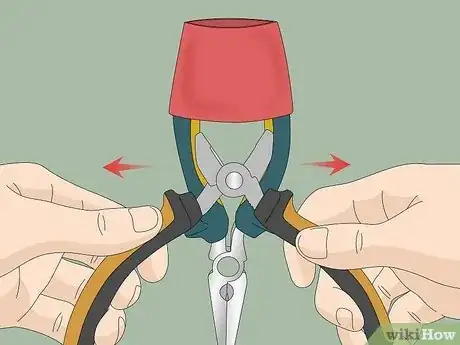
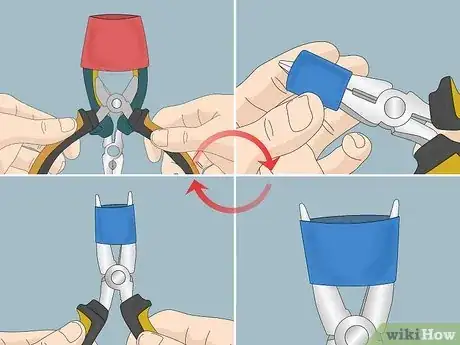
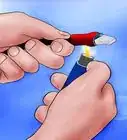
2To stretch larger tubing, use a combination of two pliers to expand the tubing as shown in this illustration.
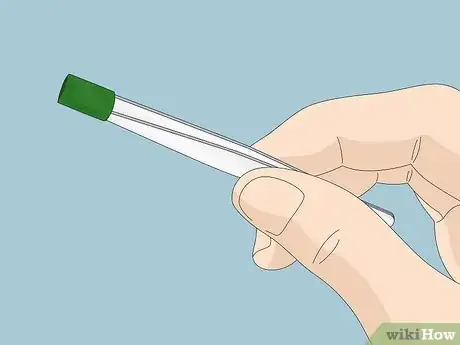
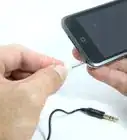
- Extremely small tubing calls for tweezers with needlepoint tips, such as LTD's Tweezerman models.
Advertisement -
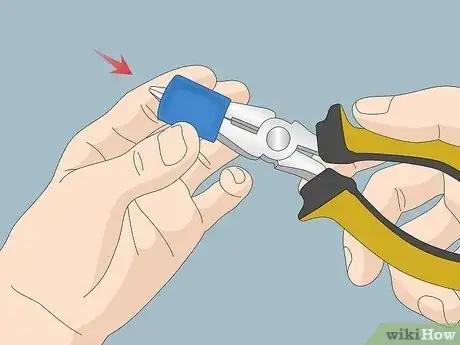
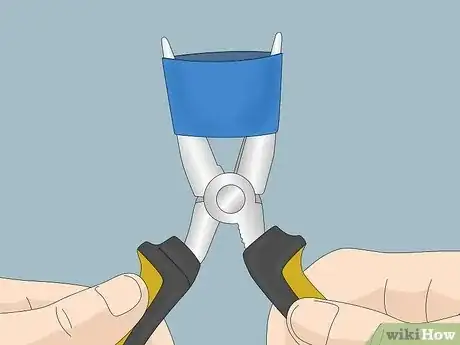
3Insert the tweezers or pliers into the tubing as far as possible. Make sure the tool used is completely closed.
-
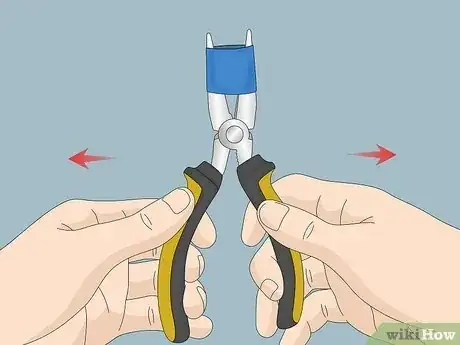
4Pull the pliers apart slowly to open up the ends. If using tweezers, use a jeweler's screwdriver to help pry the tweezers apart.
-
5Stretch the tubing only a little at a time to avoid tearing or puncturing it.
-
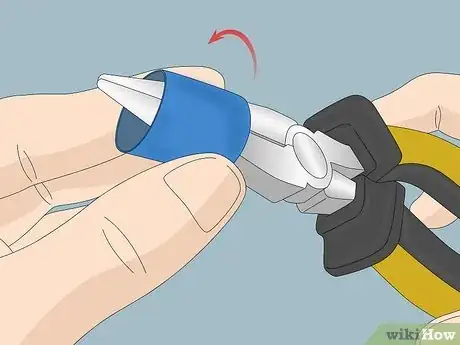
6Close the tweezers or pliers and rotate the tubing slightly.
-
7Repeat steps 2 through 5 until you have rotated the tubing enough to return to your starting point.[3]
-
8Flip the tubing to so that the other end of it fits over the tweezers or pliers, and repeat the above steps.
-
9The tubing is now ready for use.
Advertisement
Expert Q&A
-
QuestionWhat's the right way to put heat shrink tubing on a wire?
 Marvin WooMarvin Woo is a licensed electrician and the Owner of Woo's Electrical & Appliance based in East O’ahu. With over two decades of experience, he specializes in troubleshooting issues and maintaining residential electrical systems. Marvin is both licensed and insured to complete electrical work in the state of Hawaii.
Licensed Electrician Place the section of heat shrink tubing onto your wire before you actually fuse it on. Once in place, center the heat shrink tubing on the wire and use a heat gun to apply heat to all sides of the tubing, which will evenly shrink it.
 -
QuestionHow do I know if I have heat shrink tubing that's the right size for my wire?
 Marvin WooMarvin Woo is a licensed electrician and the Owner of Woo's Electrical & Appliance based in East O’ahu. With over two decades of experience, he specializes in troubleshooting issues and maintaining residential electrical systems. Marvin is both licensed and insured to complete electrical work in the state of Hawaii.
Licensed Electrician Generally, heat shrink tubing should be just slightly larger in diameter than the wire you want to insulate so that it's easy to slip on. When you heat the heat shrink tubing, it will then fit perfectly around your wire.
Advertisement
Warnings
- Be gentle with delicate tweezers. Using any metal object to pry them apart, as in the illustrations above, can damage them.⧼thumbs_response⧽
- Be careful when cutting off sections of the sleeving. If the cut is uneven or jagged, that will make the tubing more susceptible to tearing when stretched.⧼thumbs_response⧽
- Expanding any tubing beyond its original size changes its thickness and may affects its dielectric withstanding voltage. If your project or application of expanded tubing is already within close tolerances, test an expanded section of tubing first, in a safe, controlled environment.⧼thumbs_response⧽
Advertisement
References
About This Article
Advertisement
