wikiHow is a “wiki,” similar to Wikipedia, which means that many of our articles are co-written by multiple authors. To create this article, 19 people, some anonymous, worked to edit and improve it over time.
This article has been viewed 172,953 times.
Learn more...
3D letters are very important, especially in design. They give emphasis and are often titles or taglines for designs. There are many ways to make 3D letters, all you have to do is follow this tutorial and you'll be making your own very soon.
Steps
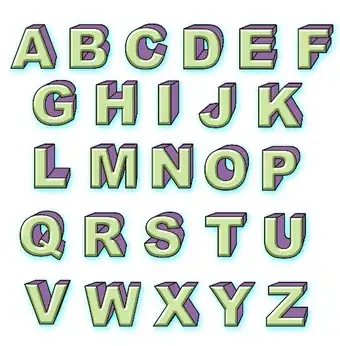
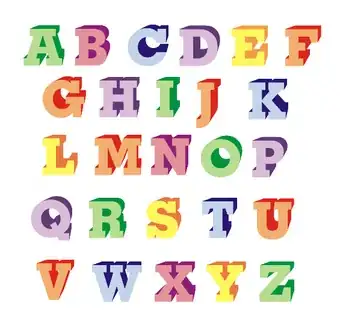
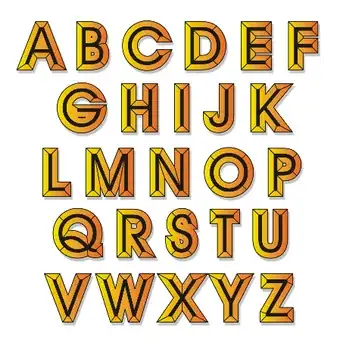
Sample Alphabets
Digital Method
-
1Open your graphic designing program and type in your desired "Text" using the Text box. 3D will be used as the "Text" for this example.
-
2Transform the text. Skew, rotate or distort the text to whatever your design needs.Advertisement
-
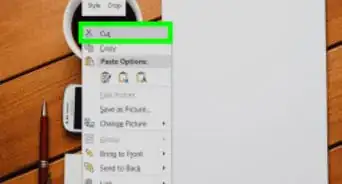
3Define the front. You will be making copies of the original text so you need to define it by giving it a different color.
-
4Duplicate the black text. Keep duplicating the shadow text until you reach the front.
-
5Refine the edges to smooth out some jagged edges from the text.
-
6Add some finishing touches to the piece like some highlights or some shadows.


Traditional Method
-
1Sketch the text lightly using a pencil. Don't worry if it's a bit messy as you will ink it later on. Don't forget to add boldness to each letter as you need it to convey shadows.
-
2Add depth to the sketch. The trick is to copy the contours of the text/ letters and there you have it, depth!
-
3Ink the drawing and erase the sketch.
-
4Fill in some colors. The top part should be a lighter color while the depth should be darker.
-
5Add some finishing touches to the piece like some highlights or some shadows.


A
-
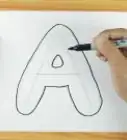
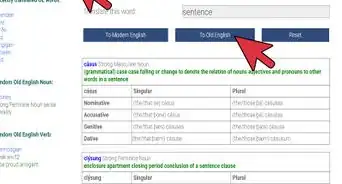
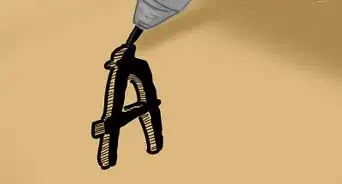
1Draw simple sticks of the letter A as the main guideline for the bubble letter A.
-
2Using the letter A guideline, draw an outline sketch of letter A. Simply draw a very light line that will look like it is covering the letter. If you want it thicker, show more space on the inner part of the bubble letter A.
-
3Fill in the basic color. Pick your favorite color and fill it in the bubble letter A outline.
-
4Add the highlights. Now, use lighter shade of the color you chose to show the highlight. This shows the 3d effect on the letters. Light and shade is very important in showing the 3D effect on any drawing.


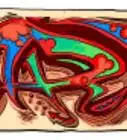
B
-
1Use the same outline sketching for the letter B. Basically, we will be doing the same techniques for the entire alphabet.
-
2Fill in the basic color for the letter B.
-
3Add the shadow with darker tones of color.
-
4Add lighter tone of color, and smudge the areas of the highlight and shadow to show the 3D effect.


C


D


E


F


G


H


I


J


K


L


M


N


O


P


Q


R


S


T


U


V


W


X


Y


Z


SHADOW EFFECT
-
1Gather all the 3D bubble letters that you have done.
-
2Add more shadow effect to show that there is only one source of light. Lighting effect is very important in drawing any 3D objects. So make sure that everything is synchronized with the light source.
-
3Finish the effect by adding the cast shadow. If the light source is coming from the upper areas, the shadows should be shown on the areas that are against the light.


Community Q&A
-
QuestionHow many letters are in the alphabet?
 Katrina ImCommunity AnswerIt depends on what language you are talking about. English has 26 letters, while other languages have more or fewer. For example, Finnish has 29, Cambodian has 74, and Hebrew has 22.
Things You'll Need
- Paper
- Pencil
- Pencil sharpener
- Eraser gum
- Colored pencils, crayons, markers or watercolors
-Step-12.webp)

About This Article
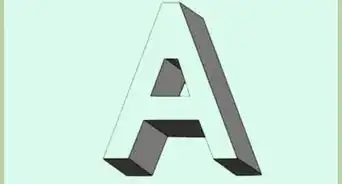
To draw 3D letters, start by lightly sketching the letters with a pencil and adding contours around them to give the letters depth and add a 3-dimensional quality. Next, trace around the letters with ink and erase the pencil lines. Then, fill in the top part of the letters with a lighter color and use a darker color for the contours. Finally, add some finishing touches to the letters, like highlights or shadows. For more tips, including how to create 3D letters digitally, keep reading!


-Step-12.webp)