This article was co-authored by wikiHow Staff. Our trained team of editors and researchers validate articles for accuracy and comprehensiveness. wikiHow's Content Management Team carefully monitors the work from our editorial staff to ensure that each article is backed by trusted research and meets our high quality standards.
There are 7 references cited in this article, which can be found at the bottom of the page.
This article has been viewed 239,880 times.
Learn more...
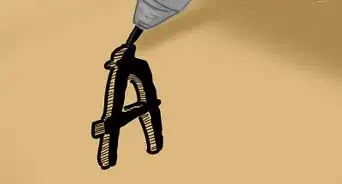
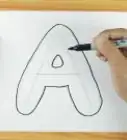
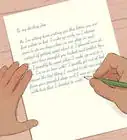
Whether you want to create a document or address some wedding invitations, Old English lettering will add a flourish to your writing. With the right tools and a little practice, your writing can look like a work of art.
Steps
Collecting the Materials
-
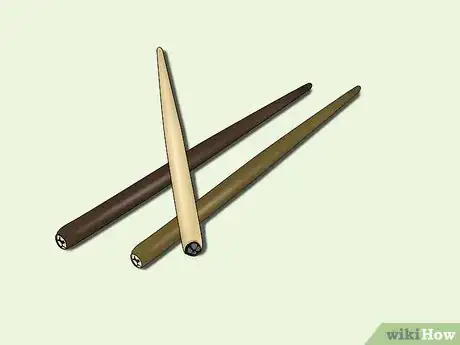
1Start with a nib holder. This is the first step to building your dip pen. The nib holder is the main stem of the pen. They are molded in a sweeping shape and are thinner at the top then the swollen area where you will hold it. It comes in different materials like cork, wood and plastic, as well as straight or oblique.
- You will want to start with a straight nib holder and maybe move on to the oblique holder when you start experimenting with different angles and scripts.
- Most nib holder are plastic or wood. This comes down to a matter of preference. Pick them up and play with them. Some will be heavier or wider. Choose whichever is most comfortable for you.
-
2Collect some nibs. Nibs are the metal writing apparatus at the end of the pen. They come in different shapes, sizes and levels of flexibility. The mount on the nib, where it attaches to the nib holder, also varies. Be sure that the nib you choose is compatible with your holder.[1]
- The easiest shape to begin with is the italic nib. This has a single, blunt edge and limited flexibility. This will help you create a more consistent line.
- Choose a nib with a mid-range tip size. Avoid one which is too thin or too thick.
- The italic nib should not have much flexibility. Flexibility is more suited to point nibs which have two tines that separate with added pressure.
Advertisement -
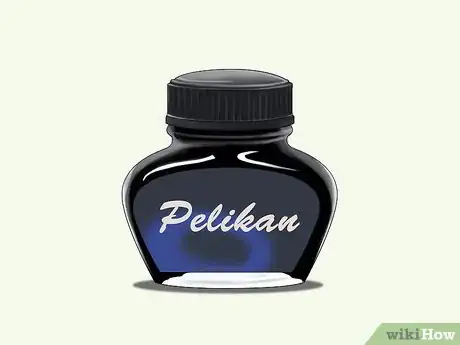
3Choose your ink. As you may guess, ink comes in different colors, but they also come in waterproof and not waterproof, and pigment or dye-based, transparent and opaque and various levels of "lightfastness." Before you get too overwhelmed, know that dip pens will work with all of these and the choice is largely a matter of preference.
- Start with a black ink.
- For your first ink, try something with a decent flow. Pelican 4001 is water-soluble and easy to use. Higgens Calligraphy Ink is waterproof and free-flowing.
-
4Find the perfect paper. It is best to start with a calligraphy practice pad. This paper will be thick enough that the ink won’t bleed. It should be lined to assist you in creating consistent letters.[2]
-
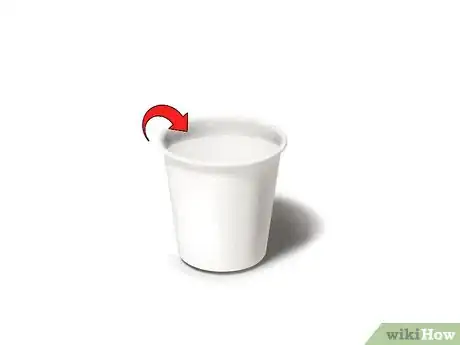
5Fill a cup with water. This will be used to clean your nib periodically. It will become ink stained, so make sure that you use a cup which will be dedicated as your drawing water cup from now on.
Practicing Writing
-
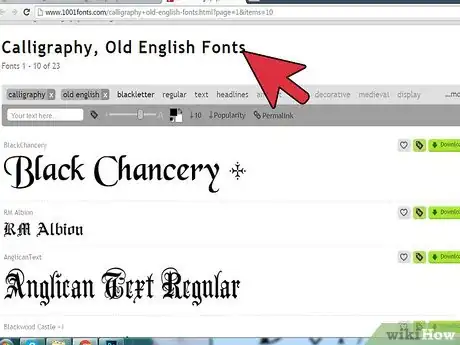
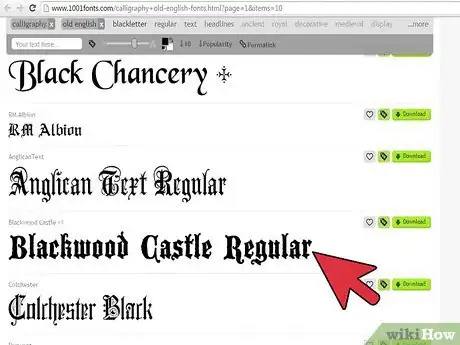
1Print out an Old English font. There are several Old English fonts available online.[3] Clearly you would prefer to draw your own, but these are helpful tools for practicing. Choose a relatively simple version of the font to begin with. Avoid fonts which looks complicated or have a lot of decorative flourish.
-
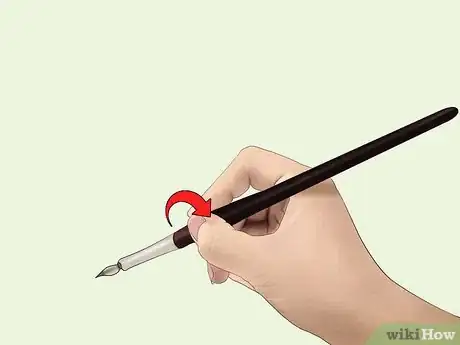
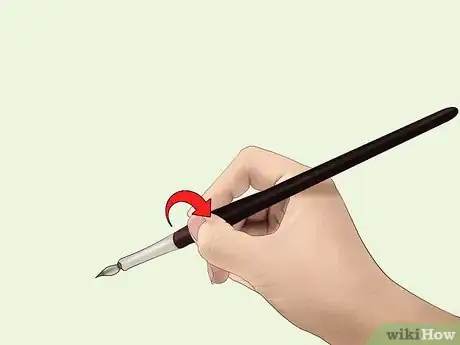
2Pick up your pen. You will want to hold the pen by the holder as opposed to the nib. You can hold it just like you would a fountain pen, between your thumb and forefinger. You generally want to hold the tip at a 45 degree angle on the paper so your nib would produce a diamond shape when you move it in the same direction it is angled.
-
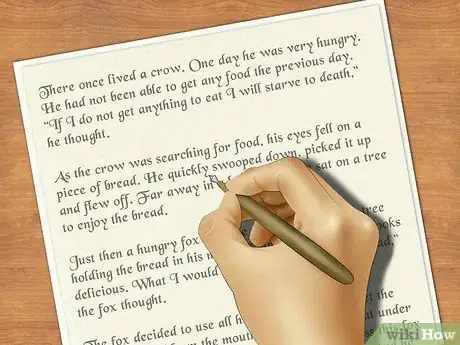
3Trace the letters on your print out with your pen. Start this with no ink at all before you move on to using ink. Get a feel for how to hold the pen and move it over the paper. Test out turning the tip at different angles. Repeat this process after inking your pen.
-
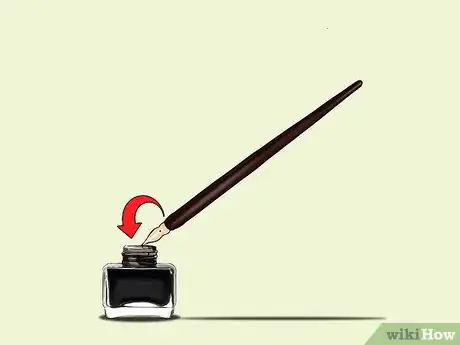
4Dip your pen in the ink. Only dip it as far as the vent hole. This is the hole in the center of the nib. Dipping further than the vent hole will likely provide too much ink, which will then pool on the paper.
- If the ink seems stuck and isn’t flowing, dip the very tip of your nib in the cup of water to draw it out.
- Dip the entire nib in water every couple of minutes to rinse it. This is especially important with permanent inks as it will be difficult to remove the ink from the nib once it dries.
-
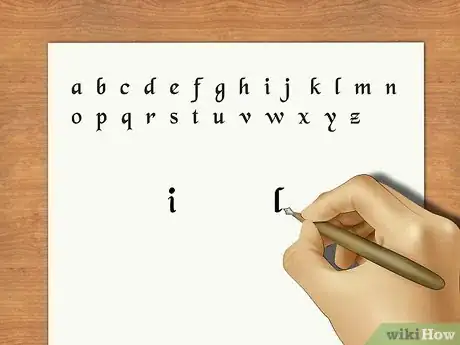
5Start simple with the letters “i” and “l.” Lower case letters are generally less elaborate in the Old English alphabet and therefore easier to begin with. These two letters also involve only one simple line. This will be the basis for the rest of your practice.
- Ink your pen and place it on your blank piece of paper with the tip at a 45 degree angle. Draw the pen in the same direction as the nib is angled until you have made a diamond with approximately equal sides. This is the top of your “i” and is known as a lozenge. Starting in the center, bottom portion of the lozenge, still holding the pen at a 45 degree angle, draw the pen straight down to create the stem, or minim, of the “i.” Repeat the process of creating a lozenge to cap off the bottom of the letter. This time, keeping your pen at the same angle when you reach the bottom, draw the pen up and to the right at the opposite 45 degree angle to make a thin upward tick like a tail. You can also repeat this tick move to dot the “i.”
- Create an “l” using the same process as creating the “i.” The difference here is that the minim will be longer by several nib lengths. The trick is to maintain a steady hand to keep the line straight and constant.
- Repeat these two letters several times before moving on to letters involving more curves and pen strokes.
-
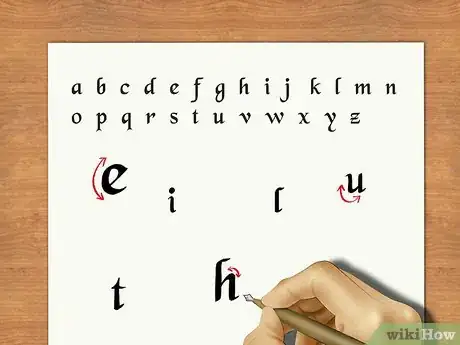
6Add curves to your writing. All letters are made of a combination of pen strokes. At this point you will want to add curvature to a letter. This is done by either elongating the stroke you used to create the tick at the end of the “i,” or by changing the direction you pull the pen after a couple of nib lengths.
- To create the bottom of a “u,” simply make the same tick you used at the end of the bottom lozenge of the “i,” but elongate it to 1-1.5 nib lengths. Use the exact same process as creating an “i” to finish off the “u.”
- Reverse the tick move to create the top portion of the letter “c.” Begin by moving your pen upward to create a thin tick, then pulling it back down at the 45 degree angle to make the top of the “c.” Return your pen to the beginning of the tick mark and pull it straight down for a couple of nib lengths, then 45 degrees to the right for another couple of nib lengths to create the curve. Then draw the pen up to create an elongated tick of about 1.5-2 nib lengths to complete the “c.”
-
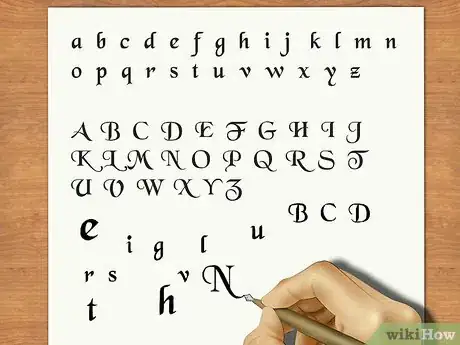
7Practice the entire alphabet. These few strokes are all you need to be able to complete the alphabet. Practice them in different combinations to complete all of the lower case letters several times, then move on to making capital letters
-
8Experiment with variations on Old English fonts. There are some which are more decorative than others. As your skills increase, consider adding more detail to your letters.
- Increase the size and detail in the first letter of a paragraph or page.
- Draw a box around the first letter and fill it with vines, flowers, or your own design.
Learning the Alphabet
-
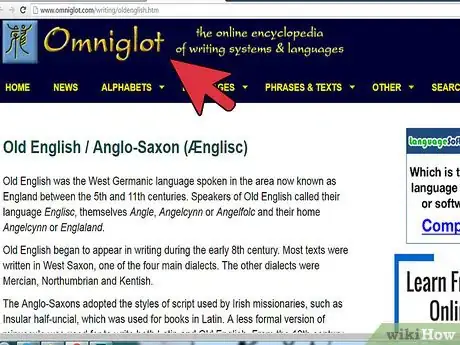
1Know the history of the Old English alphabet. Old English, also know as Anglo-Saxon, was the Germanic language used in England between the 5th and 11th centuries. It entered into writing in about the 8th century. The style of writing was largely influenced by that of Irish monks.[5]
-
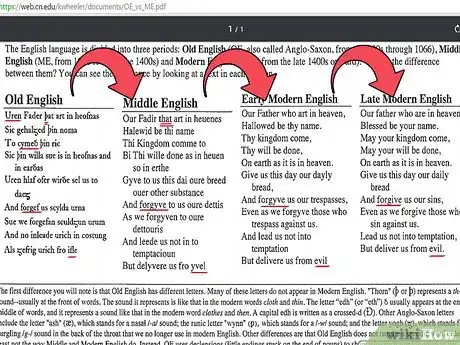
2Learn the lost letters. There are several letters which were used in Old English, which no longer exist in our modern lexicon.[6] Learning these letters will enhance your Old English writing with authenticity.
- ”Thorn” looks like a “b” with an elongated stem and represents a hard “th” sound and is often used at the beginning of words.
- To create the softer “th” sound like in the word “clothes,” the letter ”edh” is used in the middle or end of words This letter is drawn as an “o” with a tick on top, or as a capitol “D” with a line through the straight side when it is used at the beginning of a word.
- The letter “ash” looks like a combination of an “a” and an “e.” It creates an “a” sound like in the word ran.
- ”Wynn” looks a little like “P,” but with the curve drawn all the way to the bottom of the stem and creates a “w” sound.
- ”Yogh” looks similar to the number 5 and is meant to represent a gurgling “g” sound, which can’t be compared to any sound in modern language.
-
3
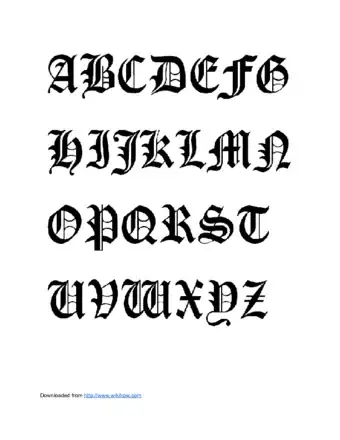
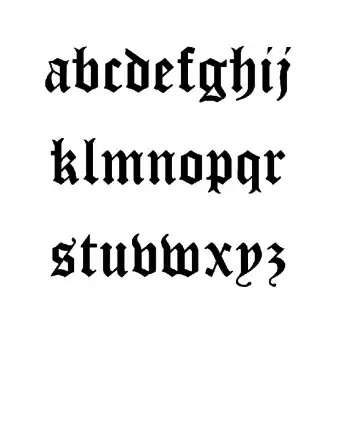
Sample Basic Alphabets
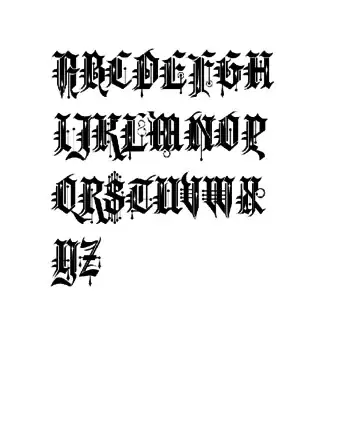
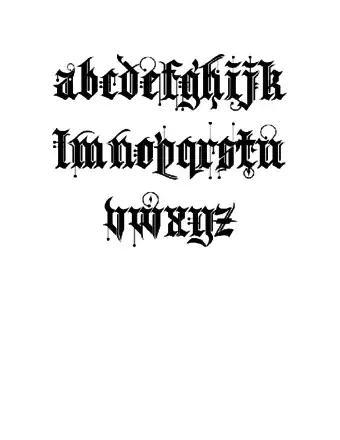
Sample Advanced Alphabets
Community Q&A
-
QuestionCan this be done on rice/waffer paper?
 Grace ChancellorCommunity AnswerIt is not recommended to write on edible paper. Try using normal paper, but stain it with a wet teabag and crinkle the edges.
References
- ↑ http://www.jetpens.com/blog/guide-to-nibs-and-nib-holders/pt/763
- ↑ http://www.jnbooksellerblog.com/best-practice-paper-calligraphy/
- ↑ http://www.1001fonts.com/calligraphy+old-english-fonts.html?page=1&items=10
- ↑ http://www.sitepoint.com/the-blackletter-typeface-a-long-and-colored-history/
- ↑ http://www.omniglot.com/writing/oldenglish.htm
- ↑ https://web.cn.edu/kwheeler/documents/OE_vs_ME.pdf
- ↑ https://web.cn.edu/kwheeler/documents/OE_vs_ME.pdf
- ↑ http://www.oldenglishtranslator.co.uk
About This Article
Using old English letters is a great way to spice up your writing. While it’s easiest to use a calligraphy set, you can also use a pen and paper. An easy way to do this is to print out your message using an Old English font, then trace over it. If you’d rather learn to write each letter, start with some simple ones like “i” and “l.” Both of these letters are written like regular English, except that they have little swoops at the top and bottoms of the letter. To learn how to use the lost letters of Old English, read on!
-Step-12.webp)
