X
This article was co-authored by wikiHow staff writer, Jack Lloyd. Jack Lloyd is a Technology Writer and Editor for wikiHow. He has over two years of experience writing and editing technology-related articles. He is technology enthusiast and an English teacher.
The wikiHow Tech Team also followed the article's instructions and verified that they work.
This article has been viewed 185,310 times.
Learn more...
This wikiHow teaches you how to burn a downloaded movie file onto a DVD. You can do this on both Windows and Mac computers. Before downloading a movie, make sure that you aren't breaking any anti-piracy laws by doing so.
Steps
Part 1
Part 1 of 3:
Downloading a Movie
-
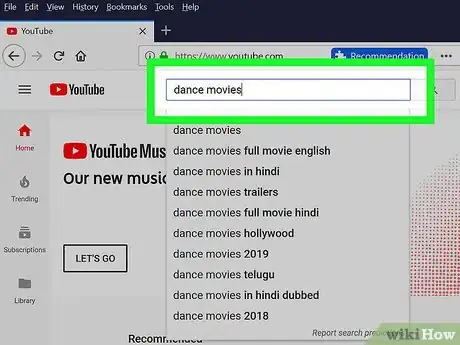
1Search for the movie you want to download. You can download YouTube movies, or you can search for a movie on any file-sharing site.
- You'll typically have to purchase the movie before you can download it legally.
- If you're on a torrent site, you can use uTorrent or BitTorrent to download movies.
-
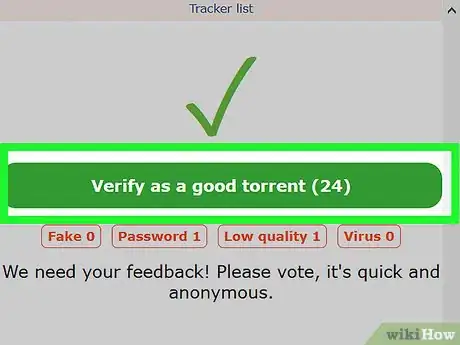
2Make sure that the movie is safe to download. Look at what other site users have said about the download, check its ratings, and verify the website's safety.
- You should also make sure that the video's format will work on your computer with your video player.
Advertisement -
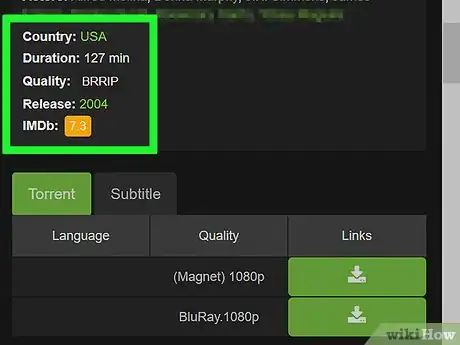
3Check the video's attributes. Many file sites post the video's quality and language next to the title of the movie or in the description box; if this information doesn't match your expectations, you'll need to download a different version of the movie.
-
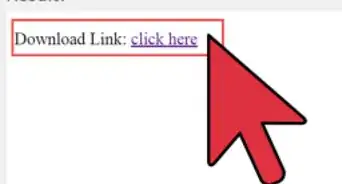
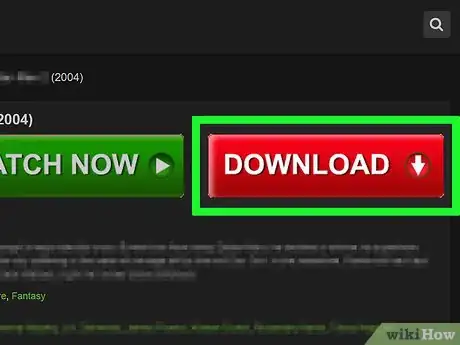
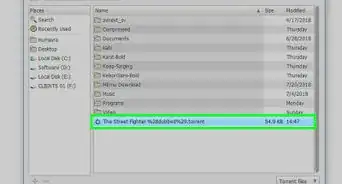
4Download the movie. Click the "Download" button near the movie. This button will differ from site to site, so look for links and arrows as well as actual Download buttons.
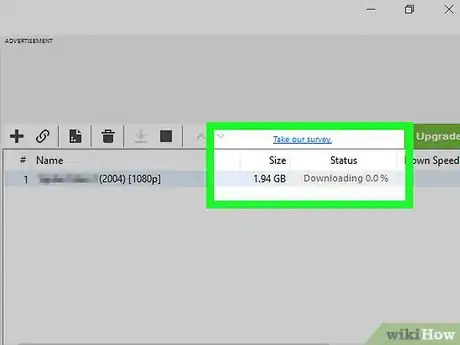
- Depending on your browser's settings, you may have to select a download location (e.g., the desktop) before the file will actually download.
- Make sure the button you click is the site's actual download button and not a pop-up ad. The download button will usually be a link rather than a giant, green, flashing button.
-
5
Advertisement
Part 2
Part 2 of 3:
Burning on Windows
-
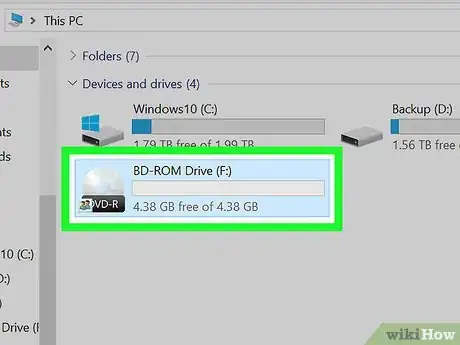
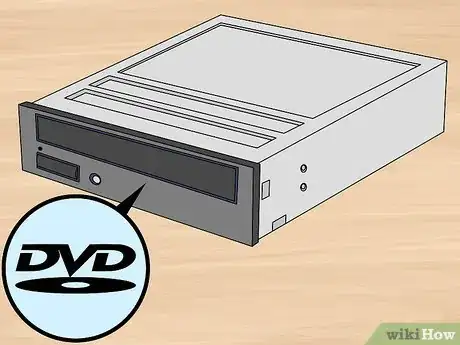
1Insert a blank DVD-R into your computer's CD tray. The DVD has to be blank (e.g., brand-new) and logo-side-up for this to work.
- The CD tray must be able to burn DVDs. You can tell whether or not your computer's CD tray can burn DVDs by looking for the "DVD" logo on or near the CD tray.
-
2
-
3
-
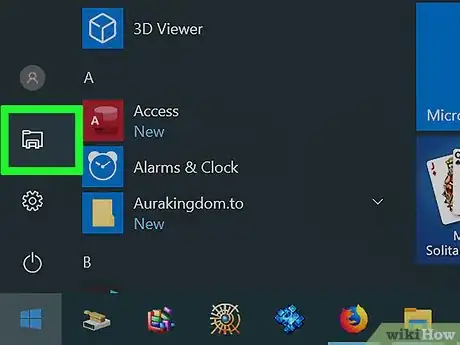
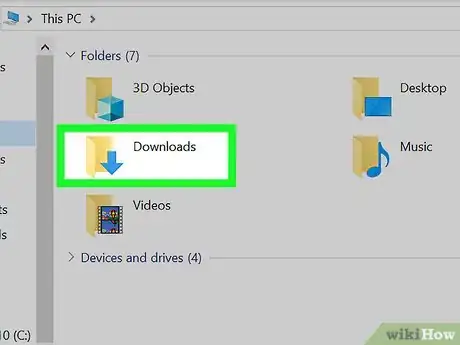
4Select a file location. Click the folder into which you downloaded your movie.
-
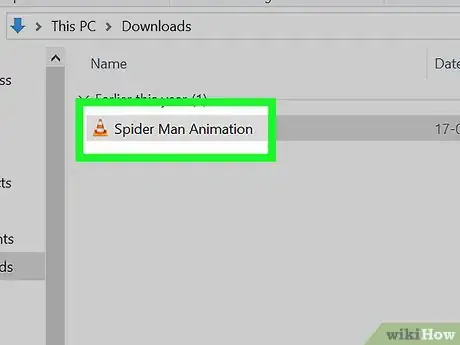
5Select your movie. Click your movie to select it.
-
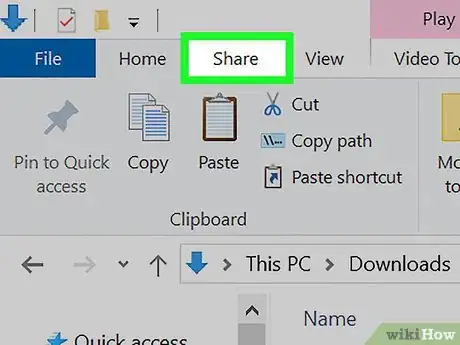
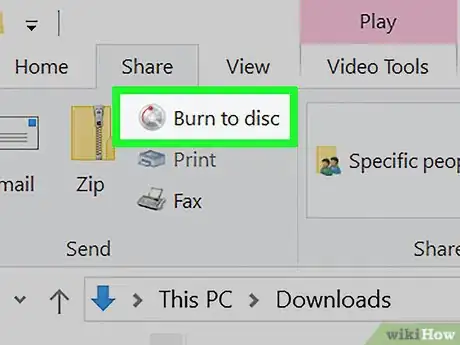
6Click Share. It's a tab in the upper-left side of the window. Doing so prompts a toolbar to appear below the top of the window.
-
7Click Burn to disc. You'll find this in the "Send" section that's on the left side of the toolbar. A window will open.
-
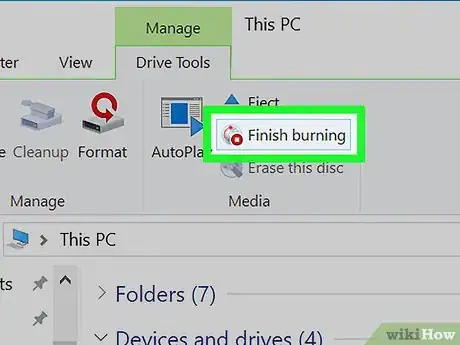
8Click Burn. It's at the top of the window. Your movie will begin burning onto your DVD.
- This process will take anywhere from several minutes to an hour or more depending on the size of the movie and your computer's burn speed.
-
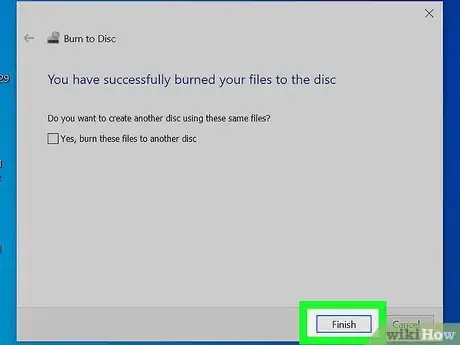
9Click Finish when prompted. It's at the bottom of the window. After you click Finish, you can eject your DVD from your computer and test it in a DVD player of your choosing.
Advertisement
Part 3
Part 3 of 3:
Burning on Mac
-
1Buy and plug in an external DVD writer. Since most Macs don't have disc trays anymore, you'll need to buy an external DVD drive and attach it to your computer via a USB cable.
- Make sure that the DVD reader that you buy can "burn" or write DVDs before purchasing it.
- You may also need to buy a USB-3 to USB-C adapter if your Mac is one of the most recent models.
- Skip this step if your Mac already has a DVD drive with DVD writing capabilities.
-
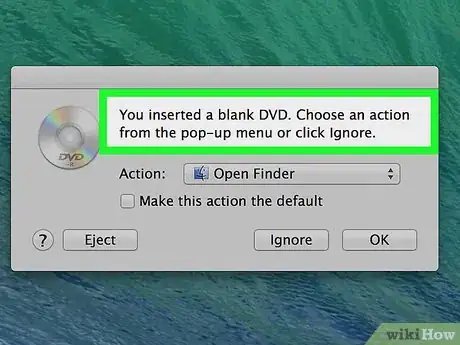
2Insert a blank DVD-R into your Mac's CD tray. The DVD has to be blank (e.g., brand-new) and logo-side-up for this to work.
-
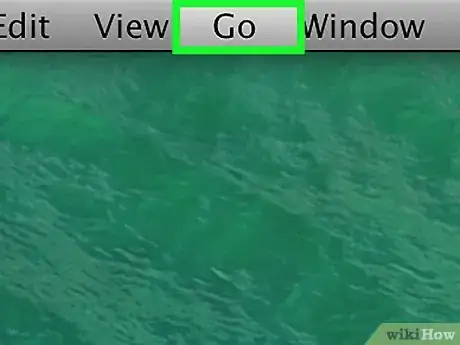
3Click Go. It's a menu item at the top of your Mac's screen. Clicking it prompts a drop-down menu to appear.
- If you don't see Go, click your desktop or the Finder to prompt Go to appear.
-
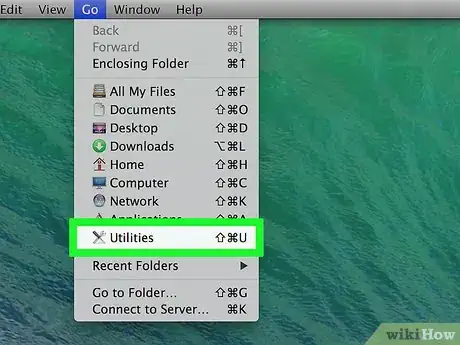
4Click Utilities. You'll find this near the bottom of the Go drop-down menu. A window will open.
-
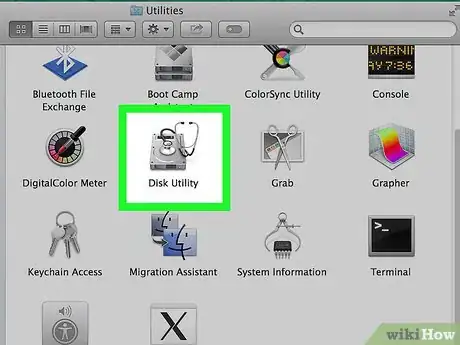
5Double-click Disk Utility. It's a grey hard drive icon with a stethoscope on it. Doing so opens the Disk Utility window.
-
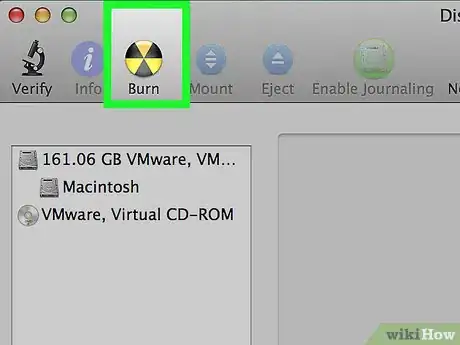
6Click Burn. This is a radioactive symbol-shaped icon at the top of the window.
-
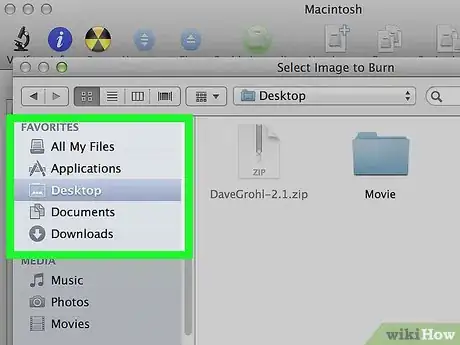
7Select a file location. Click the folder into which you saved your movie. You'll find the folder in question on the left side of the Finder window.
-
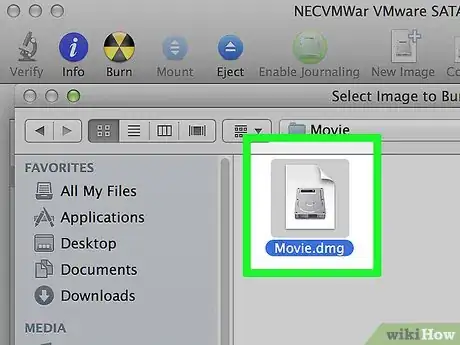
8Select your movie. Click the movie file to do so.
-
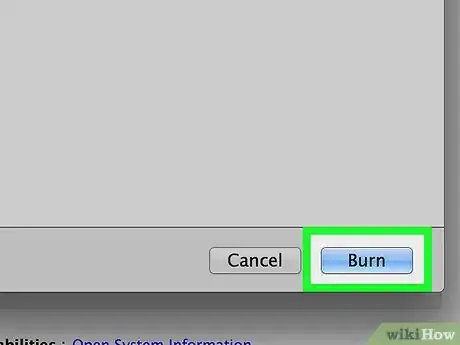
9Click Burn. It's in the bottom-right corner of the window.
-
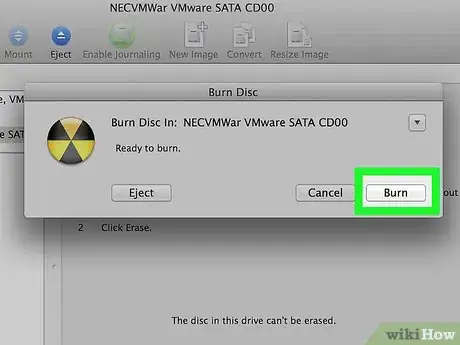
10Click Burn when prompted. You'll see this in the pop-up menu near the top of the Disk Utility window. Your movie will begin burning onto the DVD.
-
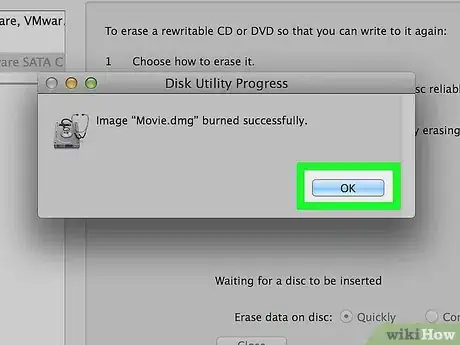
11Click OK when prompted. It's in the bottom-right corner of the window. After you do this, you can eject your DVD from your computer and test it in your preferred DVD player.
Advertisement
Community Q&A
-
QuestionHow do I play media from my SD Card on my DVD player?
 Community AnswerTry burning the media onto a CD or DVD and play it on your player.
 -
QuestionDoes this process work on a Mac?
 Community AnswerVery differently. The software used for piracy of movies may not be allowed to run or may not have a certificate on a Mac, and may be unverifiable. This can cause issues, slowness, or even a full-on infection of all of your system files (not like OSX wasn't full on infection to begin with). Try Windows, you won't regret it.
 -
QuestionHow do you manage if the movie length exceeds the two hours of the DVD disc?
 Community AnswerBurn it to a dual layer (DL) DVD - but you need a burner capable of burning dual layer disks.
Advertisement
Warnings
- Regular DVDs only support 4.7 gigabytes of data. You can buy a DVD+R DL DVD, which supports 8.5 gigabytes, for larger videos.⧼thumbs_response⧽
Advertisement
About This Article
Advertisement


-Step-23.webp)

