This article was co-authored by wikiHow staff writer, Nicole Levine, MFA. Nicole Levine is a Technology Writer and Editor for wikiHow. She has more than 20 years of experience creating technical documentation and leading support teams at major web hosting and software companies. Nicole also holds an MFA in Creative Writing from Portland State University and teaches composition, fiction-writing, and zine-making at various institutions.
This article has been viewed 61,732 times.
Learn more...
Whether you have a Microsoft 365 subscription or a product key for another version, installing Microsoft Word for macOS is easy. We'll show you two simple options to install Microsoft Word on your Mac—by using the App Store or by downloading from Microsoft's website.
Steps
Installing Word from Microsoft.com
-
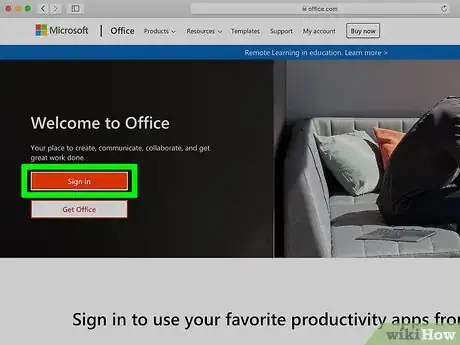
1Go to https://www.office.com in a web browser. If you're not already signed in with your Microsoft account, click the Sign in link at the top-right corner to sign in now.
- If you have a Microsoft Office 365 subscription through your work or school and want to download that version of word, sign in with your work or school account.
- If you haven't yet purchased Microsoft Word or a Microsoft 365 subscription, you can do so at https://www.microsoft.com/en-us/microsoft-365/buy/compare-microsoft-365-products-for-mac.
-
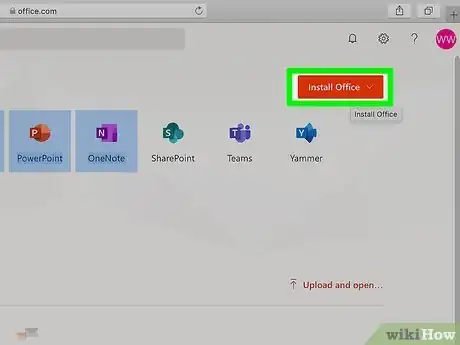
2Click Install Office. You should see it near the top-right corner of the page. If you're installing Microsoft Office 365 or Office 2019, this downloads the installer to your Mac.
- If you're downloading Word 2016 or Word 2013, click the Services and Subscriptions link at the top of the page, select Word from the list of applications, click Install, and follow the on-screen instructions.
Advertisement -
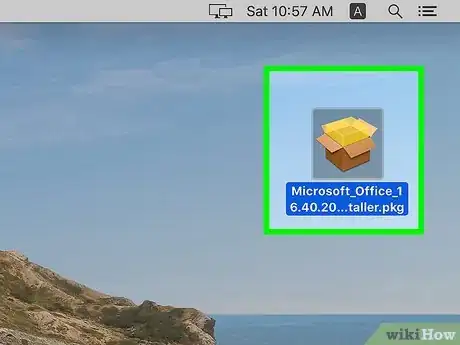
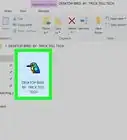
3Double-click the downloaded installer file. You'll find it in your Downloads folder in Finder. If you downloaded Office, it'll be called Microsoft Office installer.pkg or something similar. If it's a standalone version of Word, the file name may differ.
- If you can't open the installer because of an "unidentified developer" error, wait 10 seconds, then drag the installer to your desktop. Press and hold the Control key as you click the installer to launch it.
-
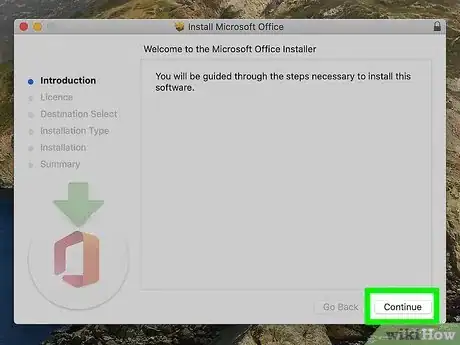
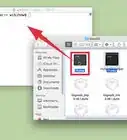
4Click Continue on the welcome screen. It's at the bottom-right corner of the window.
- If you downloaded a 2016 or 2013 standalone version of Word, follow the on-screen instructions to complete the installation. The remaining steps are only for installing 2019 and later.
-
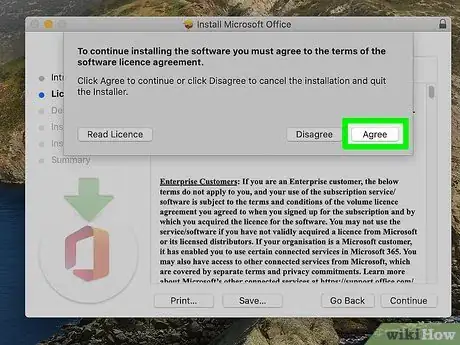
5Agree to Microsoft's terms. First, you'll need to read the license agreement and click Continue. Then, click Agree if you're okay with these terms.
-
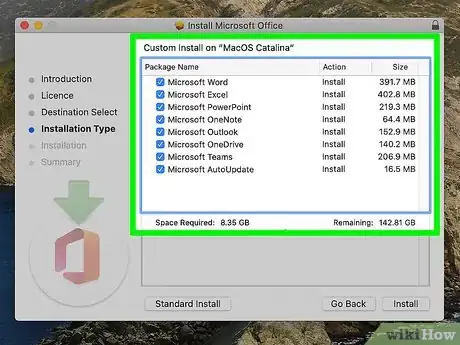
6Choose how to install office. If you have a Microsoft 365 subscription or a paid version of Office 2019, you can click Customize to select only to install Microsoft Word instead of other Office apps. This is optional.
-
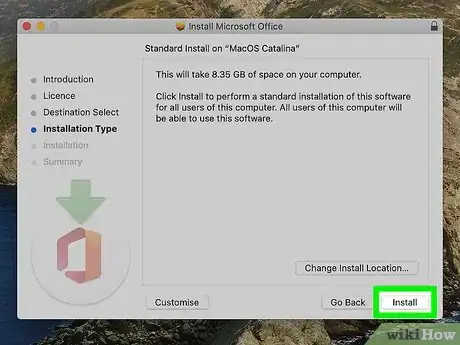
7Click Install to start the installation. You may have to re-enter your Mac password and click Install Software to start the installation. Once the installation is complete, you can click Close on the success message.
-
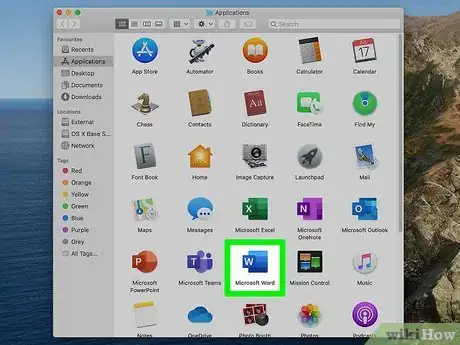
8Open Microsoft Word. You'll find it on the Launchpad—look for the blue-and-white document icon with a "W" on the front cover.
-
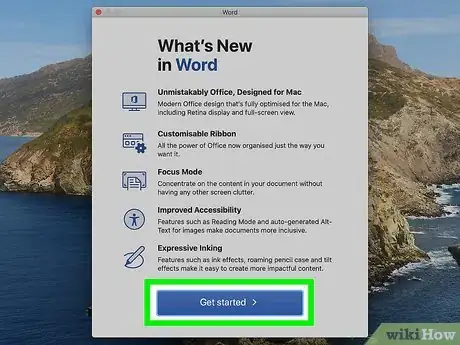
9Click Get Started to activate Word. Word will connect to the internet and activate in accordance with your license. You can then start using Word.
Installing Word from the App Store
-
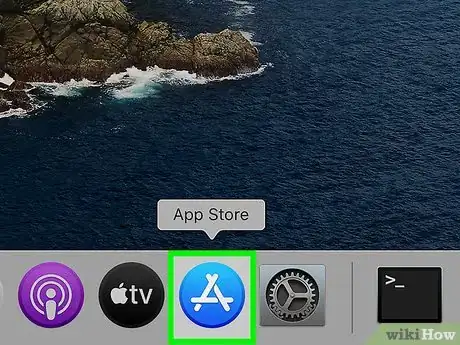
1Open the App Store . To do this, press the Command key and Spacebar at the same time, type app store, and selectApp Store in the results. The version of Word on the App Store is the latest one and requires a Microsoft 365 subscription.[1]
- If you've already subscribed to Microsoft 365 you'll be able to download the app and sign in with your Microsoft account. If not, you'll be able to buy it after downloading the app.
- If you already have a license for Word 2013, 2016, 2019, or a home version of Office 2016 or 2019, use the Installing Word from Microsoft.com method instead.
-
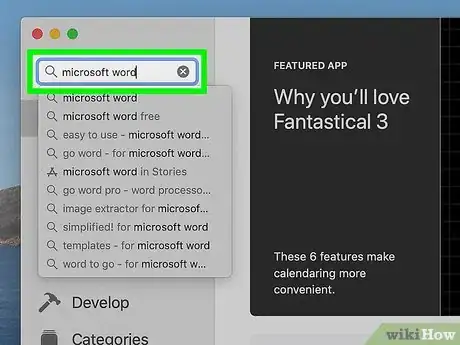
2Type Microsoft Word into the Search bar and press ⏎ Return. The Search bar is at the top-left corner of the App Store. A list of search results will appear.
-
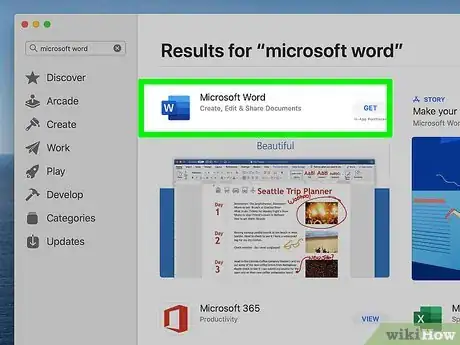
3Click Microsoft Word in the search results. Look for the icon of a multi-toned blue sheet of paper with a blue-and-white "W" over its left side.
-
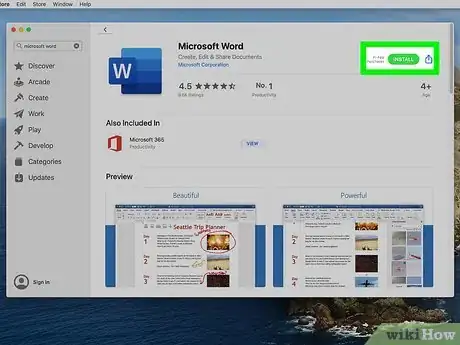
4Click the GET or INSTALL button. You should see one of these buttons near the top-right corner of the Microsoft Word page.
- If you've downloaded Word from the App Store in the past, you may see a cloud icon with an arrow instead of either GET or INSTALL. Click that to download the app.
-
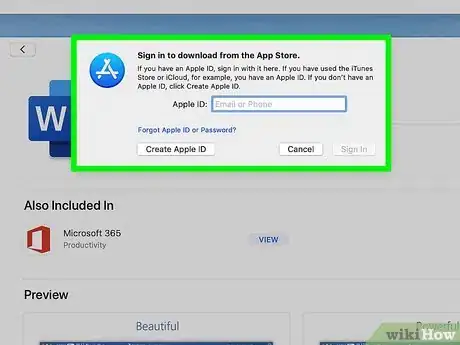
5Confirm your Apple ID and/or password. Depending on your security settings, you may have to enter your Apple ID and/or password and click Get to start the download.
-
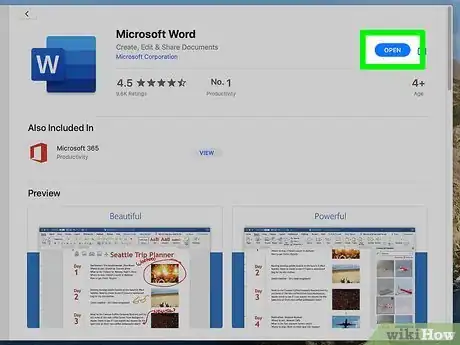
6Click OPEN to open Microsoft Word. When the app is finished installing, the INSTALL button will change to OPEN, which you can click to launch Word. You can also open Word by clicking its icon in the Applications folder and on the Launchpad.
-
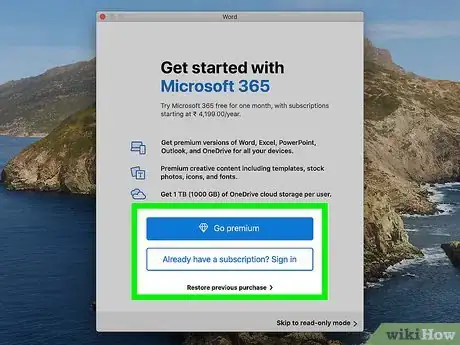
7Follow the on-screen instructions to sign in. If you've already purchased Microsoft 365 or the standalone Microsoft Word, logging in with your Microsoft Account will give you immediate full access to Word. If not, follow the on-screen instructions to activate your free trial (if available) or pay for a Microsoft 365 subscription.[2]
References
About This Article
1. Purchase a Microsoft 365 subscription or Word 2019.
2. Sign in to https://www.office.com.
3. Click Install Office.
4. Run the installer file.
5. Click Continue to star the installation.
6. Follow the on-screen instructions.
