This article was co-authored by wikiHow Staff. Our trained team of editors and researchers validate articles for accuracy and comprehensiveness. wikiHow's Content Management Team carefully monitors the work from our editorial staff to ensure that each article is backed by trusted research and meets our high quality standards.
There are 12 references cited in this article, which can be found at the bottom of the page.
This article has been viewed 123,471 times.
Learn more...
You can spruce up your sneakers or add some flair to your flats with a variety of unique decorations. Pick out a pair of plain, clean shoes and plan out a custom design. It could involve painting on canvas sneakers, adorning strappy sandals with fabric trims, or gluing gemstones and glitter onto party heels. Whatever design you chose, you’ll not only have a fun craft project but a wearable work of art!
Steps
Painting and Drawing on Canvas Sneakers
-
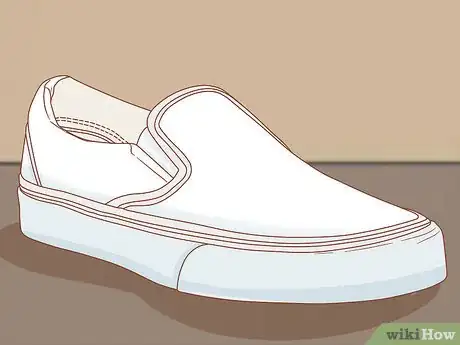
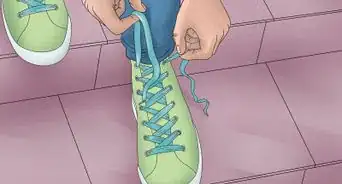
1Select a pair of clean sneakers to decorate. A clean pair of shoes in good condition will provide a solid base for your decorations. You can pick out a new pair or liven up a worn pair of shoes.[1]
- To launder old canvas sneakers, remove the laces and place them in a lingerie bag. Add the shoes and laces to the washing machine with 4 to 6 towels. Adjust the settings to a cold, delicate cycle and wash for about 30 minutes.[2]
- Allow the shoes to air dry. Don’t put them in the dryer as the heat might damage the shoes.
-
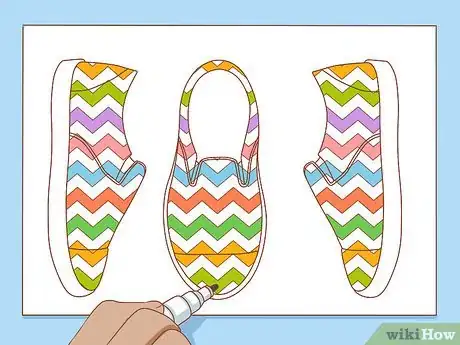
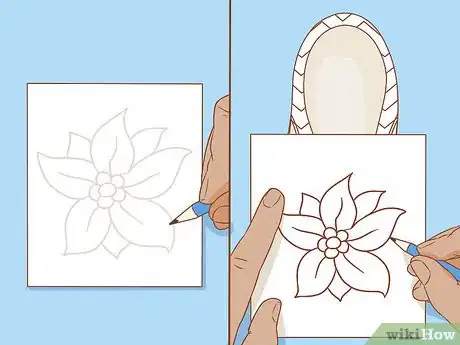
2Sketch out a design for your drawn or painted shoe embellishments. Draw out your design on a piece of paper. Create top and side views to illustrate your plans for all sides of the shoes.[3] If you’re planning to paint a motif on your shoes, create a detailed illustration at the correct scale so that you can transfer it onto the shoes.
- Instead of drawing your shoes, snap a photo of your shoes from different angles and print them out. Sketch directly onto the printout to plan your design.
- Brainstorm creative ideas and look online for inspiration if you get stuck. You could cover your shoes with one motif, write out the lyrics of your favorite song, or add a geometric pattern like polka dots or zig-zags.
- Aim for high contrast between the shoes and the decorations. A white painted pattern might look great on a dark pair of shoes, for instance.
Advertisement -
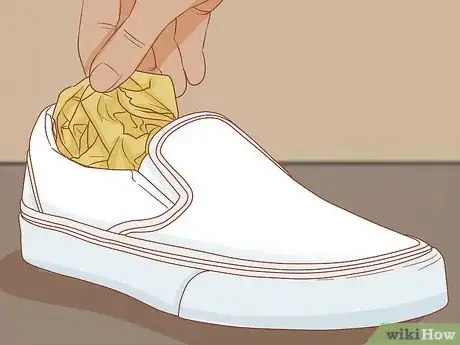
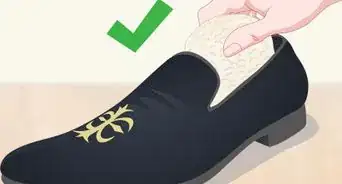
3Stuff the shoes with paper or plastic bags for support. Counteract the soft, flexible construction of canvas sneakers by stuffing crumpled pieces of paper or plastic grocery bags into the shoes. Compress the stuffing until the sides and top of the shoes are firm and the shoe is foot-shaped.[4] This will give you a sturdy surface upon which to create your designs.
-
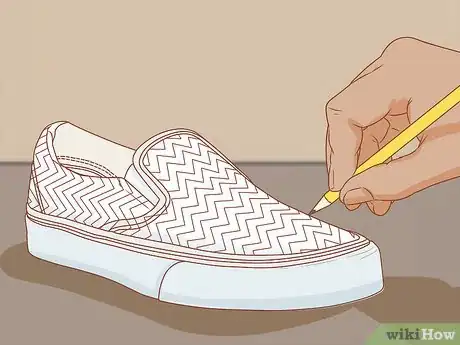
4Sketch the design onto the sneakers with a pencil. Place your hand inside the shoe to stabilize it, if necessary, as you draw out your design. Draw lightly and mark out the outlines. If your drawing doesn't look right, just erase it and try again.
- If you’re planning to create geometric shapes and patterns, try using a premade stencil.
- Or, create your own stencil. Draw out the design onto cardstock and carefully cut out the shapes with a hobby knife.
-
5Transfer the design onto the sneakers with graphite. If there’s an image you want to transfer directly, draw or print it out to scale. Cut out the image, leaving 1 in (2.5 cm) of white paper as a border. Flip the page over and shade in the back side of the page with a graphite pencil. Then, place the piece of paper onto your shoes in the desired spot, with the graphite-side down. Use a ball-point pen and moderate pressure to trace around the outlines.[5]
- Use a 6B pencil on the back of the image for the best result. The graphite should transfer onto your fingers when you rub it. It will transfer from the back of the page onto the canvas shoes.
- Tape the piece of paper in place and support it from behind with your hand to get the best transfer.
-
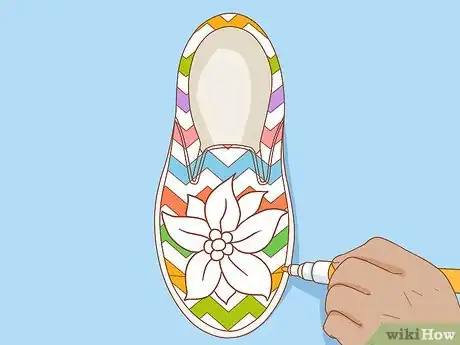
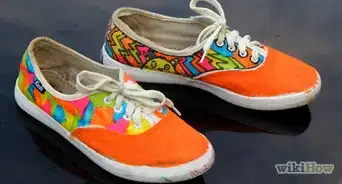
6Color or write on the sneakers with permanent markers. Pick up a pack of colorful permanent markers from a drugstore or office supply store. Once you’ve transferred your design onto a clean pair of sneakers using a pencil, you’re ready to add color. Trace over the pencil markings and fill in fields of solid color with the markers. Let the ink dry completely before wearing the shoes.
- Put the caps back onto each marker to avoid accidental marks on your shoes or work surface.
- Permanent markers show up the best on light-colored sneakers. If you’re decorating dark sneakers, stick with darker colored markers. You can use fabric paint to add lighter shades.
-
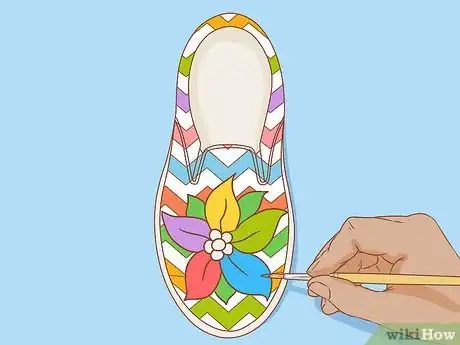
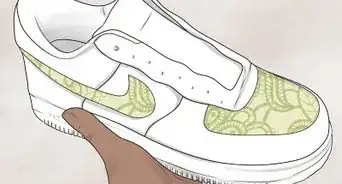
7Paint on the sneakers with a fine-tipped paintbrush and fabric paints. Select fabric paints in your desired colors from an art or craft supply store. You can use them to add bold blocks of color or soft blended hues to your sneakers. Pour the different paint colors of onto a plastic paint palette or paper plate. Use a small paintbrush to mix shades on the palette, if desired, and to apply the paint onto the canvas. Rinse out the brush with water and dry it before applying another color. Repeat the process until you've completely finished filling in the design you drew.[6]
- Let the paint dry completely. Wait several hours for the paint to dry before you wear your newly-decorated shoes.
- You can paint thin outlines to add definition once the base layers are dry.
- If you’re interested in painting natural or synthetic leather shoes, purchase specialty leather shoe paint online.
Adding Fabric Trims to Shoes
-
1Create a layout for your design using the embellishments. If your design involves adhering objects to your shoes, arrange the pieces on your shoe or on a flat surface to determine the layout. You can also mark the placement onto the shoe with a small dot, using a permanent marker. During this stage, verify that you have enough materials to complete your design.
- For instance, if you’re making a rhinestone starburst shape, lay out the individual gems in the correct orientation and make sure you have enough to cover both shoes.
- If you get stumped, browse online for shoe design inspiration and make a list of fun, stylish, or personalized decorations that you might want to add to your shoes.
- Wipe the dirt and grime off of worn shoes using a damp cloth before you start decorating them.[7]
-
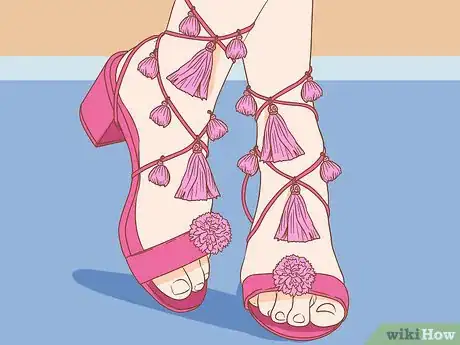
2Wrap pom-poms and tassels around the straps of your sandals. You can find pom-pom trim or tassel trim in the ribbon aisle of most craft stores. Cut off a strand and secure the end to a narrow sandal strap using a dot of hot glue. Wrap it around the strap and continue onto other straps, securing with another dot of hot glue every few inches.[8]
- Make sure you don’t wrap the trim around the buckle or closure. Undo the shoe closures before you start wrapping to ensure that you’ll be able to put the shoes on later.
- You can also use individual pom-poms and tassels. Just tie the loose ends around the sandal straps, or cut a short length of yarn or ribbon to tie them on with. Add a dot of hot glue to keep them in place.
-
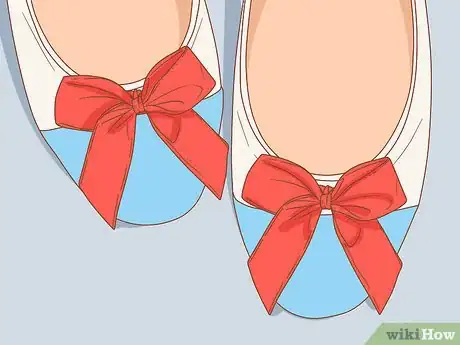
3Hot glue ribbon bows, fabric flowers, or felt cutouts onto your shoes. Cut out your fabric decorations. This might be a length of ribbon that you tie into a decorative bow, a felt shape such as a star or heart, or a pre-made fabric flower. Apply hot glue directly onto the shoe and press the decoration firmly into place until the glue hardens. Place your hand on the inside of the shoe behind the decoration for support as you press it on.[9]
- Try using a row of fabric flowers to completely cover a flip-flop strap.
- Felt cutouts details can look nice on the toes of ballet flats. Have fun creating whimsical designs with felt, like a cat on one shoe and a mouse on the other.
- When you’re deciding where to attach 3-dimensional decorations, choose a flat spot on the top of the shoe that won’t get crushed when worn.
-
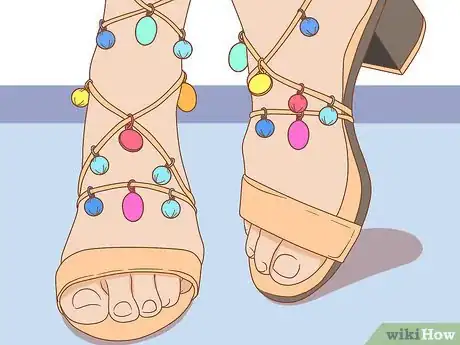
4Clip jewelry charms onto strappy sandals. While you can purchase new charms, this can also be a fun way to upcycle old accessories! Use jewelry pliers to open the jump ring or split ring. Wrap it around a narrow sandal strap and pinch it closed with the pliers.[10]
Embellishing Shoes with Adhesive Decorations
-
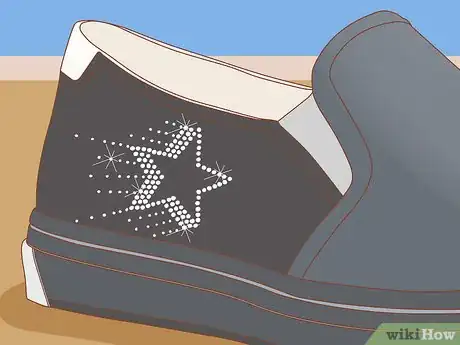
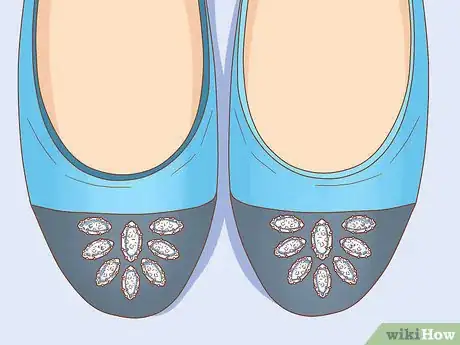
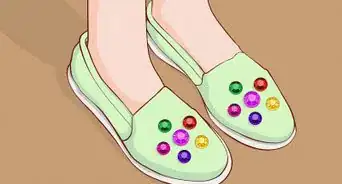
1Stick adhesive-backed rhinestones, crystals, or patches onto your shoes. At most craft stores, you’ll find an array of plastic gems as well as embroidered patches with adhesive backs. Simply peel the decorations off of the backing paper and place them adhesive-side down onto the shoe. Press firmly and place your hand on the inside of the shoe to add support, if necessary.[11]
- Sparkly rhinestones and crystals can be arranged in beautiful designs to dress up an everyday or evening shoe.
- Quirky patches can add character to casual sneakers.
-
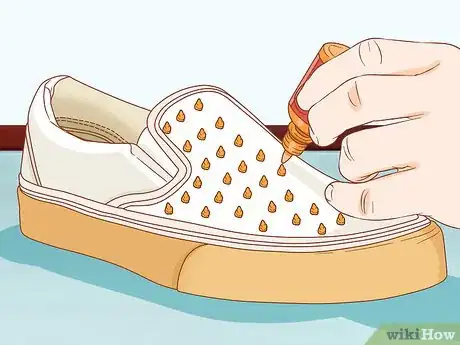
2Use puffy paint or glitter glue to add 3-dimensional texture. You can use these materials on their own, or combine them with flat drawn or painted designs. Pick up a bottle of puffy paint or glitter glue bottle at a craft supply store and practice squeezing out the paint on a piece of scrap paper until you reach the desired level of thickness and control.[12] Squeeze the paint directly onto the shoe, moving in a steady line or curve. Or you can create dots or small geometric shapes.[13]
- Allow the paint to dry overnight before wearing your new kicks. The puffy paint or glitter glue should be stiff.
-
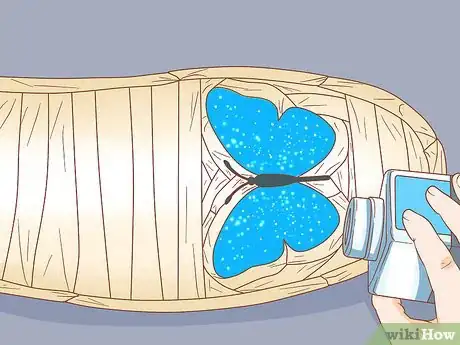
3Decorate your shoes with loose glitter and Mod Podge. Use masking tape to cover the parts of the shoe you don’t want to decorate. Pour some leather shoe paint or Mod Podge adhesive into a cup and mix the loose glitter into it until you reach the desired consistency. Use a paintbrush to apply a base layer of the glittery mixture onto the shoes. Allow this to dry completely before applying more layers. Repeat this process until your shoes reach the right density of glitter.
- For even more sparkle, apply spray adhesive onto the shoe and shake the loose glitter out onto it.[14] Seal this off with a layer of Mod Podge to prevent the glitter from shedding.
- Pick out a large bag or can of loose glitter to make sure that you have enough to cover your shoes.
Community Q&A
-
QuestionCan you add fabric and then glue it on?
 Community AnswerYes. Be sure to take a durable type of fabric and a good glue.
Thinks You’ll Need
Painting and Drawing on Canvas Sneakers
- Canvas sneakers
- Drawing paper
- Graphite pencil
- Crumpled paper or plastic bags
- Fabric paints
- Paintbrushes
- Paint palette or paper plate
- Permanent markers
Adding Fabric Trims to Shoes
- Strappy sandals or flats
- Permanent marker
- Ribbon
- Fabric flowers
- Felt
- Scissors
- Hot glue
- Jewelry charms
- Jewelry pliers
Embellishing Shoes with Adhesive Decorations
- Shoes
- Adhesive rhinestones or crystals
- Adhesive embroidered patches
- Puffy paint
- Glitter glue
- Masking tape
- Loose glitter
- Mod Podge
- Spray adhesive
References
- ↑ https://diyprojectsforteens.com/diy-shoe-makeovers/
- ↑ https://www.usatoday.com/story/tech/reviewedcom/2017/03/15/how-to-clean-dirty-sneakers-in-the-washing-machine/99162918/
- ↑ http://www.abeautifulmess.com/2013/03/diy-sneakers-for-spring.html
- ↑ https://lifehacker.com/stuff-your-shoes-with-newspaper-to-keep-their-shape-thr-1671047424
- ↑ https://angelamariemade.com/2016/11/how-to-easily-transfer-a-design-onto-wood/
- ↑ http://www.abeautifulmess.com/2013/03/diy-sneakers-for-spring.html
- ↑ https://www.realsimple.com/beauty-fashion/clothing-care/how-to-clean-white-shoes
- ↑ https://www.style-files.com/2016/04/15/the-fashion-files-boho-chic-gladiator-sandals/
- ↑ http://www.linesacross.com/2014/07/40-fun-and-fabulous-shoe-makeovers.html/
- ↑ https://www.style-files.com/2016/04/15/the-fashion-files-boho-chic-gladiator-sandals/
- ↑ https://diyprojectsforteens.com/diy-shoe-makeovers/
- ↑ https://youtu.be/UkpLndwvoNE?t=32
- ↑ https://youtu.be/UkpLndwvoNE?t=210
- ↑ https://youtu.be/sHpVCryY34Y?t=264
- ↑ https://www.marthastewartweddings.com/387142/shoe-clips-that-are-snap-to-make
