This article was co-authored by wikiHow Staff. Our trained team of editors and researchers validate articles for accuracy and comprehensiveness. wikiHow's Content Management Team carefully monitors the work from our editorial staff to ensure that each article is backed by trusted research and meets our high quality standards.
There are 12 references cited in this article, which can be found at the bottom of the page.
This article has been viewed 162,222 times.
Learn more...
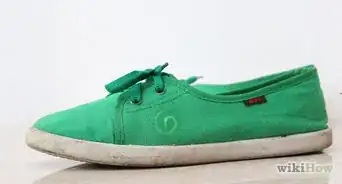
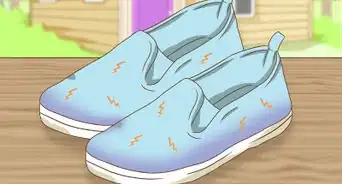
If you're a budding fashionista, plain fabric shoes can be your ideal canvas. You can transform a pair of boring white shoes into something truly eye-catching. Painting fabric shoes, however, requires effort: you will want to perfect your design, ready your materials, and create a clean workspace before you begin. For a unique splash of color in your wardrobe, grab a pair of shoes and unleash your creativity.
Steps
Creating Your Design
-
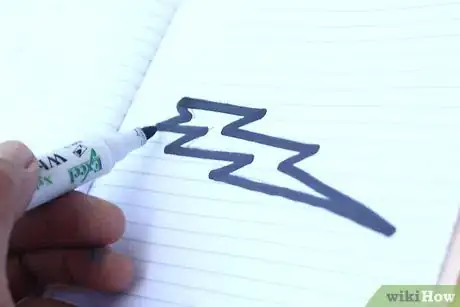
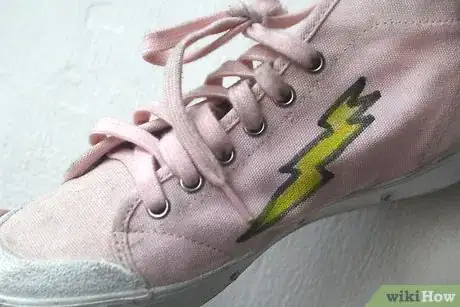
1Draw geometric shapes. Sketch triangles, squares, squiggles, and lines. Experiment with different sizes and shapes. Get creative: try odd shapes like trapezoids or octagons to spice up your design.
- Before you draw on your shoes, practice on a piece of paper. That way, you'll be ready for the final design.
- Vary your lines. Create squiggles, dotted lines, or swirls. The bolder your lines, the better.
-
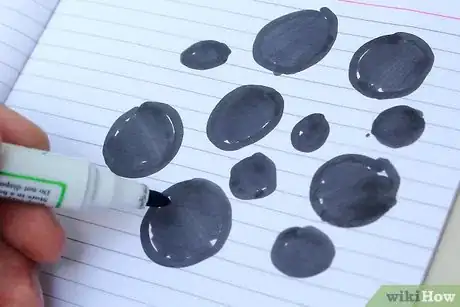
2Draw stripes or polka dots. Decide whether you want thick or thin ones and how big you want them to be. Patterns look best if each dot or line is the same size. Practice drawing dots on your paper. When you're ready, start drawing dots or lines on your shoe.Advertisement
-
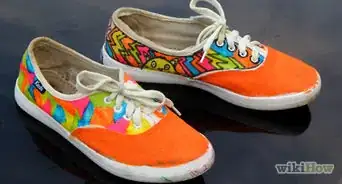
3Make a more intricate design. For your first project, start simple, then try more intricate designs once you've got the hang of painting. Nature themes look beautiful on fabric shoes. Draw trees, flowers, and your favorite animals. Or, if you're a fan of a certain book, movie, or tv series, try drawing the characters on your shoes. Cartoon characters work best because of their flat and simple design.
- Splatter paint can give your shoes a wild design.
-
4Sketch your design on paper. If you can draw something on a flat design, you can draw it on a shoe.[1] Use paper as your practice board and draw your design several different ways. Continue experimenting until you are completely satisfied with your drawing.
- Do not draw on your shoes until you have finished your design. Practicing your sketches can feel boring, but you will avoid more long-term mistakes if you plan beforehand.
-
5Choose your color scheme. Color in your design sketches and experiment with what colors look good together. Avoid creating color patterns that clash or do not look aesthetically pleasing together.
- When you've chosen your colors, create a final sketch design and color it in. Your last sketch will be your blueprint as you paint your shoes.
- To make colors pop, place complementary colors next to each other. This will make both colors seem brighter in comparison.[2]
-
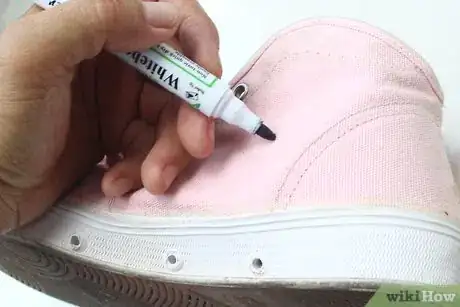
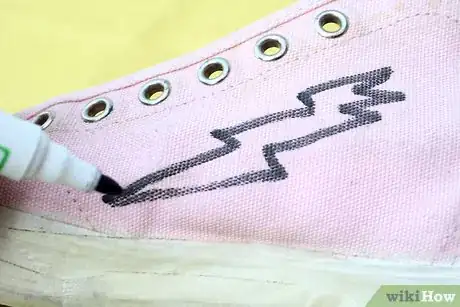
6Draw your design on the shoes. First, sketch your design in pencil so you can erase if needed. Then, trace over your design using a fine-tipped fabric pen or marker. You will appreciate a bold, clear outline when painting to avoid any mistakes.[3]
- If you are not confident in your artistic abilities, use a stencil. Stencils are often available at craft stores. You can also create your own stencil, if desired.[4]
-
7Cover areas you want unpainted with painter's tape. If any of your design areas are white, trace them on the painter's tape, cut out the design, and place the tape on the shoe.
Prepping Your Materials
-
1Find an open, well-ventilated area. You'll want an open space to paint in to avoid inhaling fumes. If you can find a flat surface outside, paint your shoes there. If not, find a room with open windows.
- Because most acrylics are water-based, their fumes are usually non-toxic.[5] If you start to feel overwhelmed by the smell, take a break.
-
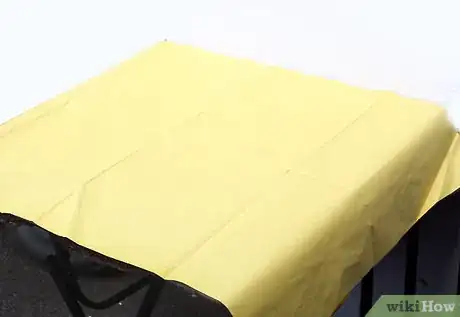
2Line the floor with newspaper, butcher's paper, or paper towels to prevent staining. Cover an area wide enough for you to move around and paint without feeling cramped. Tape the papers down with masking or painter's tape.
- If you are especially concerned about stains, apply two layers of the paper.
- Avoid painting in a carpeted room, as you will be unable to tape down the paper lining.
-
3Remove your shoe's laces and any embellishments. If your shoe has laces, remove them temporarily until you have finished decorating them. Laces do not respond well to color, and any paint you apply will flake off.[6]
- If your shoes are made of soft fabric, stuff them with paper so they keep their shape while you are painting. You risk messing up on your design if your shoes' shape changes easily.
-
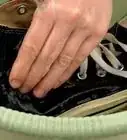
4Cover the soles with painter's tape to prevent coloring them while you paint. Stained soles can flake and become uncomfortable to wear. You can also use masking tape as an alternative.
Painting Your Shoes
-
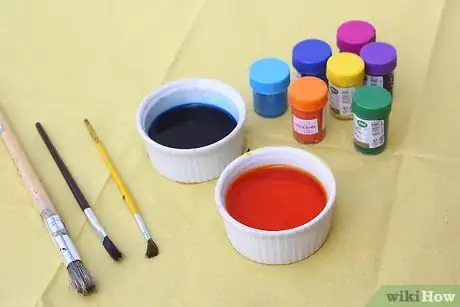
1Pour the fabric paint(s) into suitable containers. If you need to mix colors, mix a small amount on paper to test the color ratios. When you've created the right color, mix larger amounts in your palette.[7] Prepare all your colors first so you can work quickly.
- Alternatively, use fabric paint pens, which are less messy and often easier to use.
-
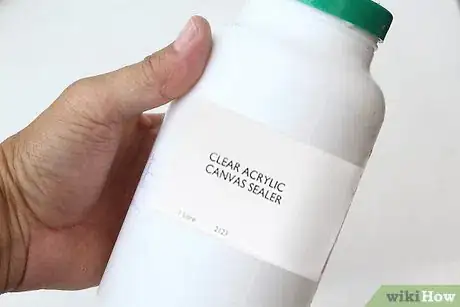
2Apply acrylic primer to your shoes before you paint. Without acrylic primer, your design will will begin flaking.[8] Primer takes anywhere from thirty minutes to an hour to dry, so plan accordingly.
- You will want a thin coat that doesn't cover the shoe's texture. One coating is more than sufficient.
-
3Paint your shoes following your design. While you may be tempted to rush, a slow and steady hand will give you cleaner results. If you forget what color you wanted a certain area, consult your final design paper.
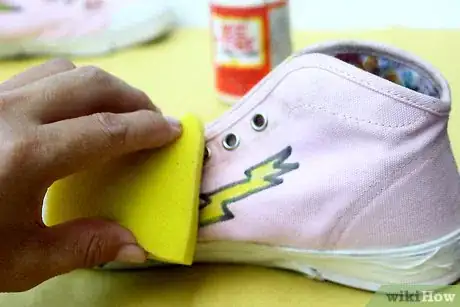
- Use a variety of paintbrushes in different sizes. If you're adding delicate lines, use a slimmer paintbrush. Use a thicker paintbrush or a sponge for painting broad areas.[9]
- For polka dots, dip the end of a cotton bud directly into the paint and press in place on the shoe.
-
4Let the paint dry. Allow each shoe to dry thoroughly before finishing. If you want to finish your project sooner, place your shoes in a sunny area and leave them until completely dry.[10]
- The drying time for acrylics varies depending on brand.[11] Consult the label for exact times.
- Avoid touching your shoes until dry. Touching them too early can create finger smudges and mess up your design.
-
5Add finishing touches. If you bought glitter, beads, or ribbons, glue them on. Try not to add too many decorations. Too much may distract from your shoes' new design.
-
6Apply a sealant. To ensure that the design stays intact and is durable, apply a fabric sealant. Mod Podge Outdoor[12] and Scotchgard work well for fabric shoes, but other brands are available.
- Sealant is technically optional but highly recommended. The paint will wear off quickly if it is not protected from the elements and begin to crack.
-
7Re-lace your shoes after they have dried. If you want a funky or creative look, use a colorful ribbon or a patterned cord instead. Tie them as you would regular laces. Just be sure to choose a ribbon that is durable and will not break over time.
- For a cute flair, thread beads onto your shoelaces or ribbons. Avoid adding too many and weighing down your shoes: three or four beads per lace is enough.
Community Q&A
-
QuestionCan you use spray paint on canvas shoes
 Community AnswerIt worked for me; use matte instead of gloss.
 -
QuestionCan I use spray paint to paint my fabric shoes or will it wash off?
 Max_mainCommunity AnswerPossibly. It will stain the fabric but might fade after excessive use. If the shoes are a light color the the spray paint will be more vibrant, if the shoes are darker however, I'm not sure what the outcome will be.
 -
QuestionCan I use alcohol based markers or acrylics on fabric shoes? I don't have primer or sealant.
 Community AnswerI just tried using sharpie on my canvas shoes, and it bled a lot. Now I'm looking into paints. "Sharpie stained" markers are supposed to work better.
Warnings
- Newspaper print can leave smudges on white fabric if you're not careful. Paper towels or butcher paper may be a better choice.⧼thumbs_response⧽
- Plan ahead. Spontaneous painting can seem appealing, but you could make more mistakes.⧼thumbs_response⧽
- Unless you use a waterproof sealant, avoid getting your shoes wet. Paint can flake off when exposed to water.⧼thumbs_response⧽
Things You'll Need
- Plain fabric shoes, with or without shoelaces
- A pencil, fabric pen, and/or fine-tipped marker
- Paintbrushes of varying sizes
- Acrylic fabric paints or fabric paint pens
- Painter's tape or masking tape
- Fabric glue
- Newspaper, butcher paper, or paper towels
- Decorative embellishments such as beads, ribbons, glitter, et cetera (optional)
- Cotton buds (optional)
References
- ↑ https://snapguide.com/guides/paintdesign-on-canvas-shoes-vans/
- ↑ http://www.tigercolor.com/color-lab/color-theory/color-harmonies.htm
- ↑ https://empressofdirt.net/how-to-paint-shoes/
- ↑ https://www.stencilrevolution.com/tutorials/basic-stencil-cut/
- ↑ http://www.artistsnetwork.com/medium/what-to-know-when-learning-how-to-paint-with-acrylics
- ↑ https://www.youtube.com/watch?v=whVlUtitVGY
- ↑ http://emptyeasel.com/2009/09/21/4-ways-to-mix-acrylic-paint-and-create-your-own-colors/
- ↑ http://www.greenwoodindianapolispainterpainting.com/different-types-of-primer-uses/
- ↑ https://www.art-is-fun.com/paintbrushes-for-acrylics/
About This Article
Painting your fabric shoes is a great way to personalize them and freshen them up. You’ll need acrylic primer and fabric sealant in addition to acrylic paint to make sure it doesn’t crack. Remove your laces and tape over any parts you don’t want to get paint on. Sketch the outline of your design onto your shoes with a pencil or use a stencil. Apply a thin coat of your acrylic primer and leave it to dry for 30 to 60 minutes. Then, paint your design on top with a paintbrush, following your outline. Once the paint’s dry, cover it with a fabric sealant to protect the paint. For more tips, including how to paint cool designs on your shoes, read on!

