This article was co-authored by wikiHow Staff. Our trained team of editors and researchers validate articles for accuracy and comprehensiveness. wikiHow's Content Management Team carefully monitors the work from our editorial staff to ensure that each article is backed by trusted research and meets our high quality standards.
This article has been viewed 85,252 times.
Learn more...
Scalable vector graphics (SVG) allow for more interactive elements on webpages without using as much bandwidth as other image formats like JPEG or GIF, making them ideal for web design.[1] Some digital illustration programs, like Adobe Illustrator, offer SVG options and there are online SVG converter websites that are free to access. This wikiHow shows you how to create your own SVG images.
Things You Should Know
- You can upload a JPG file to Convertio to convert it to the SVG format.
- If you have Adobe Illustrator, you can create custom vector graphics and export them as SVG files.
- Adobe Illustrator also lets you apply SVG filters to individual layers in your project.
Steps
Using a JPG to SVG Converter
-
1Open your Web browser and go to https://convertio.co/jpg-svg/. This takes you to the page for Convertio’s JPG to SVG Converter, which is free to use.
-
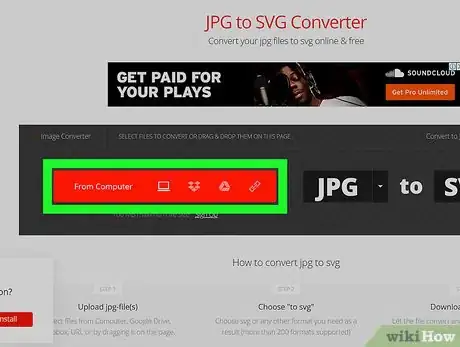
2Select the source for your JPG image. At the top of the converter menu, you should see a red toolbar listing different sources you can access to upload a JPG image file to be converted to SVG.Advertisement
-
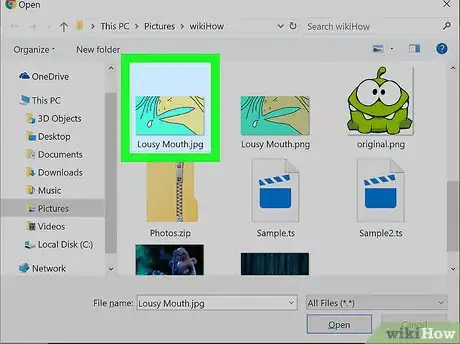
3Navigate to the file you want to convert. Once you’ve selected a source, a dialog box should pop up with the library of your computer’s folders. From there, navigate to the folder with the file you want to convert and select the file.
-
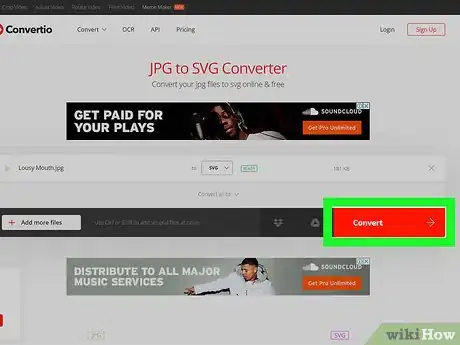
4Click Convert. Once the file has been uploaded, a red button will appear in the lower-right corner of the menu screen. This will start the conversion process, which may take a few minutes depending on the file size.
-
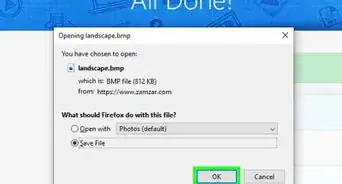
5Click Download. Once the file is done being converted, a blue button will appear to the right of the file name in the Converter menu. Once you click it, the image will then be downloaded onto your computer as an SVG file.
Using Adobe Illustrator
-
1Open Adobe Illustrator. Adobe Illustrator is a graphic design app that lets you create your own art using a variety of tools and features.
-
2Create your image. Once you have Illustrator opened, you can select any of the tools in the toolbar on the left side of the screen to get started with designing your image.
-
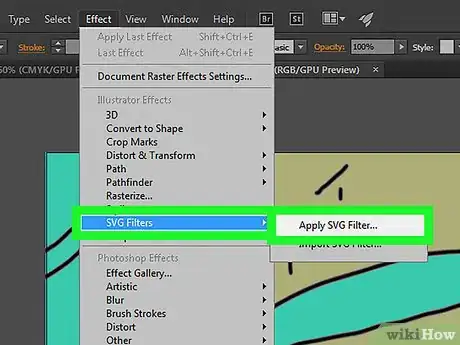
3Apply SVG effects to certain layers of your image. If you want to add any custom effects to your image, you can select a layer and then click Effect > SVG Filters > Apply SVG Filter. Then, just click the Edit SVG Filter button, edit the default code, and click OK to save your SVG effects.
-
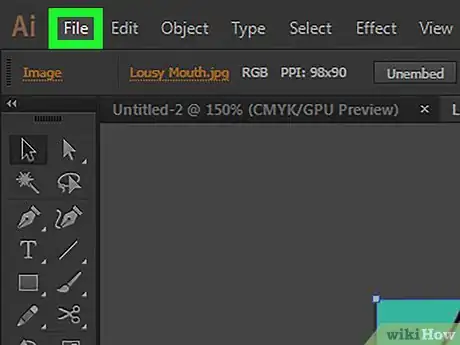
4Click the File tab. This is located in the top-left corner of the screen.
-
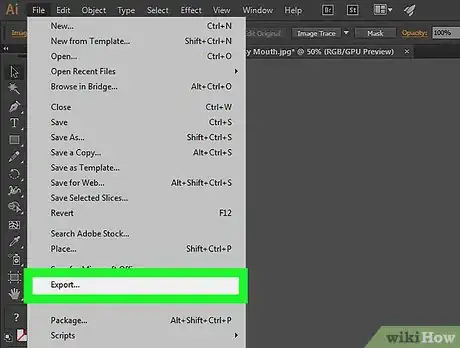
5Select Export in the menu. To have your SVG file ready for viewing and using outside of Illustrator, you'll need to export it.
- You can also select Save As..., though this will save the file so that it can only be viewed and edited in Illustrator.
-
6Click Export As.... This pulls up a new menu where you can export the file from Illustrator into the format of your choice.
- You can also select Export for Screens... to have your SVG image saved in a way that can be accessed on iOS or Android devices.
-
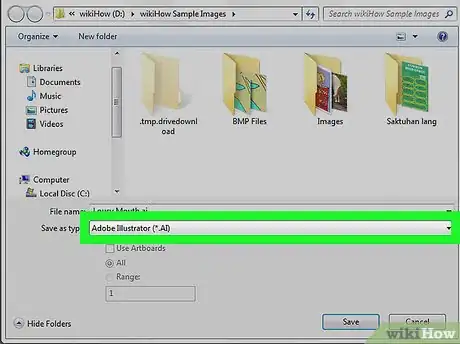
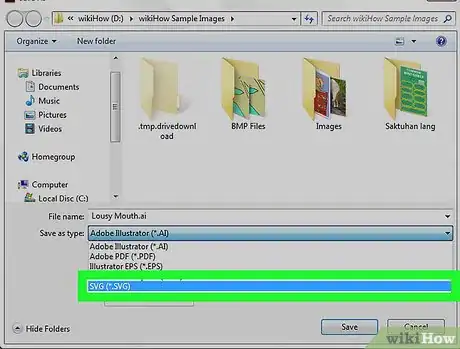
7Select SVG in the list of file types. Illustrator offers a variety of file types for you to choose from, including web-ready SVG files.
-
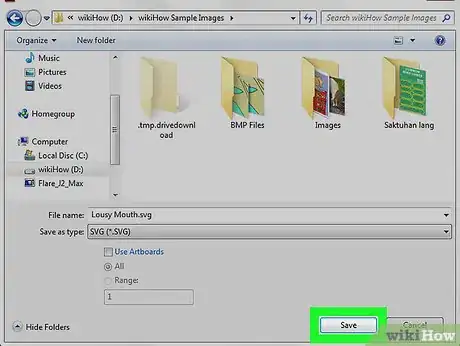
8Click Save. Your image will now be available to use as an SVG file.
About This Article
1. Open Adobe Illustrator.
2. Create your image.
3. Apply SVG effects to layers.
4. Save your image as an SVG file.

