X
wikiHow is a “wiki,” similar to Wikipedia, which means that many of our articles are co-written by multiple authors. To create this article, volunteer authors worked to edit and improve it over time.
The wikiHow Tech Team also followed the article's instructions and verified that they work.
This article has been viewed 44,511 times.
Learn more...
Although the two machines have different operating systems, you can still connect a Windows PC and Mac to each other and share files. You don’t need any expensive equipment. All you need is an Ethernet cable.
Steps
Part 1
Part 1 of 3:
Creating a Physical Connection
Part 2
Part 2 of 3:
Configuring the Windows PC
-
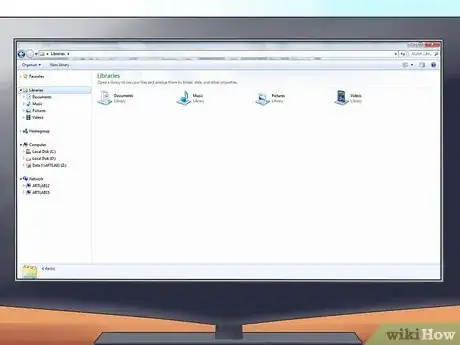
1Open a window on your PC.
-
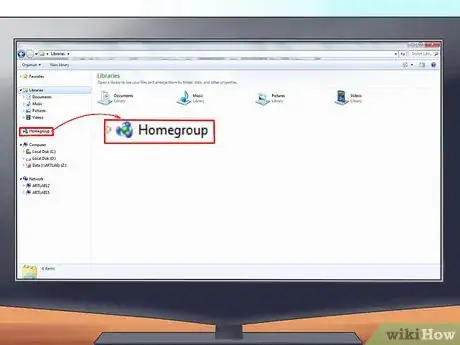
2Go to Homegroup. On the directory panel at the left side of the window, click on “Homegroup.”
-
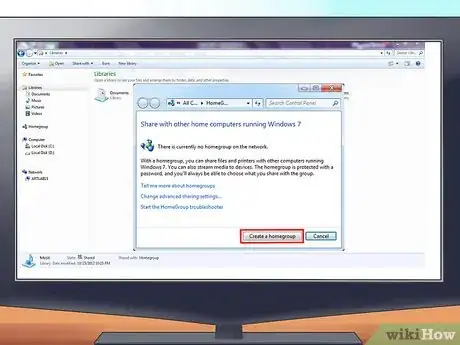
3Click on “Create a Homegroup” button.
-
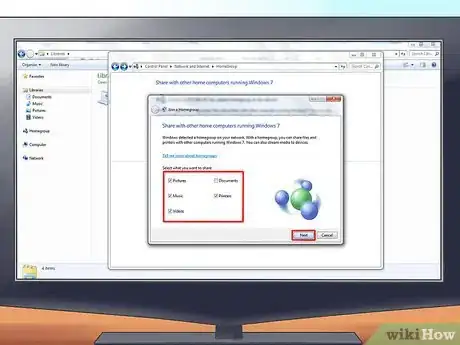
4Check all the type of files you want to share (documents, images, etc.) and click on “Next.”
-
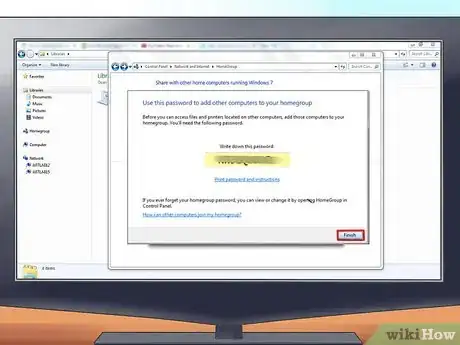
5Remember the password. On the following page, you’ll be given a password. Take note of the password. You’ll be using that later once you try to connect your Mac to your PC.
-
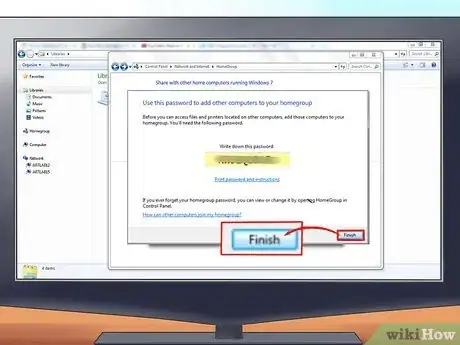
6Click on “Finish” once you’re done.
Advertisement
Part 3
Part 3 of 3:
Configuring the Mac
-
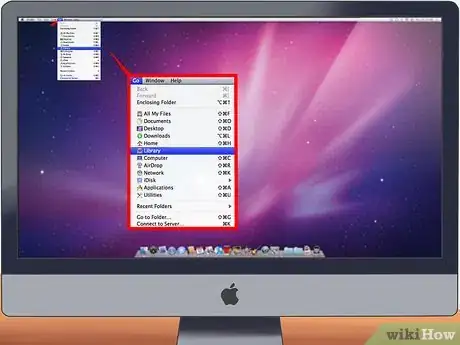
1Click on “Go” on the menu bar at the upper left of the desktop.
-
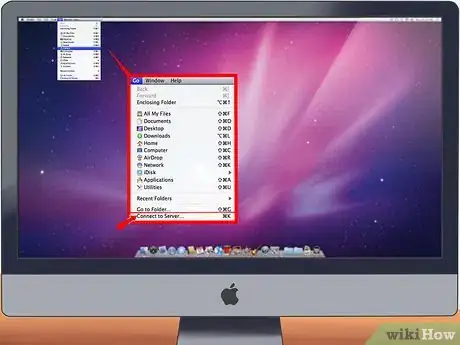
2Select “Connect to Server.”
-
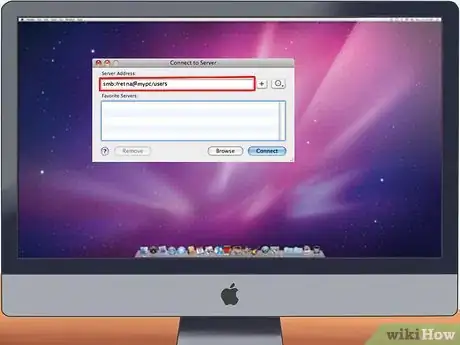
3Type in your PC’s network address on the Server Address field. Use the following format:
- smb://username@computername/sharename – i.e.: smb://johnny@mypc/users.
- If the above format won’t work, you can use the Windows PC’s IP address: smb://IPaddress/sharename.
-
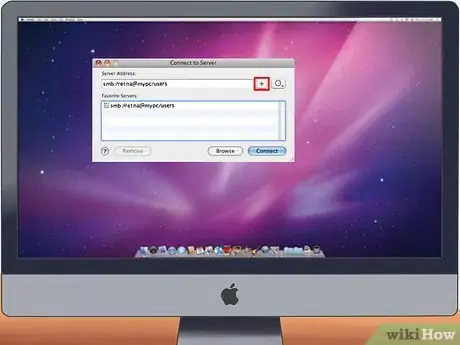
4Click on the Plus (+) button to add it to the server list.
-
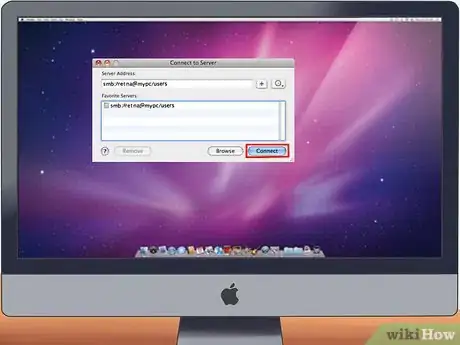
5Click on the Server Address you’ve just added, and click on “Connect.”
-
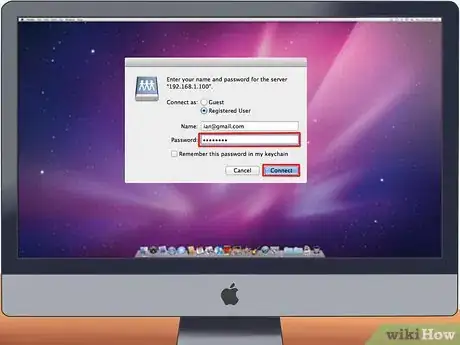
6Type in the password that you got from the Windows PC. Click on “Connect.”
-
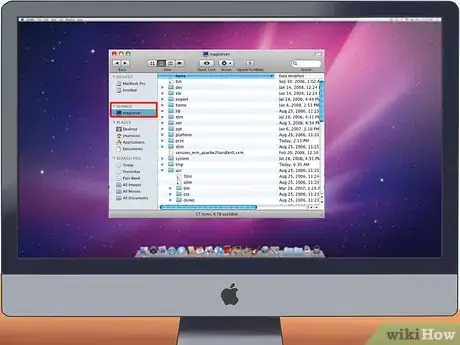
7Open your Mac’s Finder. The Windows PC’s name should now appear on the left panel under the Shared section.
Advertisement
About This Article
Advertisement


