X
wikiHow is a “wiki,” similar to Wikipedia, which means that many of our articles are co-written by multiple authors. To create this article, 10 people, some anonymous, worked to edit and improve it over time.
The wikiHow Tech Team also followed the article's instructions and verified that they work.
This article has been viewed 139,330 times.
Learn more...
Having trouble connecting your Macbook to your printer? No worries as there are two ways to connect the devices: either by USB or wireless. Choose whichever is convenient for you to do and you're good to go.
Steps
Method 1
Method 1 of 2:
Connecting through a USB Cable
-
1Turn on the printer. Do this by pressing its Power button.
- The location of the Power button varies depending on your printer’s model. If you’re unsure, refer to the printer’s user manual.
- If the printer does not turn on even after pressing the Power button, ensure that it is connected to a power source by plugging its power cable to a wall outlet.
-
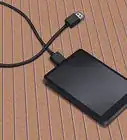
2Prepare a USB cable that will allow connection between the printer and the Macbook. When purchasing a printer, it comes with two cables: the power cable and the USB cable. Get the cable with the square-type connector.Advertisement
-
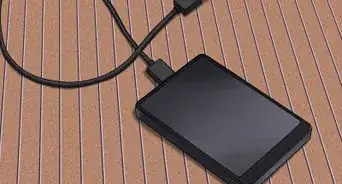
3Connect the USB cable to the Macbook. Look for a square hole at the side of your Macbook Pro. Insert the USB cable of the printer to this hole.
-
4Connect other end to printer. Once a connection has been established, your printer should appear on the screen menu. If your printer does not appear on the screen menu, you should find and install the proper driver for the printer, but usually, the Macbook Pro does not have to install any software from the printer if it is your first time connecting them.
- To install the driver, just put in the CD driver (which usually comes with the printer) in your CD ROM to initiate installation. You can also install the driver by connecting to the Internet and look for the printer manufacturer.
- To know the name and model of the printer, please check the printer’s box or at the side of the printer.
-
5Check if the printer is ready. You can check if the printer is ready to print by checking the “Printing Sheet” when printing or through the “Print & Fax Preferences.”
- If your printer name is on the list displayed on the Printing Sheet, then you are ready to print. If not, proceed to the next step to add your printer.
- The Printing Sheet is the printer menu used to check if your printer is detected and available.
-
6Add your printer. If your printer isn’t showing up in the list displayed on the Printing Sheet, click “Add Printer” on the same menu. A list of available printers will show up.
- Click on the printer you want to add then click “Add.” You can now print with that printer.


Advertisement
Method 2
Method 2 of 2:
Connecting through Wi-Fi
-
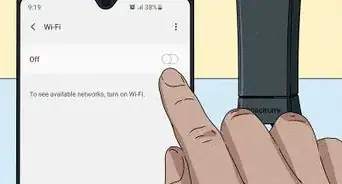
1Make sure the Wi-Fi printer has been configured to join your Wi-Fi network. Connecting your printer to your local Wi-Fi network helps save space and less trouble in cable connections.
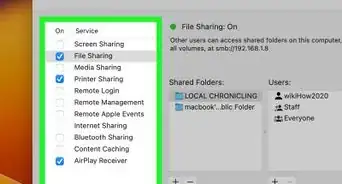
- To connect your printer to your Wi-Fi, connect your printer to your router, enable network sharing of your printer, then add it as network printer. The user should be an administrator to do this.
-
2Make sure you have passed some access restrictions of the Wi-Fi printer, like MAC address filtering. Access restrictions have been enforced to avoid exploitation of the network. Without these restrictions, the security of your unit could be compromised, and therefore, IT services deems them necessary. Access on the wireless network will be limited to the following ports:
- RealPlayer ports (554, 6970, 7070)
- FTP
- Lotus Notes
- SSH
- Popular IM ports (Yahoo IM) - Webcam via Microsoft applications is not available due to security risks, Yahoo and Skype do work
- ArcGIS (Earth Science application)
- SciFinder Scholar (Science/Library application) and a few others mainly used for staff purposes
- Printing (515, 9100, 631)
- Basic Web-Browsing ports (HTTP, HTTPs)
-
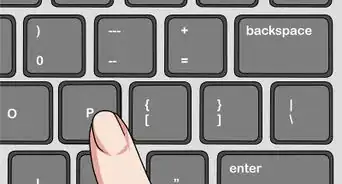
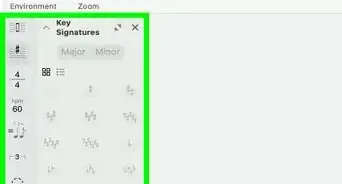
3Use the printer to connect it to the Wi-Fi network. Open any file that can be printed, such as a photo, text document, or PDF. From the File menu, choose Print (or press Command + P).
- In the resulting Print dialog, see if your printer is in the Printer pop-up menu. If it appears, select it, and you should be ready to print.
- If the printer does not appear in the Print dialog, choose ”Add Printer” from the Printer pop-up menu; the Printer Setup Utility will open. Click the “Add” button in the Printer List window. A list of printers that are available to you should appear. Select your printer and click “Add.”
- After selecting your printer, you should be ready to use your printer.


Advertisement
Community Q&A
-
QuestionHow can I add a printer if it is not showing up under the "add printer" option?
 Community AnswerYou can try unplugging the printer and then plugging it back in. If that does not work, connect the printer to your network using a network cable, or setting the printer up on your wifi. You can then click on "add a device," where it will show you the devices that are on your network. You can select the printer, and the set up should be complete.
 -
QuestionWhat if I don't have WiFi?Community AnswerIf you don't have WiFi, then it won't work, unless it is a high end printer and can connect via Bluetooth.
-
QuestionIf the printer is low in ink, can it stop printing?
 Community AnswerYes. Low ink means you need to replace the cartridge. Otherwise you'll get beads or no print on future papers.
Advertisement


About This Article
Advertisement