This article was co-authored by wikiHow staff writer, Nicole Levine, MFA. Nicole Levine is a Technology Writer and Editor for wikiHow. She has more than 20 years of experience creating technical documentation and leading support teams at major web hosting and software companies. Nicole also holds an MFA in Creative Writing from Portland State University and teaches composition, fiction-writing, and zine-making at various institutions.
This article has been viewed 475,672 times.
Learn more...
This wikiHow teaches you how to convert your C++ code (CPP) into an executable EXE file. If you use the commercial version of Microsoft Visual Studio to write your code, it has a built-in compiler that's easy to use. If you're using a different coding editor that doesn't come with a compiler, you can use a free port of GCC for Windows called Minimalist Gnu (MinGW). This guide assumes that your source code is for a console application and does not require any outside libraries.
Steps
Using Microsoft Visual Studio
-
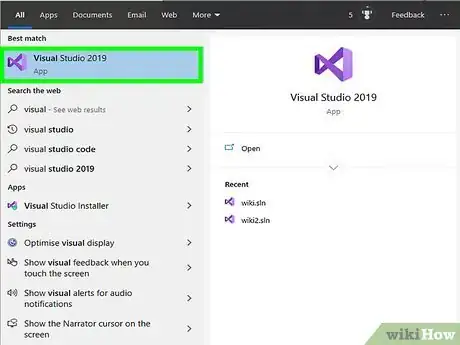
1Open Visual Studio on your PC. You'll find it in the Start menu. Use this method if you're using the full IDE commercial version of Visual Studio.
- If you're using a free coding app like Visual Studio Code that doesn't come with a compiler, see Using MinGW instead to learn how to set up MinGW, a GCC compiler for windows.
-
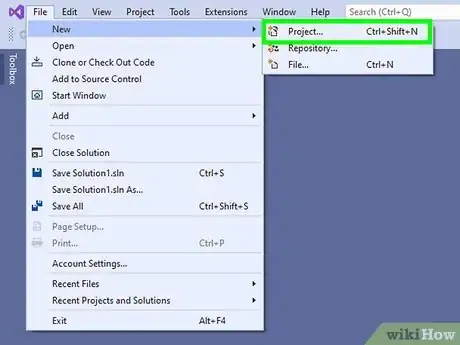
2Create a new project. If you haven't already done so, click the File menu, select New, and then select Project.[1] A dialog window will appear.Advertisement
-
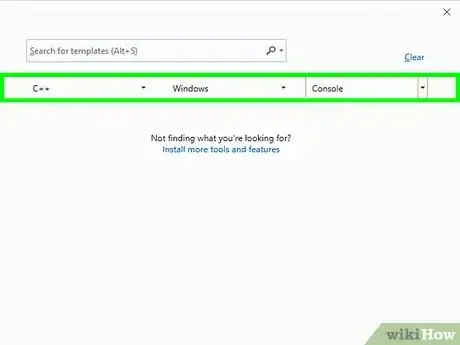
3Set up your project: The steps are a little different depending on the version you're using:
- Visual Studio 2019: Select C++ from the "Language" menu, Windows from the "Platform" menu, and then Console as the "Project type." Select Console App, click Next, enter a project name, and then click Create.
- Visual Studio 2017: Click Windows Desktop and then Windows Console Application. Type a name for the project and click OK.[2]
-
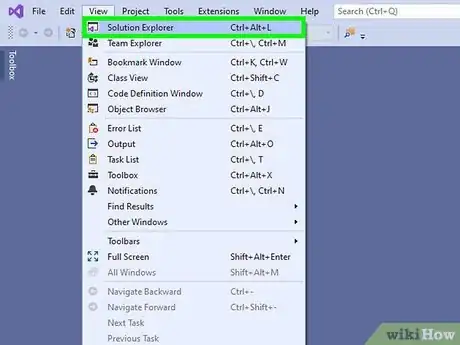
4Open the Solution Explorer if it's not already open. If you don't already see a window with this name, click the View menu and select Solution Explorer to display it now.
-
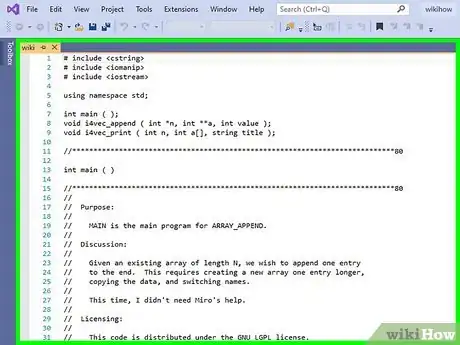
5Add your CPP file(s) to the "Source Files" folder. The folder is in the Solution Explorer. You can drag them there from another window. Rename the main CPP file (the one that contains "int main()") to the name of the project that you chose if it's not already the same.
- If you have any .H files, add them to the "Header Files" directory.
-
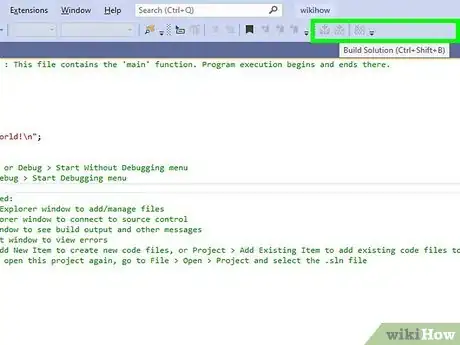
6Click the Build menu. It's at the top of the window.[3]
-
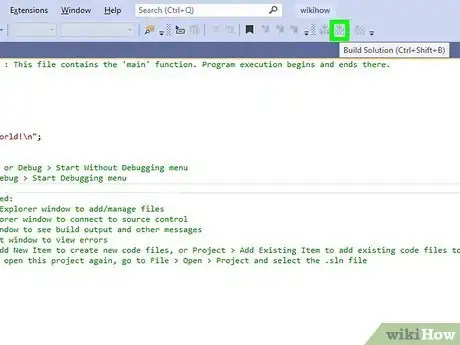
7Click Build Solution on the menu. This compiles your program into the EXE format. The results of your build will appear in the "Output" window at the bottom of the workspace.
- To test your program from Visual Studio, click the Debug menu and select Start without debugging.
- To test it from the File Explorer, right-click the name of your app in the Solution Explorer window, select Open Folder in File Explorer, and then double-click the Debug folder—you'll find your app here.
Using MinGW
-
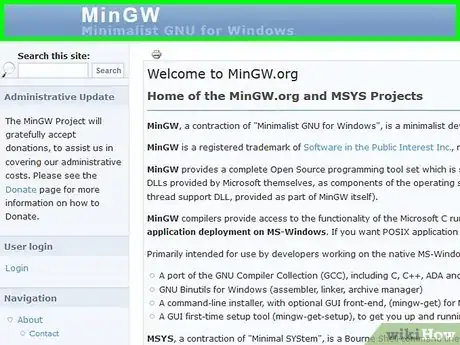
1Download the Minimalist GNU for Windows (MinGW). If you don't already have a compiler, MinGW is a great version of GCC for Windows that can compile C++ code. Go to http://www.mingw.org in a web browser and then follow these instructions:
- Click Downloads in the left panel.
- Click the blue-and-white button with a Windows logo below your operating system.
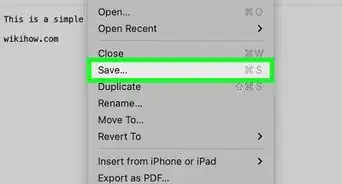
- If the file doesn't download immediately, click Save to download it now.
-
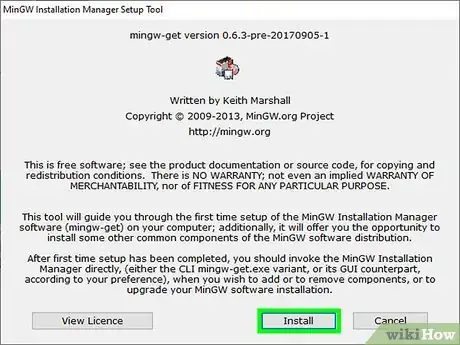
2Run the downloaded installer file. To do this, double-click the downloaded file, click Install, and then click Continue. The default installation directory is C:\MinGW—leave it this way to make things easy, as you'll need to enter this later. The app will now install. When the installation is finished, click Continue to launch it.
- If you install MinGW to a different folder, make note of which folder it is so you can properly set your environment variables.
-
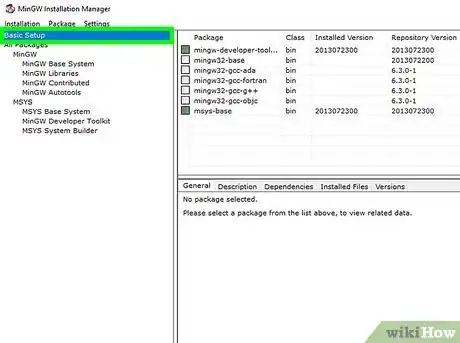
3Install the GCC files in MinGW. The remaining installation steps will download the actual GCC compiler and associated files:
- Select Basic Setup in the left column.
- Select all of the options in the right column and mark them all for installation as prompted.
- Click the Installation menu and select Apply Changes.
- Click Apply to start the download. When the download is complete, click Close.
-
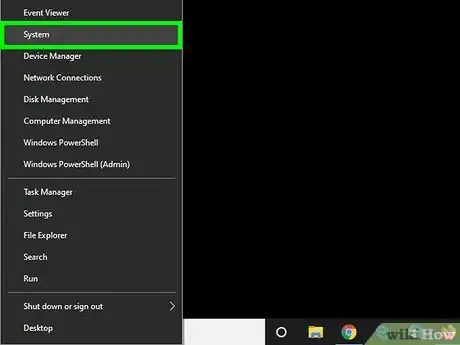
4Right-click the Start menu and select System. This opens the Settings window to the "About" screen.
-
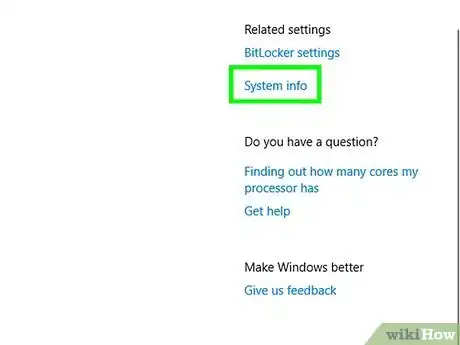
5Scroll down and click System Info in the right panel. It's toward the bottom of the panel under "Related Settings."
-
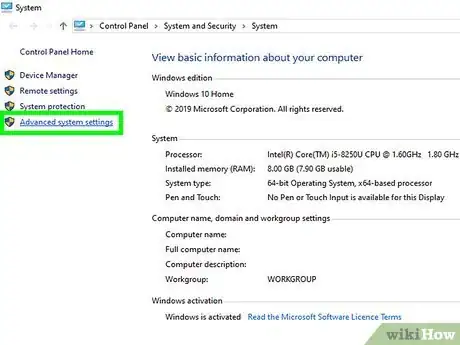
6Click Advanced system settings in the left panel. This opens the System Properties dialog.
-
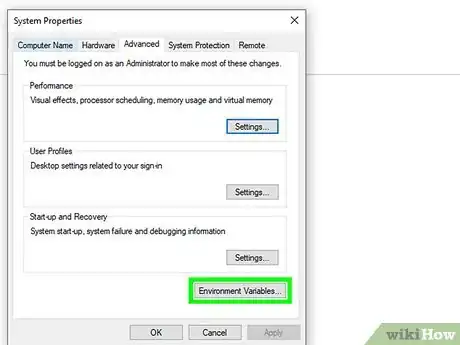
7Click the Environment Variables button. It's near the bottom of the "Advanced" tab, which opens by default.
-
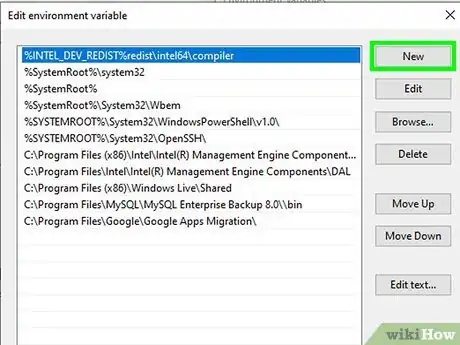
8Add the MinGW binary path variable. This lets you easily run the compiler from anywhere on your PC. Here's how:[4]
- Double-click Path under "System Variables" in the bottom section.
- Click the New button at the top-right corner.
- Type C:\MinGW\bin into the blank and click OK.
- Click OK again and close all open windows.
-
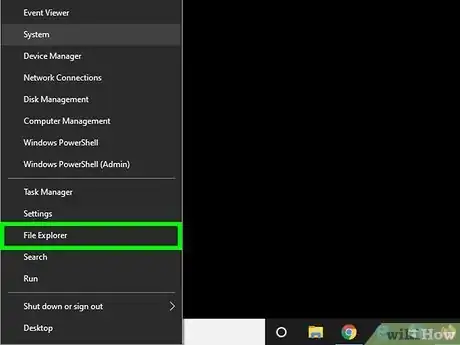
9Right-click the Start button and click File Explorer. Your file browser will appear.
-
10Navigate to the folder that contains your CPP file(s). The location will vary. If you're using a Visual Studio Code (the free code editor from Microsoft), you can quickly find the location in the app by right-clicking your .cpp file in the left panel and clicking Reveal in Explorer. Other editors may have an Open in Explorer option as well.
-
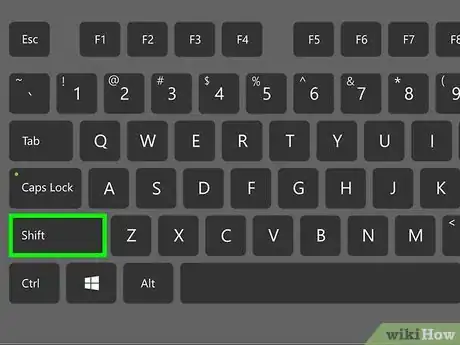
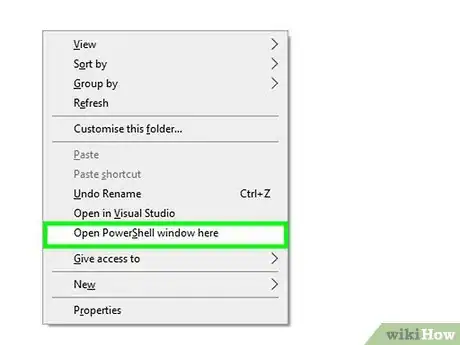
11Hold the ⇧ Shift key as you click an empty area in the folder. A menu will expand.
-
12Select Open Command window here. If you use Windows PowerShell, you'll see Open PowerShell Window Here instead. This opens a command prompt in the same folder as your CPP code.
-
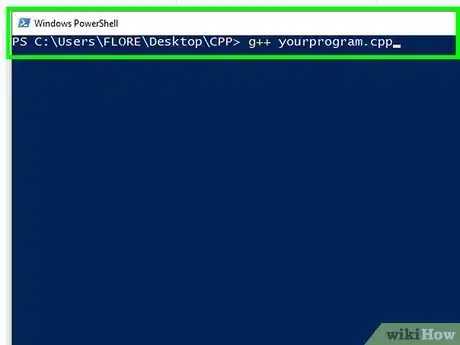
13Run the command to compile your program. Type g++ yourprogram.cpp (replace that name with the name of your actual CPP file) and press ↵ Enter to compile your CPP file into an EXE. As long as there are no errors in your C++ code, a new file ending in "EXE" will appear in the current folder.
Community Q&A
-
QuestionIs Turbo C+ good for compiling C++ programs?
 Community AnswerIt is a good compiler, but it's outdated and doesn't support modern C++. I would recommend Visual Studio instead.
 -
QuestionCan I run trurboC3 file in visual studio without any problem?
 Community AnswerYes, you can. Just locate the file in the location of computer and open it with visual studio or you directly access it from visual studio just search the file and run it.
 -
QuestionHow do I rename the executable file from .exe to any other name?
 Community AnswerRight Click your project in Solution Explorer. Click on the Properties. Select the application tab. Change the assembly name to whatever new name you want to have of your exe.
References
- ↑ https://docs.microsoft.com/en-us/cpp/windows/walkthrough-creating-a-standard-cpp-program-cpp?view=vs-2019
- ↑ https://docs.microsoft.com/en-us/cpp/windows/walkthrough-creating-a-standard-cpp-program-cpp?view=vs-2017
- ↑ https://docs.microsoft.com/en-us/cpp/get-started/tutorial-console-cpp?view=vs-2019
- ↑ https://www.youtube.com/watch?v=hWkaDFAG0Q0
About This Article
1. Open Visual Studio.
2. Set up your project.
3. Add your CPP code to the "Source Files" folder.
4. Click the Build menu.
5. Click Build Solution.
