X
wikiHow is a “wiki,” similar to Wikipedia, which means that many of our articles are co-written by multiple authors. To create this article, 19 people, some anonymous, worked to edit and improve it over time.
This article has been viewed 164,718 times.
Learn more...
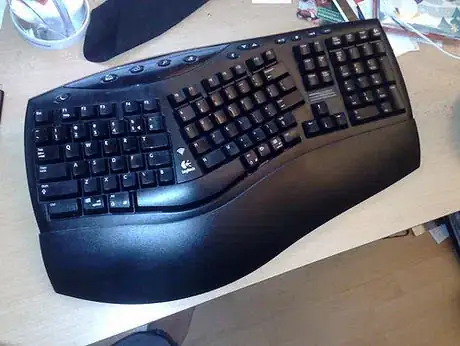
There are many conventional ways to clean a keyboard, such as blowing or shaking out the dust and wiping with a damp cloth. This way is a bit more radical. It's the sort of thing you should try if an entire large drink spilled on a beloved keyboard. Before tossing it, try the dishwasher. Whether or not it works, you'll at least have something to talk about!
Steps
-
1Disconnect the keyboard from the computer and remove any batteries. If it has a cord, cover the connector in a plastic bag and tape it off. Make sure the cord cannot fall into the path of the spray arm stopping it from spinning or possibly tangling up with it.
-
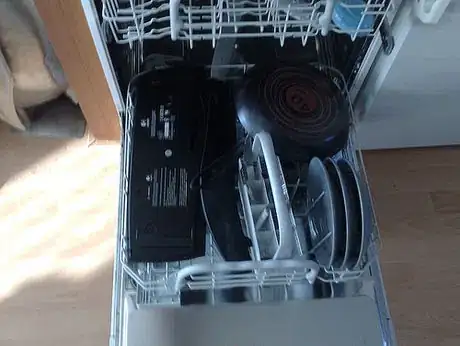
2Place the keyboard in the dishwasher with the keys facing down. If you prefer not to run a keyboard and dishes in the same load, run a special load of items that aren't dishes.
- Try washing Lego or other all-plastic toys in a mesh bag or basket to keep them from getting lost.
- Wash plastic combs, hair brushes, sandals or shoes.
- Run soap dishes, toothbrush holders, or desk accessories.
- Don't forget any decorative plates or other ceramic items.
Advertisement -
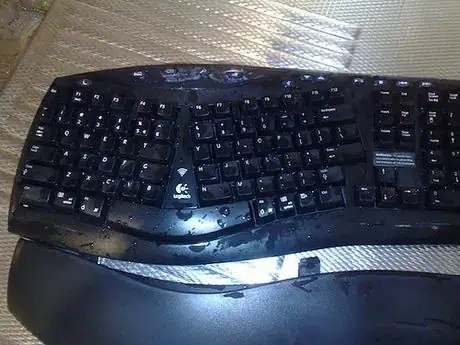
3Run a regular cycle without heated dry, if you use heated dry, place the keyboard on the top row to avoid melting the plastic, heated dry can help the keyboard dry faster. Use the economy or air dry cycle, if possible. DO NOT use dishwasher detergent.
-
4Dry the keyboard very thoroughly before plugging it in. This step is crucial to having a working keyboard. Expect to wait two to five days, depending on your climate and method. Since there are many crevices in the keyboard, turning the keyboard over once or twice a day and lightly shaking it during the drying will ensure that no pockets of water get trapped in the keyboard.
-
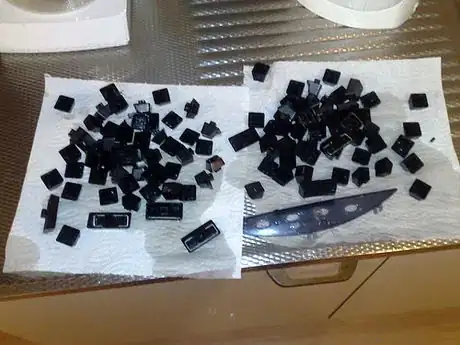
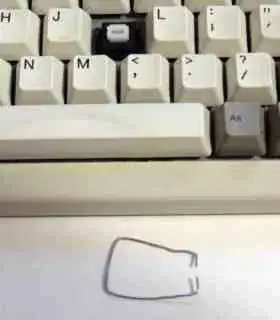
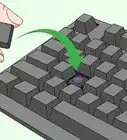
5Pop out the keys. While not strictly required, popping out every key will help everything dry faster and more thoroughly. Do this only if you're sure you can put them all back correctly, including any special rods or springs.
- Photographing where the keys belong will assist in returning them to the right order.
- If you don't remove the keys, give the keyboard even more time to dry.
- You may be able to hasten drying, with or without keys, by placing the keyboard in front of a fan or someplace else where plenty of warm (not hot), dry air will circulate past it.
- Google "keycap puller tool" to find a tool that will help remove the keys (for a few bucks). A usable tool can be made with a couple of bent paper clips, but a pre-made tool is very handy.
-
6Reconnect your clean, thoroughly dry keyboard to your computer and see if it works. If it doesn't work, such as if certain letters seem to be on endless repeat, give it even more time to dry and try again.
- While many people report success washing their keyboards in the dishwasher[1] , it is still a rather drastic measure. If you're not sure, use another technique, or try it on a keyboard you don't care about.
- It's possible to dismantle a keyboard even further if you pop the keys out first. There's often a plastic or rubber membrane under the keys that serves both as protection and spring. If you don't want to try the dishwasher, try pulling the whole thing apart and seeing if you can clean just the parts you need.
- Want to wash just the keys? Pop them off and place them in a closed, mesh bag in the dishwasher. Take the opportunity to wipe out the space underneath them before you put everything back together.
- Plan to be without your keyboard for a few days while the keyboard dries. Most windows computers have an onscreen keyboard under accessories You can use the computer without a keyboard, use a different keyboard or computer, or simply be without the computer for a while.
Advertisement
Community Q&A
-
QuestionShould I worry that the plastic may melt in the dishwasher?
 Community AnswerNo, you shouldn't worry about the plastic melting. It will be fine!
Advertisement
Warnings
- Use this method only on a computer keyboard–not a laptop.⧼thumbs_response⧽
- This could very well cause a keyboard not to work. It's best to try it on an old keyboard you don't care about very much or on a keyboard that would otherwise be beyond repair, anyway.⧼thumbs_response⧽
Advertisement
References
- ↑ http://birdhouse.org/blog/2006/10/23/keyboard-in-the-dishwasher/
- Photos from flickr user Ivo Jansch, http://www.flickr.com/photos/ijansch/sets/72157612566299359/, shared under Creative Commons license.
About This Article
Advertisement
