X
wikiHow is a “wiki,” similar to Wikipedia, which means that many of our articles are co-written by multiple authors. To create this article, volunteer authors worked to edit and improve it over time.
This article has been viewed 21,378 times.
Learn more...
If you want to change your resolution in Windows 7, you've come to the right place. Pick either of the methods below to get started!
Steps
Method 1
Method 1 of 2:
Directly From Desktop
-
1Switch to the desktop by minimizing any open windows.
-
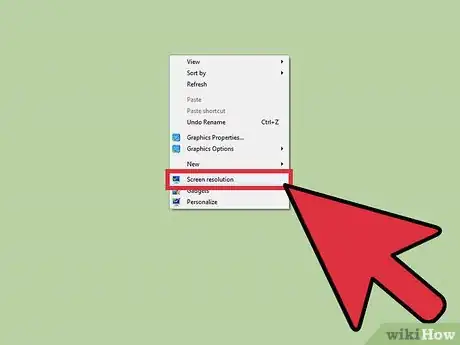
2Right click on the desktop and select screen resolution.Advertisement
-
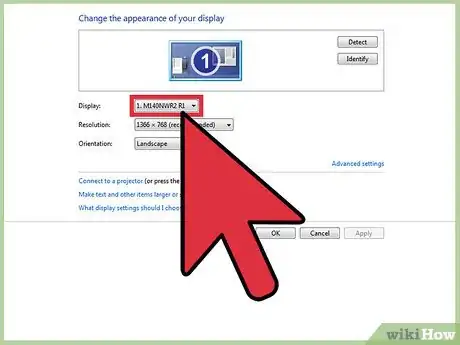
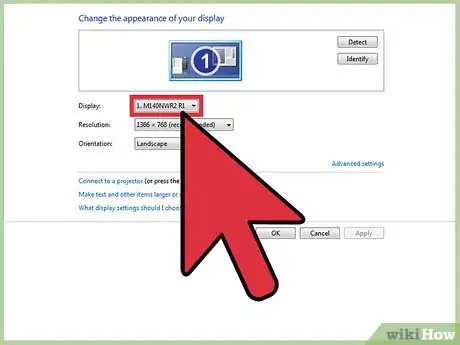
3If you have more than one display, select the display whose resolution you want to change.
-
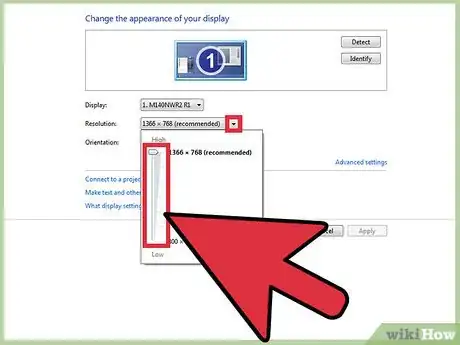
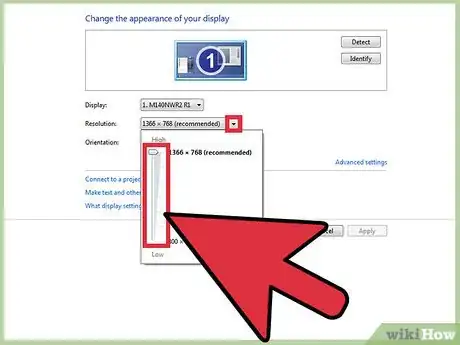
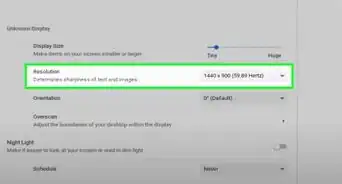
4Click on the chevron (down pointed arrow) to get a drop down list. In the drop-down list select the resolution you want by sliding the meter up or down.
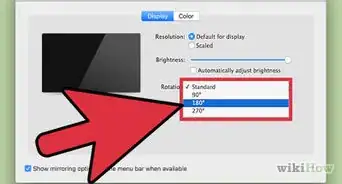
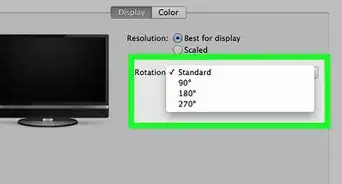
- You can also select the orientation of the screen.
-
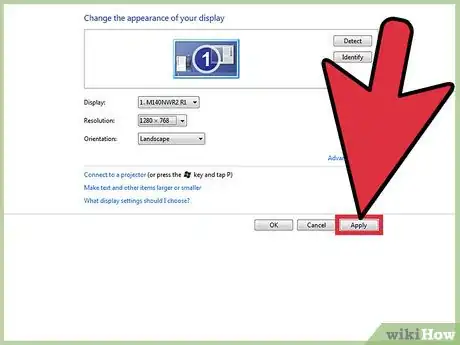
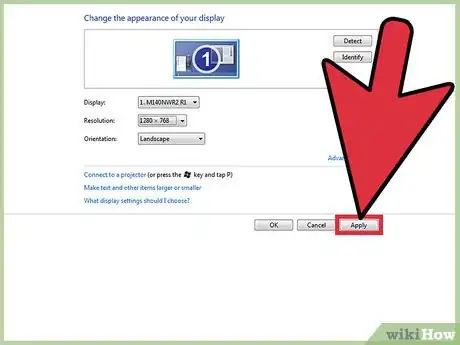
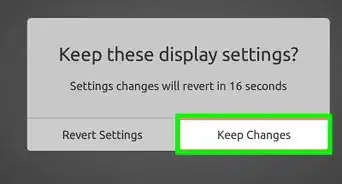
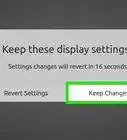
5Click Apply. Then select Keep Changes if you are happy with the new resolution; otherwise select Revert and set again the resolution.
Advertisement
Method 2
Method 2 of 2:
Using Control Panel
-
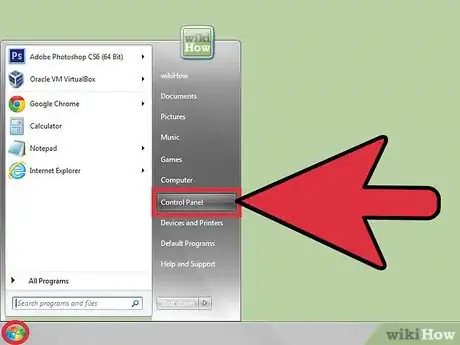
1Open the Control Panel by
- Clicking Start Menu and then clicking Control Panel.
- Or clicking the Windows key + R, typing control and hitting Enter.
-
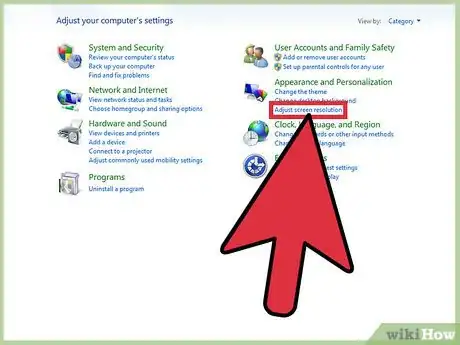
2In Control Panel, switch to category view by changing view in the 'view as' drop down list found at the top of the page.
-
3Under Appearance and Personalization, select the 'Adjust Screen Resolution' option.
-
4If you have more than one display, select the display whose resolution you want to change.
-
5Click on the chevron (down pointed arrow) to get a drop down list. In the drop-down list select the resolution you want by sliding the meter up or down.
- You can also select the orientation of the screen.
-
6Click Apply. Then select Keep Changes if you are happy with the new resolution. Otherwise select Revert and set again the resolution.
Advertisement
About This Article
Advertisement

