This article was co-authored by wikiHow staff writer, Darlene Antonelli, MA. Darlene Antonelli is a Technology Writer and Editor for wikiHow. Darlene has experience teaching college courses, writing technology-related articles, and working hands-on in the technology field. She earned an MA in Writing from Rowan University in 2012 and wrote her thesis on online communities and the personalities curated in such communities.
Learn more...
Does your iPhone or Mac's VoiceOver feature read text in the wrong language? Or do you want to change VoiceOver to speak in a language that you're trying to learn? Fortunately, Apple's screen-reading accessibility feature supports over 30 languages, and changing the language is easy! This wikiHow article teaches you how to use a different language for VoiceOver, or text-to-speech, on your iPhone and Mac.
Things You Should Know
- Use the Rotor to switch between VoiceOver languages on an iPhone.
- Or, if you're looking to change your entire iPhone's system language, use Settings.
- If you're using a Mac, change the voice and language in "System Settings > Accessibility > Spoken Content."
Steps
Changing VoiceOver Language on iPhone
-
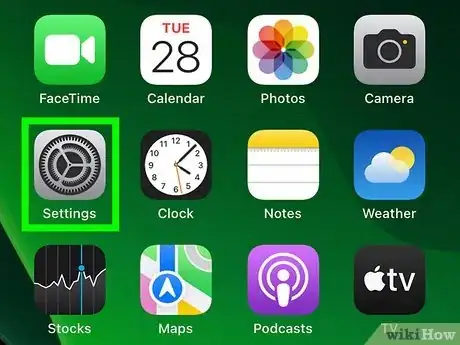
1Open Settings . Tap the app that features a gear on a light grey background.
- Use this method if you want to change the VoiceOver language without changing the language for your entire iPhone.
- If you want to change your iPhone's system language, see this method instead.
-
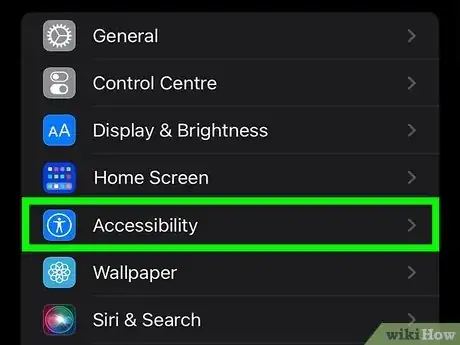
2Tap Accessibillty. You'll see this next to a silhouette of a person on a blue background.Advertisement
-
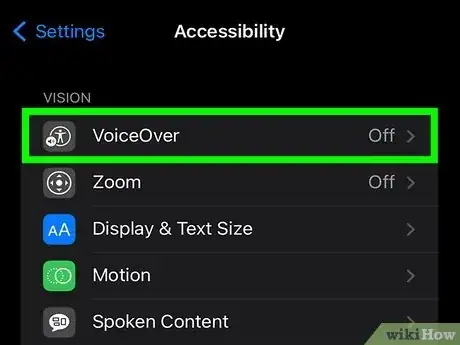
3Tap VoiceOver. It's usually the first option in the menu.
- If VoiceOver is turned off, tap the switch to turn it on now.
-
4Tap Speech. This is in the center of the page.
-
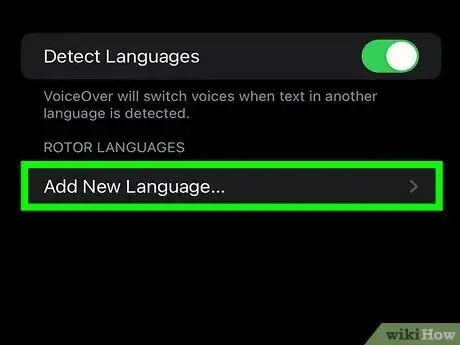
5Tap Add New Language. You'll see this under the "Rotor Languages" header.
-
6Tap the language you want to add. This adds the selected language to "Rotor Languages."
- If the new language appears under "Unconfigured Languages" instead, tap the language, tap a speaker option, and then tap the download icon (the cloud with a down-arrow) to download the language.
-
7Use the rotor to switch languages. To change the VoiceOver language, all you need to do is put two fingers on the screen and twist (like you're turning a dial). Continue twisting until you find the language you want, then swipe a finger up or down to select that language.[1]
- You can toggle VoiceOver off and on by pressing the Home or Side button 3 times.
Changing iPhone System Language
-
1
-
2Tap General. This is next to a gear icon.
- If VoiceOver is on, you'll need to double-tap menu items to make selections. Tapping the item once will prompt VoiceOver to read the menu option instead.
-
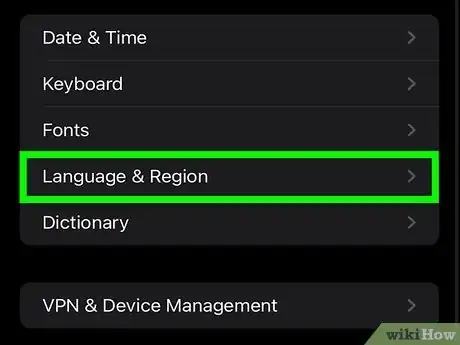
3Tap Language & Region. You may need to scroll down to find this menu option.[2]
-
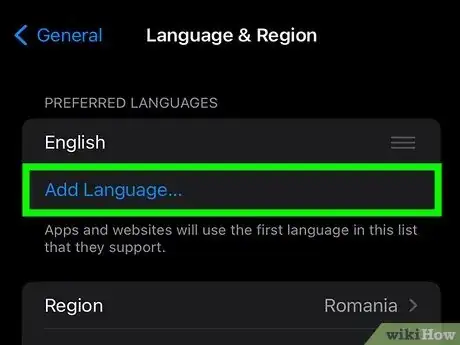
4Tap Add Language. This will open a new menu with all the different languages available in your region.
- If the language you want isn't available in your region, you cannot change your language this way and must use the rotor method.
- If you already see the language that you want to switch to, tap and hold it until a confirmation message appears at the bottom of your screen.
-
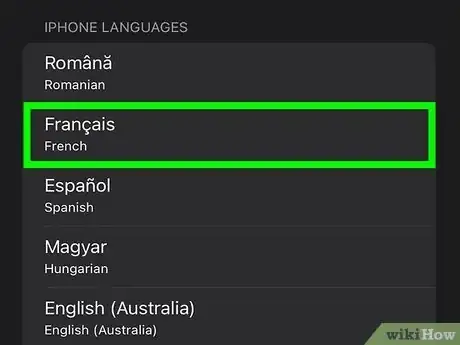
5Select your language and confirm your choice. You will see a menu slide up from the bottom to confirm your decision. When you tap a different language than what you currently have, your iPhone will update to display the new language.
Using a Mac
-
1Open your Mac's System Settings. If you're using macOS Ventura or later, click the Apple menu and select System Settings.
- If you're using macOS Monterey or earlier, click the Apple menu and select System Preferences instead.
- To download a voice or language from Apple, you need to be connected to the internet.
-
2Click Accessibility. For updated Macs, you'll find this in the sidebar. If you're using an older macOS version, click the Accessibility icon in the main window.
-
3Click Spoken Content. You'll see a new set of options appear.
-
4Click System voice. A list of voices will appear.
- If you see the voice you want to use, you can select it now.
-
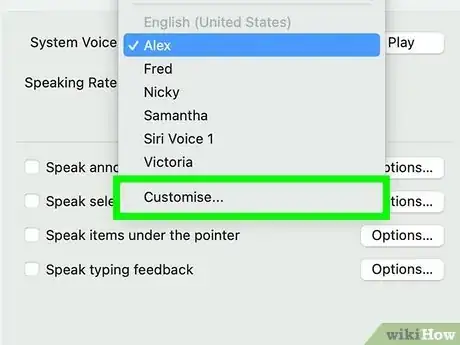
5Click Manage Voices (Ventura) or Customize (earlier versions). Now you'll see a list of voices and languages.[3]
-
6Select a language and voice. If you're looking for a new language, click that language in the panel in the sidebar, then click the download icon to download the new voice. Then, select the voice you want to use for that language.
- When you're finished, click OK.
-
7Click the "System voice" pop-up again and select your voice. This changes the VoiceOver language on your Mac.
- Voices aren't available until they are downloaded, so if you're getting a voice from Apple, you won't be able to use it until the download completes.

