Create and pose a 3D armature figure in free open-source software
X
wikiHow is a “wiki,” similar to Wikipedia, which means that many of our articles are co-written by multiple authors. To create this article, 10 people, some anonymous, worked to edit and improve it over time.
This article has been viewed 60,844 times.
Learn more...
Adding an armature in Blender can be difficult, but soon it can become easy to do. This article assumes the reader knows the basics of the Blender interface and has worked with the program for some time.
Steps
-
1Select where you want the armature's beginning to be with the Anchor Point. Using the keypad keys, 1, 3, and 7, you switch between the X axis, the Y axis, and the Z axis.
-
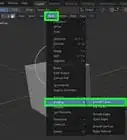
2Choose where you want the armature to be. Go to the top bar and select "Add > Armature" You will have to fiddle with the top of armature to get it where you want it. Try putting it at to figure's chest, while the armature's original point is at the figure's stomach.Advertisement
-
3Extend the armature's points by selecting a point and extending it with the E key. This will copy the selected point and move it with the mouse until you click.
-
4Right click your figure. Once you have made the rest of the "bone" structure, select your figure by right-clicking it. Go down to the bottom bar and add an armature modifier and in the Ob. field, type Armature.
-
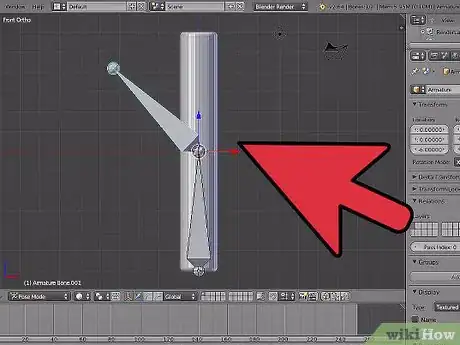
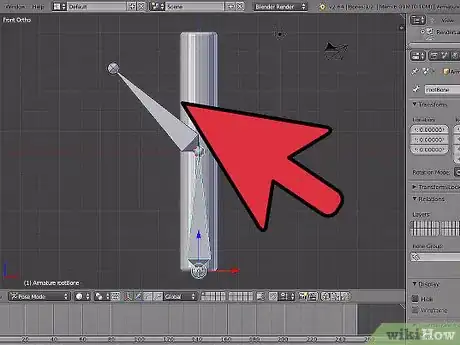
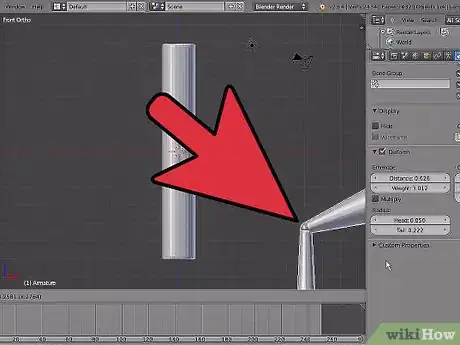
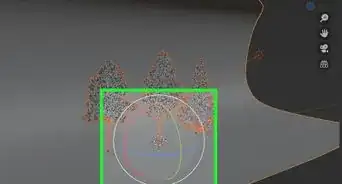
5Envelope your rigging. Select your armature structure and switch the bone display option from Octahedron to Envelope. Now select the figure's head armature and press the S key. Pull the mouse away until the yellow ball envelopes the whole head. Continue doing this until the whole rigging is enveloped.'The purple bones are able to be enlarged, too.
-
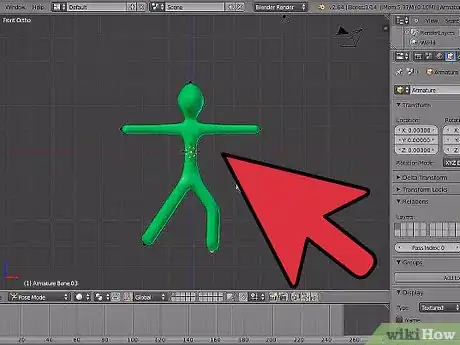
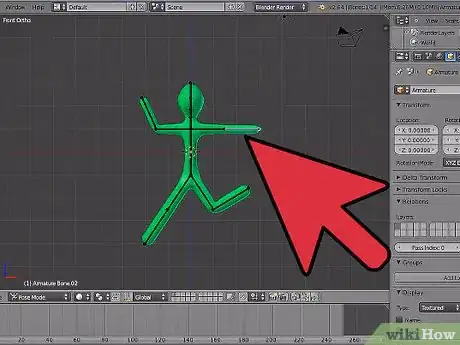
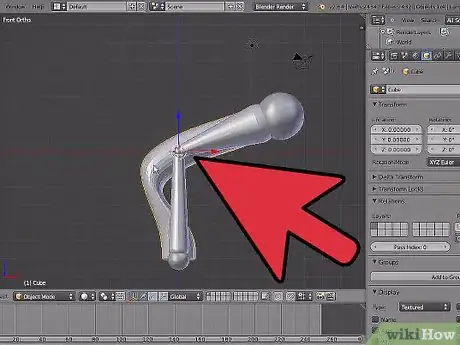
6Realise your whole structure should be able to be moved around in Pose mode. Just select an armature point and move it around with the Move tool and the head, arm, or eye stalk should move, too.
Advertisement
Things You'll Need
- Keyboard with a keypad
About This Article
Advertisement
