X
wikiHow is a “wiki,” similar to Wikipedia, which means that many of our articles are co-written by multiple authors. To create this article, volunteer authors worked to edit and improve it over time.
This article has been viewed 71,078 times.
Learn more...
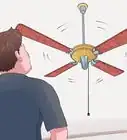
The ability to turn your ceiling fan on and off with a remote control just makes life that little bit easier and more convenient. Luckily it's not that hard to add a remote control to your fan, even if it didn't come with one originally. See step 1 below to get started.
Steps
-
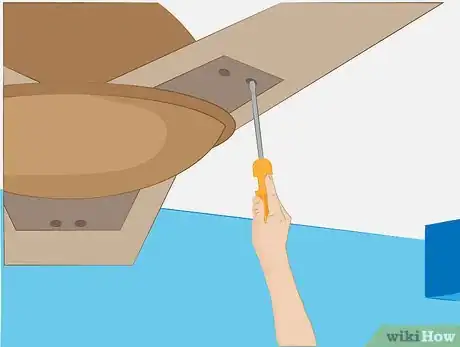
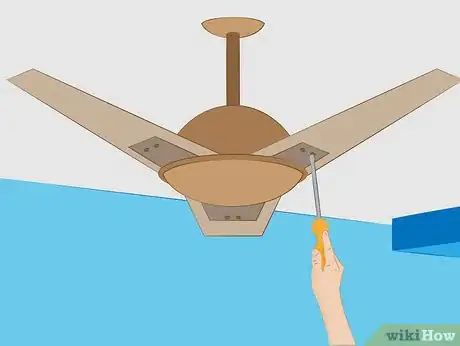
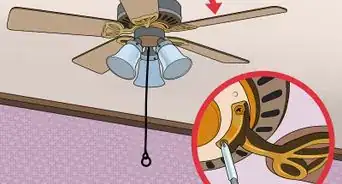
1Remove each blade by removing the screws securing them in place. Set them aside for later.
-
2Remove the canopy by removing the screws securing it in place. Let it drop.Advertisement
-
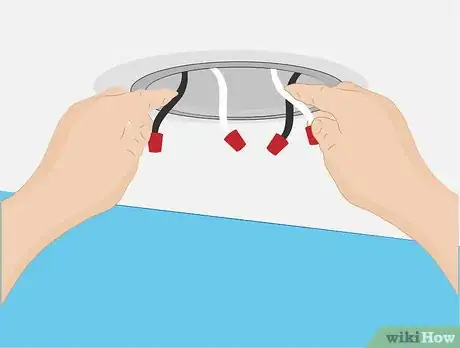
3Disconnect the wires powering the fan. Remove the fan and set it aside.
-
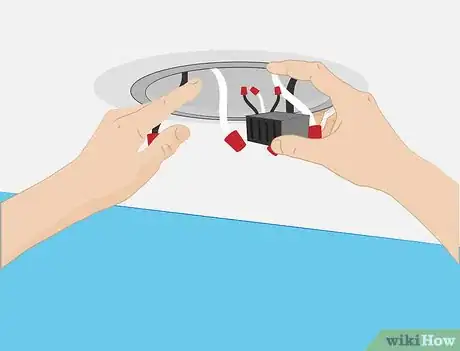
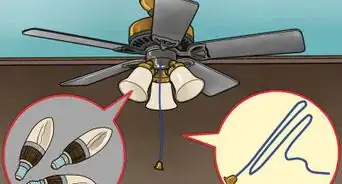
4Place the remote control receiver into the canopy. Connect the wires and secure them with wire nuts.
-
5Re-connect the fan wires and secure them with wire nuts.
-
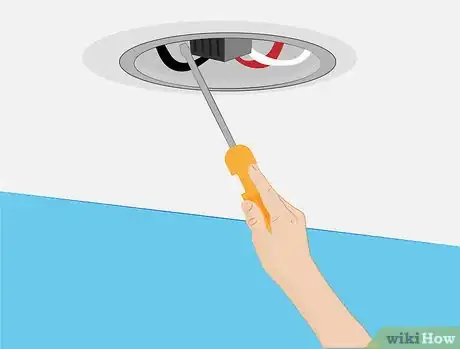
6Slide the canopy up to the ceiling. Secure it with the old screws.
-
7Secure each blade to the fan with the old screws.
-
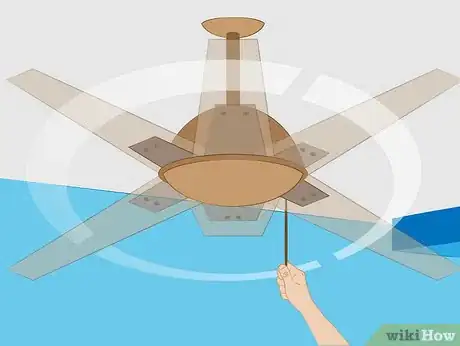
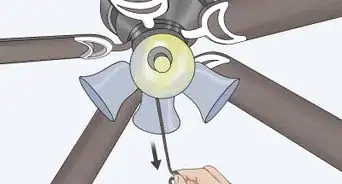
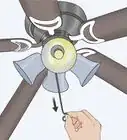
8Pull the fan's fan speed chain so that it is on high speed.
-
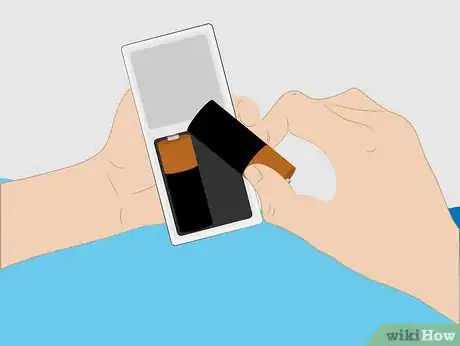
9Insert batteries into the remote control.
-
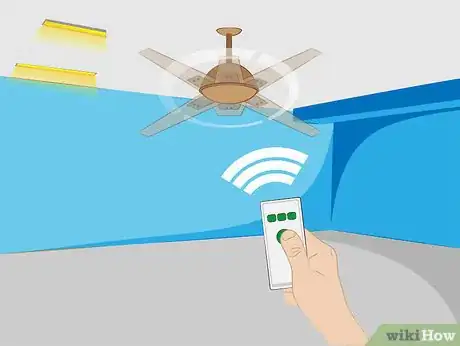
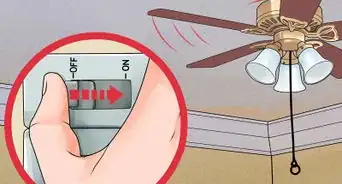
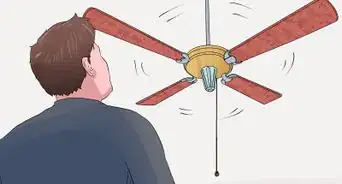
10Turn your fan on with your new remote control.
Advertisement
Community Q&A
-
QuestionWhat is the cost of a remote system for my ceiling fan?
 Community AnswerIt depends on the brand. I got mine for $18, but there are, of course, more expensive options.
 -
QuestionWhat is the cost of a remote system for my ceiling fan?
 Community AnswerDepending on your needs, cheapest solution may be a WiFi controlled smart switch (under $10 online). You will be able to turn it on/off with your phone, but probably can't control the speed.
Advertisement
Things You'll Need
- Fan
- Remote Control
- Wire Nuts/Cutters
About This Article
Advertisement
