This article was co-authored by Allen Lee. Allen Lee is a Home Improvement Specialist and the Owner of Honest Lee Handyman Services, a licensed and insured handyman business servicing Sacramento, California, and surrounding areas. Working with homeowners and businesses to get their small repairs done in a timely and efficient manner, Honest Lee Handyman Services provides gutter and dryer vent cleaning along with fixture, fence, drywall, and toilet repairs.
There are 8 references cited in this article, which can be found at the bottom of the page.
This article has been viewed 726,332 times.
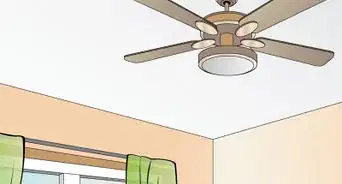
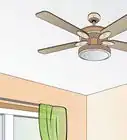
Having a ceiling fan in your home is a great way to keep the whole room cool without the costs of running an air conditioner all day. Although it might seem like a formidable task when you’re just starting out, it's easy to replace an old lighting fixture with a new ceiling fan if you know the right way to do it. By breaking the process into steps and knowing how to work safely with electricity, you can turn a fan kit into a working fan in less than a day.
Steps
Removing the Old Fixture
-
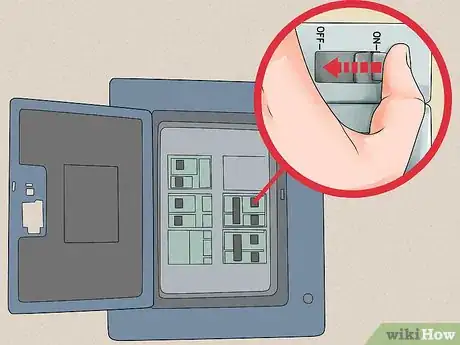
1Turn the electricity off at the circuit breaker box. When working with electricity or wiring, you should always cut power to the area before you touch anything else.[1] Locate the circuit breaker box in your home and turn off the power to the room or area your fan will be installed in.[2]
- Some homes will have multiple breaker boxes, with one main and several sub-breaker boxes in different places. If you have multiple breaker boxes, turn off power at the sub-breaker box and the main box before beginning work.
-
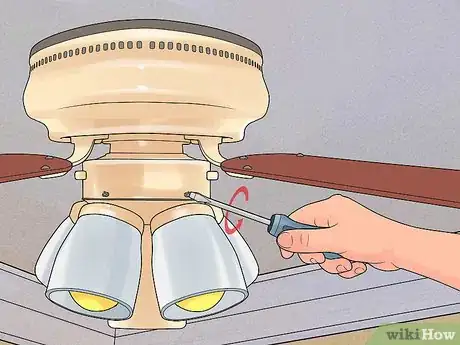
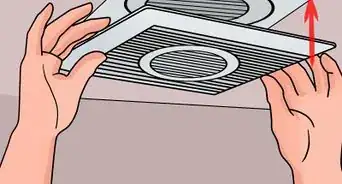
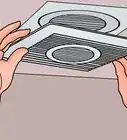
2Remove any screws holding the old fixture in place. Use a ladder or step-ladder to safely climb up towards the roof to give you access the fixtures. Hold the fixture in place with one hand as you remove any screws securing it to the roof. Once they have been taken out, the old fixture should be able to detach from the ceiling.[3]
- If there is no fitting where you want to install your new ceiling fan, you should call a licensed electrician to install one for you. You will need to run wiring through your walls, which is very difficult to do and can be very dangerous if done wrong.
- If you cannot hold the fixture in place while you remove the screws, get somebody else to help. This will reduce the chance of the fixture falling from the ceiling and make it easier to unscrew.
Advertisement -
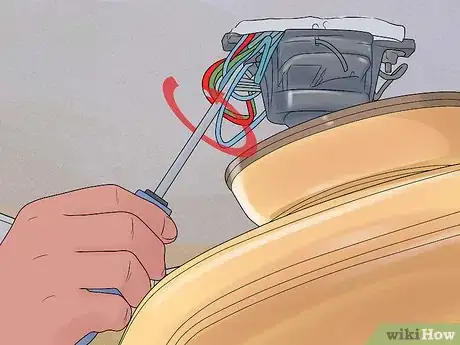
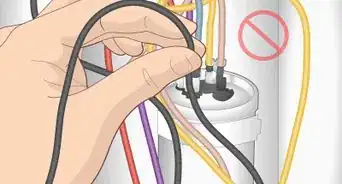
3Disconnect the wires from the old electrical fixture. Locate the point where the wires from the fixture are held to the wires coming from the ceiling with plastic connectors. Ensure the fixture is supported by something other than the wires and begin unscrewing and removing each plastic connector. Once disconnected, lower the fixture from your ceiling and discard it or store it somewhere safe for future use.[4]
- Do not cut any wires or attempt to rewire anything in your ceiling without help from a licensed electrician. If the wiring is different than you anticipated, stop immediately and call a professional to help.
- Always make sure something is supporting any fixtures you remove or install as you work on them. Don't let the fixture be held up only by wires, as this may damage them. Ask a friend to help if you need them.
-
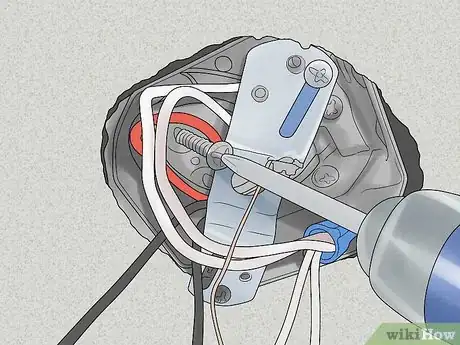
4Remove the old ceiling box. The ceiling box is a circular metal fitting that other fixtures attach to. Look for any screws or nails holding the old ceiling box in place and remove them. Push the circuit box further into the ceiling, or attempt to pry it out to remove it.
- If you can access the space above the ceiling box and get a better look at it, it may be easier to remove. If not, use a flashlight to look at it from below and work out the easiest way to remove it.[5]
- Few standard ceiling boxes will be sturdy enough to hold the weight of a spinning ceiling fan. You shouldn’t use the existing ceiling box unless you are absolutely certain it is rated for a ceiling fan.[6] If you're unsure, remove it and replace it with a new ceiling box that has a weight rating above the weight of your ceiling fan. Ask at your local hardware store or look online to find one that will be strong enough.
- If you're unsure whether or not your ceiling box will be able to hold your fan, look inside it for any markings or model numbers that will help identify it. Look online or ask at your local hardware store to make sure that the weight rating for your box is more than the weight of your fan.
- Some ceiling boxes will have cable clamps that secure the wiring in place. If you notice a metal fixture tightly holding the wiring, look for a screw on the fixture's side. Loosen this screw and slip the cable clamp over the end of the wiring to remove it.[7]
Attaching the New Ceiling Box
-
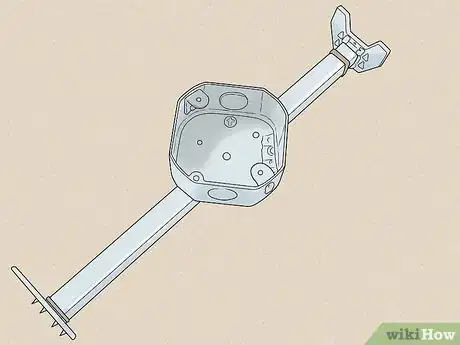
1Purchase a fan box with a hanger bar if the fixture is between two ceiling joists. A hanger bar is an extendable rod that will hold taut between two ceiling joists and give you something to attach the fan to. Purchase a fan box with a hanger bar from your local electrical store and use this if your fan will be installed between two ceiling joists.[8]
- Use a small flashlight to look into the hole in your ceiling where your new ceiling box will be installed. If you don't see a long piece of wood directly above the hole, it is likely your ceiling box is being installed between two joists. Locate the studs in your ceiling to be sure.
-
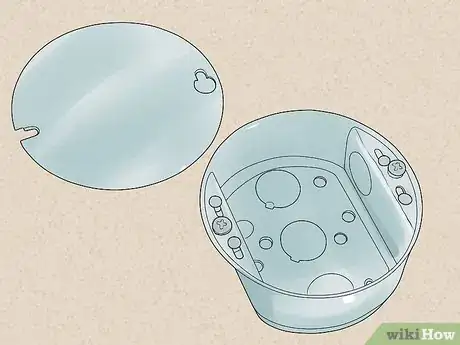
2Choose a screw-fastening fan box if you have access to a single ceiling joist. If the opening in your ceiling is directly below some wooden framing, use a fan box that can be screwed directly into the framing. Purchase a fan box without a hanger bar from your local hardware or electronics store.[9]
- Look through the hole where you will be installing your ceiling box for a wooden joist directly above the hole. If you can easily screw something into the joist, use a screw-fastening fan box.
-
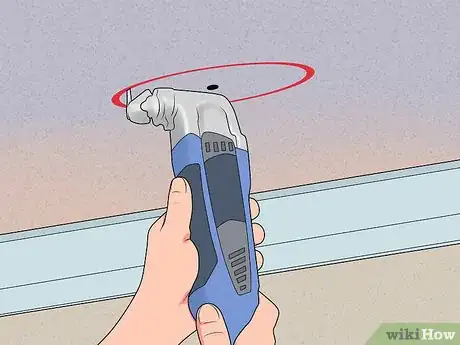
3Cut around the hole to make sure it is the right size. A fan rated ceiling box may be bigger or slightly thicker than a standard ceiling box. Hold the fan box up to the hole and trace around it with a pencil. Use a drywall saw to cut away excess ceiling until the fan box will fit in.[10]
- Be careful when cutting not to saw through any wiring in the ceiling. Keep the saw as shallow as possible to prevent hitting anything unintended.
-
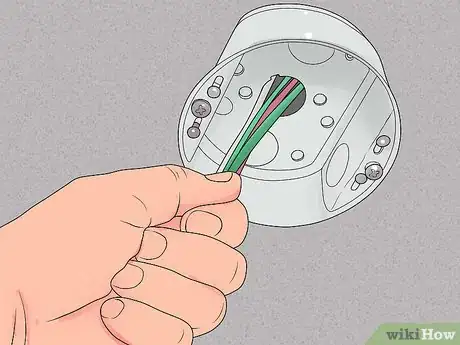
4Feed the cables through the new electrical box. Lift the new ceiling box towards and into the ceiling. As you do so, thread the wiring coming from the ceiling through the central hole in the ceiling box.[11]
- If the fan box comes with a cable clamp, thread the wiring through this as well. Push it over the wires until it sits on the face of the fan box, and tighten the screws on the cable clamp to hold the wires in place.
-
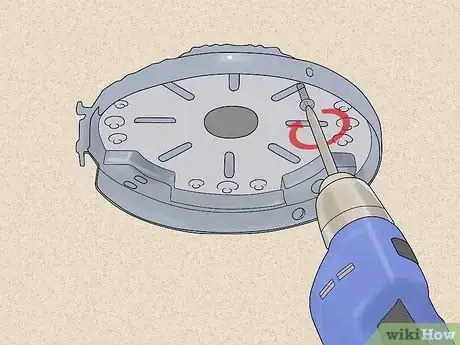
5Secure the fan-rated ceiling box in place. If you have a fan box that attaches directly to a ceiling joist, hold the box against the joist and use the provided screws to fasten it in place. If you need a hanger bar, position the bar between the two joists. Use an adjustable wrench to rotate the bar and extend it, rotating until the bar is held securely in place between the two joists. Follow the manufacturer’s instructions to attach the fan box to the hanger bar.[12]
-
6Attach the ceiling plate or bracket. The ceiling plate or fan bracket is the fixture that your fan will be suspended from. Hold the ceiling plate up to the fan box and pull all of the wires through the hole in its center. Use the provided screws to tightly secure the ceiling plate in place.[13]
- Always follow the manufacturer’s instructions when working with specific parts. The method for attaching ceiling plates and brackets may vary, but it needs to be done correctly to keep the fan attached to the ceiling.
- If you have a ceiling medallion or any molding to go around the fitting, attach it now. This will be a decorative piece that surrounds the fitting and is secured to the roof. Use a small amount of urethane-based adhesive to hold it to the roof, before securing it in place with four finishing nails. For a better-finished appearance, cover the nail holes with caulk or spackle.[14]
Assembling the Ceiling Fan
-
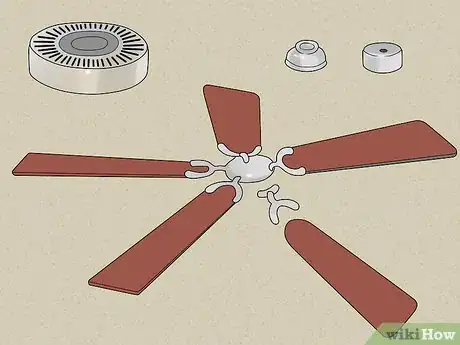
1Purchase a fan kit. This will contain all of the parts you need to assemble and mount a new ceiling fan. Fan kits should be available from your local hardware store, as well as online.Make sure to buy a fan that fits the size of the room where it will be installed.[15]
- Use a 36 in (91 cm) fan for a room less than 144 square feet (13.4 m2)
- Opt for a 42 in (110 cm) fan for a room between 144 square feet (13.4 m2) and 225 square feet (20.9 m2)
- Choose a 52 in (130 cm) fan for anything larger than 225 square feet (20.9 m2).
-
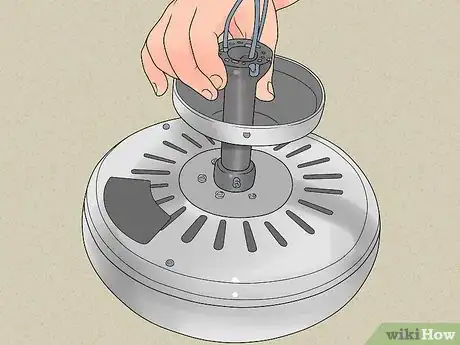
2Attach the downrod to the fan body. The downrod is the long metal pipe that is used to distance the fan from the ceiling. Keeping the body of the fan on the ground, thread the wires attached to the fan through the downrod. Sit the downrod in place on the top of the fan body. Tighten the locking screws around the base of the downrod until it is securely attached to the fan body.[16]
- If you’re unsure about the way your specific fan is constructed and put together, check the manufacturer's instructions for more advice.
- Some fans may have multiple locking screws to hold the downrod in place. Make sure you tighten all of them to prevent the downrod and the fan body from disconnecting when mounting the fan.
- There are a few factors that can change the required length for your downrod. If your roof is angled, you will need to use a downrod to prevent the fan blades from hitting the roof. If your ceilings are taller than 8 feet (2.4 m), you should use a downrod that is at least 10 inches (25 cm) long to get the best air circulation.[17]
- If you have a ceiling less than 9 feet (2.7 m) high, you should use a hugger ceiling fan kit, specially designed for lower ceilings. These will have a much shorter downrod, or may not have a downrod at all, allowing them to sit as close to the ceiling as possible.[18]
-
3Lift the fan up to the ceiling. Use a ladder or step-ladder to carefully lift the fan assembly up towards the ceiling. Most fans will have some method to suspend them just below the ceiling while you connect the wiring. If your fan does not, ask someone else to hold the fan in place as you do so.[19]
- It may be easiest to climb up the ladder and get a friend to pass the fan up to you. Make sure your ladder is secure and that you can stand on it safely with a friend if you need to. If at any point you don't feel safe, call a licensed electrician to help.
-
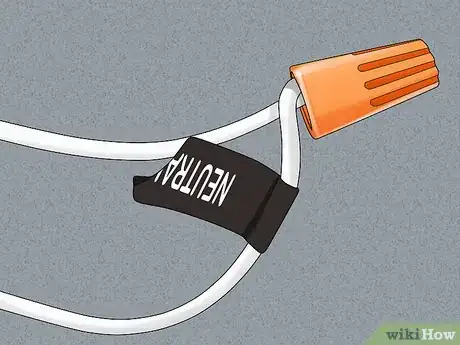
4Connect the neutral wires. The neutral wire provides a return path for the current coming into the fan, and will usually have a white insulate covering. Hold the two neutral wires together and twist the stripped ends together. Use a plastic wire connector to hold them together and secure it with electrical tape.[20]
- Wiring schemes will vary between different ceiling fans. Check the manufacturer’s guide if your wires differ, or call a licensed electrician.
-
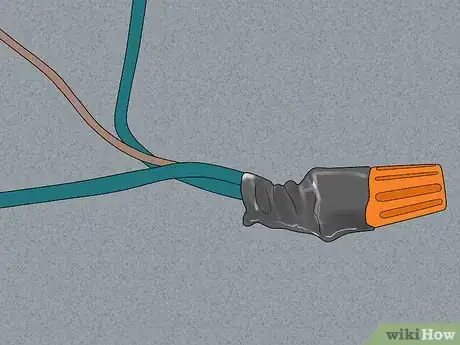
5Connect the ground wires. The ground wire will usually be green or entirely bare, and is used to prevent electrical shocks. Find the two ground wires, twist them together and secure with a plastic wire connector. Use electrical tape to keep the wires and the connector in place.[21]
- Make sure the ground wire coming from the ceiling is attached to the ground screw in your fan box, as this connection is crucial for the ground wire to serve its purpose. If you don’t have a ground screw, or you don’t know how to ground a wire, call a licensed electrician.[22]
-
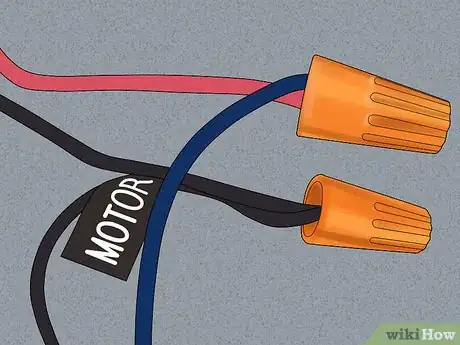
6Connect the remaining wires together. Any remaining wires will be hot wires, used to provide power to the fan and any light fittings attached to it. These will usually be black, but may be a different color in different wiring schemes. Twist the remaining wires together and secure them with a plastic wire connector and electrical tape.[23]
- This method will make one switch control the fan and any light fittings that are a part of it. Look to your manufacturer’s guide for advice on wiring for other control methods, or consult an electrician.
-
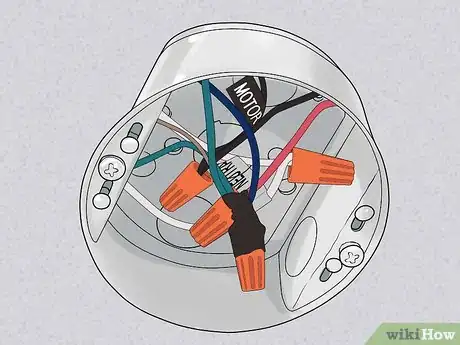
7Tuck the wires into the fan box. Carefully push the wires coming from the ceiling back into the fan box to secure them. As you do, make sure the wire connectors and electrical tape stay secure and no wiring is exposed.[24]
- Exposed wiring could lead to a dangerous short-circuit and further issues. If you see any exposed wiring, immediately secure it and cover it fully.
Mounting the Fan
-
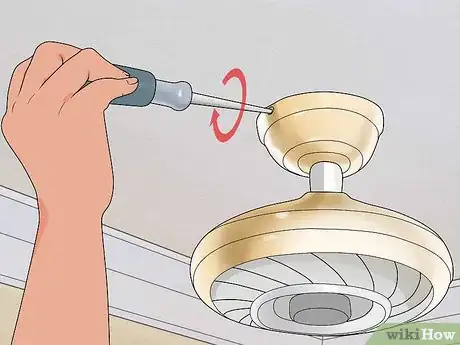
1Screw the canopy over the fan box. The canopy will lift up from the downrod and cover the wiring and socket used to hold the fan in place. Use the provided screws to secure the canopy to the fan box and keep the fan together.[25]
-
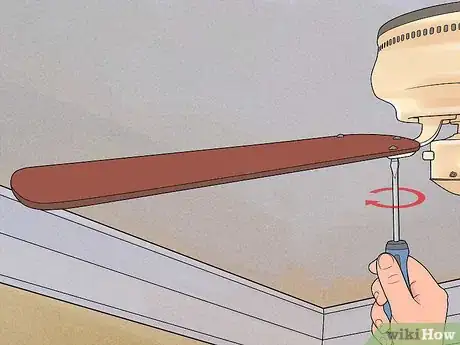
2Attach the fan blades. One by one, lift the fan blades up to their mountings on the fan motor. Slot them into place according to the manufacturer’s guide, and use the provided screws to tightly secure them to the motor.[26]
- Make sure the screws are as tight as you can make them. Loose screws will cause the fan blades to wobble and potentially come loose as the fan is running.
-
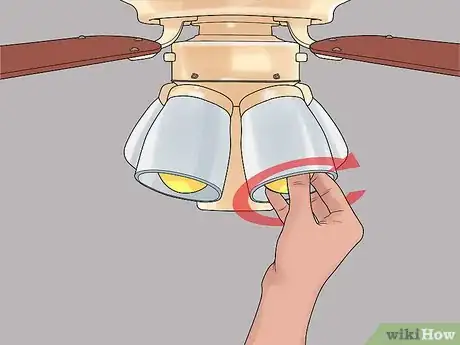
3Install any light fixtures. Many fans will have space for a light fixture on the underside. These will usually be very simple to wire up and secure into place. Check your manufacturer’s guide for instructions on how to install the lighting fixture into your specific fan.[27]
- The wiring for the lighting fixture will generally follow similar rules as wiring the fan. Connect the wires of the same color together and secure with connectors and electrical tape to prevent short-circuiting.
-
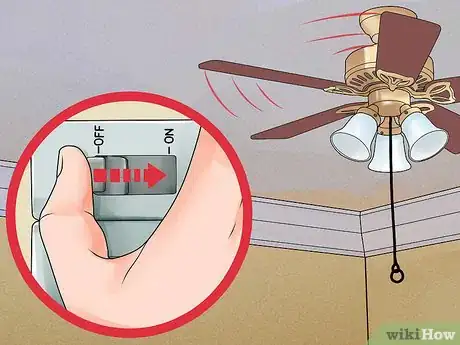
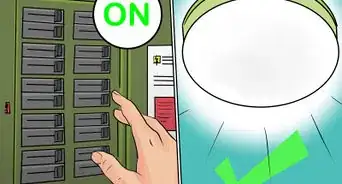
4Turn the power back on and test your fan. Go back to the circuit breaker box or boxes and restore power the necessary sections of your home. Turn the fan on at the wall and watch it for a few minutes to make sure it is working as intended.[28]
Expert Q&A
Did you know you can get expert answers for this article?
Unlock expert answers by supporting wikiHow
-
QuestionCan I install a ceiling fan by myself?
 Allen LeeAllen Lee is a Home Improvement Specialist and the Owner of Honest Lee Handyman Services, a licensed and insured handyman business servicing Sacramento, California, and surrounding areas. Working with homeowners and businesses to get their small repairs done in a timely and efficient manner, Honest Lee Handyman Services provides gutter and dryer vent cleaning along with fixture, fence, drywall, and toilet repairs.
Home Improvement Specialist
-
QuestionCan I install my own ceiling fan?
 Kevin TurnerKevin Turner is a handyman and the owner of Red Gator Maintenance, a handyman business based in Fresno, California. Working on handyman-related projects since the age of 12, Kevin specializes in a wide variety of home improvement projects such as (but not limited to) lighting/electrical, plumbing, deck staining, drywall repairs, cabinet installation, air conditioning, trash removal, and window, roof, and appliance repairs.
Commercial Handyman
Warnings
- In nearly all U.S. locations, it is illegal to install fixed electrical wiring if you do not have a permit or a licensed electrician.⧼thumbs_response⧽
- If at any point the specifics of your home or fan vary from the guide, or you feel unsafe working with electricity, call an electrician. Electricity can be very dangerous if not handled properly.⧼thumbs_response⧽
- Do not use a power screwdriver to tighten screws, as this can damage the threading and the screw head.⧼thumbs_response⧽
Things You’ll Need
- Ceiling fan kit
- Ceiling outlet box
- Expandable hanger bar
- Wire connectors
- Screwdriver
- Pencil
- Adjustable wrench
- Electrical tape
- Ladder or step ladder
References
- ↑ Allen Lee. Home Improvement Specialist. Expert Interview. 10 July 2020.
- ↑ https://www.dummies.com/home-garden/home-improvement/electrical-wiring/how-to-install-a-ceiling-fan/
- ↑ https://www.bobvila.com/articles/2479-how-to-install-a-ceiling-fan/
- ↑ https://www.dummies.com/home-garden/home-improvement/electrical-wiring/how-to-install-a-ceiling-fan/
- ↑ https://www.familyhandyman.com/electrical/how-to-install-ceiling-fans/view-all/
- ↑ Allen Lee. Home Improvement Specialist. Expert Interview. 10 July 2020.
- ↑ https://www.dummies.com/home-garden/home-improvement/electrical-wiring/how-to-install-a-ceiling-fan/
- ↑ https://www.familyhandyman.com/electrical/how-to-install-ceiling-fans/view-all/
- ↑ https://www.bobvila.com/articles/2479-how-to-install-a-ceiling-fan/
- ↑ https://www.thisoldhouse.com/how-to/how-to-install-ceiling-fan
- ↑ https://www.bobvila.com/articles/2479-how-to-install-a-ceiling-fan/
- ↑ https://www.dummies.com/home-garden/home-improvement/electrical-wiring/how-to-install-a-ceiling-fan/
- ↑ https://www.thisoldhouse.com/how-to/how-to-install-ceiling-fan
- ↑ https://www.thisoldhouse.com/how-to/how-to-install-ceiling-fan
- ↑ https://www.bobvila.com/articles/2479-how-to-install-a-ceiling-fan/
- ↑ https://www.familyhandyman.com/electrical/how-to-install-ceiling-fans/view-all/
- ↑ https://youtu.be/coDff5RLIas?t=122
- ↑ https://www.bobvila.com/articles/2479-how-to-install-a-ceiling-fan/
- ↑ https://www.dummies.com/home-garden/home-improvement/electrical-wiring/how-to-install-a-ceiling-fan/
- ↑ https://www.dummies.com/programming/electronics/components/alternating-current-in-electronics-hot-neutral-and-ground-wires/
- ↑ https://www.dummies.com/home-garden/home-improvement/electrical-wiring/how-to-install-a-ceiling-fan/
- ↑ https://www.dummies.com/programming/electronics/components/alternating-current-in-electronics-hot-neutral-and-ground-wires/
- ↑ https://www.familyhandyman.com/electrical/how-to-install-ceiling-fans/view-all/
- ↑ https://www.bobvila.com/articles/2479-how-to-install-a-ceiling-fan/
- ↑ https://www.bobvila.com/articles/2479-how-to-install-a-ceiling-fan/
- ↑ https://www.bobvila.com/articles/2479-how-to-install-a-ceiling-fan/
- ↑ https://www.bobvila.com/articles/2479-how-to-install-a-ceiling-fan/
- ↑ https://www.dummies.com/home-garden/home-improvement/electrical-wiring/how-to-install-a-ceiling-fan/
About This Article
To install a ceiling fan, attach the downrod to the fan body, then lift the fan up to the ceiling. Either use a hanging mechanism or ask someone to help you hold the fan in place while you connect the wiring. Connect the neutral, or white, wires first by twisting the ends of the wires together and securing them with a wire connector and electrical tape. Do the same for the ground wires, which are either green or bare, then connect the remaining wires together. Tuck the wires into the fan box, then screw the canopy over the fan box and attach the fan blades. Keep reading to learn how to install a new ceiling box!
