This article was co-authored by James Hornof. James Hornof is a Master Electrician and the Owner and President of B & W Electric based in Denver, Colorado. With over two decades of experience in the electrical construction industry, James specializes in field installation, management, estimating, and design. He graduated top of his class in electrical trade school and studied Business Management at The Community College of Denver. James holds a Master Electrician license in Colorado, Wyoming, and Texas.
There are 12 references cited in this article, which can be found at the bottom of the page.
This article has been viewed 173,497 times.
You don't have to hire a handyman to install a ceiling fan. To connect your ceiling fan to existing wires, make sure that you have the right fan hardware and cut off the electricity leading to those wires. Mount your bracket onto the ceiling and hang the fan on the bracket. Once you do that, it’s just a matter of connecting the right wires together and properly screwing your fan into the ceiling. If you take your time and follow the correct steps, you can connect your ceiling fan wires by yourself!
Steps
Attaching the Bracket and Fan to the Ceiling
-
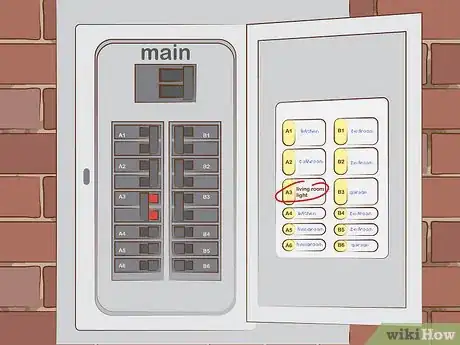
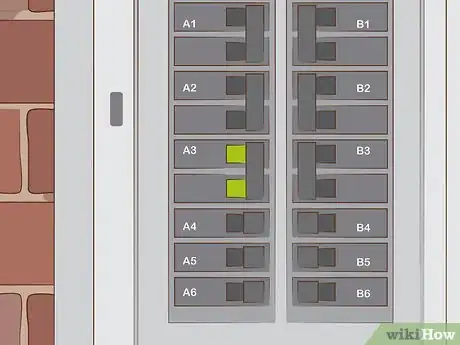
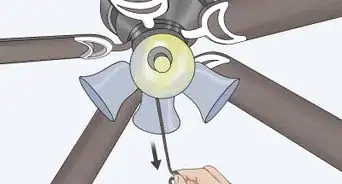
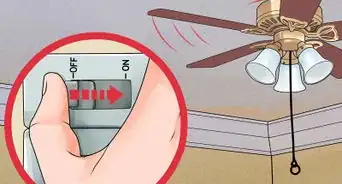
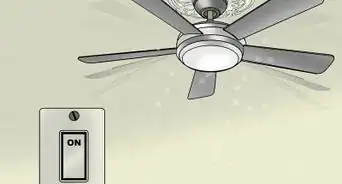
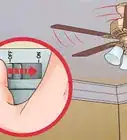
1Turn off the power from the circuit or breaker box. Read the inside of your breaker or circuit box and locate the switch that controls the power to your fan. Once you find the right switch, flip it to the off position. It’s important that the power running to the wires in your ceiling is off or you could electrocute yourself.[1]
- There is usually a schematic or table on the inside of your circuit breaker panel that will tell you what part of the house each circuit controls.
- If you don't know which switch controls your fan, turn on all the lights in your house. Once the lights are on, flip each switch until you switch off the power in the part of the house where the fan is located. That switch most likely controls the power to your fan.
-
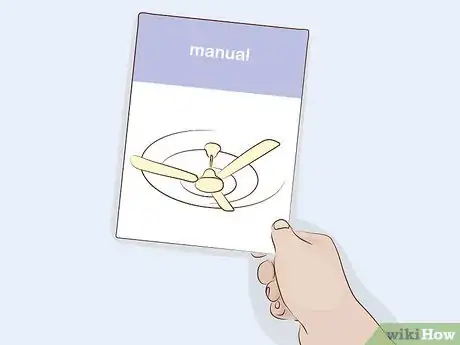
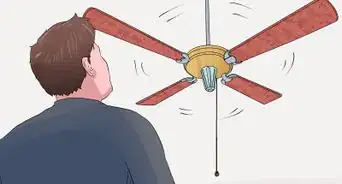
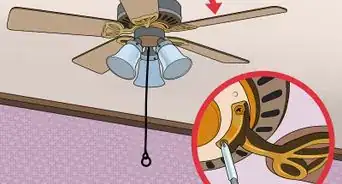
2Read the instruction manual that came with your fan. Some fan models have special warnings or instructions that you need to read before you start installing it. Read the entire manual to make sure you're installing it correctly.
- For instance, fans that have lights will require a slightly different installation process than fans without them.
Advertisement -
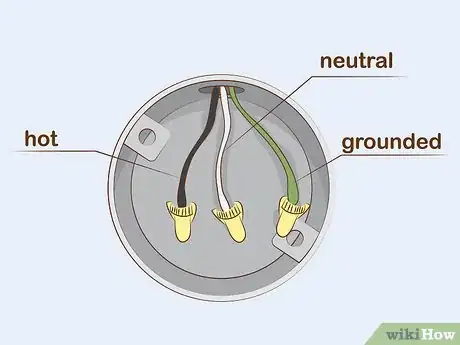
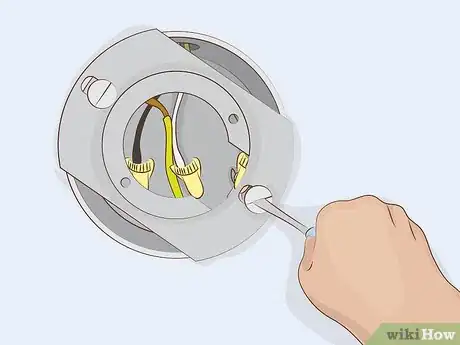
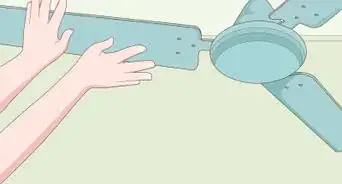
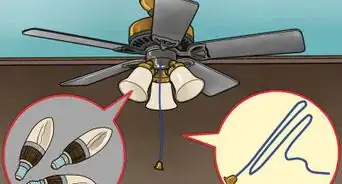
3Identify the individual wires coming out of your ceiling. There should be a white, copper or green, and black wire coming out of the ceiling's electrical box. Some setups will also have a blue wire, which powers the lights on your fan.[2] The white wire is your neutral wire, the copper wire is the grounded wire, and the black wire powers the fan.[3] [4]
- The black and blue wires are called hot wires because they hold electrical current.
- If you have a blue and black wire hanging out from your ceiling, you should also have 2 switches on your wall.
-
4
-
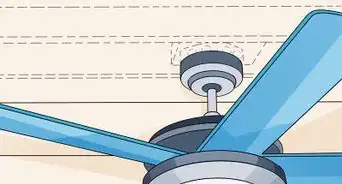
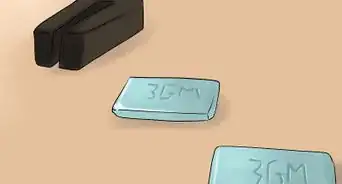
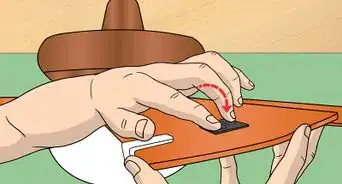
5Screw the ceiling fan bracket into the ceiling. Thread the wires coming out of your ceiling through the center of the bracket so that they hang freely below it. Line up your ceiling fan bracket with the holes in the electrical box that’s in your ceiling. Place the screws that came with the bracket into the holes and turn them clockwise with a screwdriver to tighten them. This should attach and secure the fan bracket to your ceiling.[7]
- Make sure that you tighten the screws well or the fan will wobble when you turn it on.
-
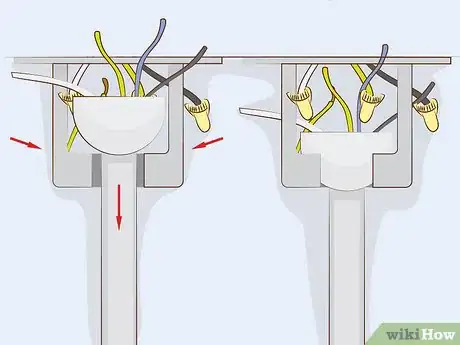
6Hang the ceiling fan in the bracket. Slide the top of the ceiling fan into the groove in the bracket and hang it. Fans will have different setups and brackets, but all modern fans will allow you to hang the fan on the bracket so that you can connect the wires.[8]
- If you can't hang your fan, have someone hold it in place for you as you install it.
Attaching the Wires
-
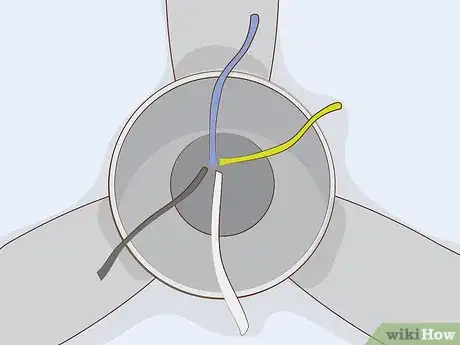
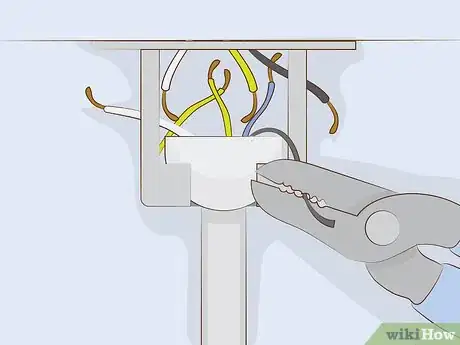
1Strip the ends of the wires. To connect your wires, the copper ends must be exposed. Remove the plastic caps that are on the ends of your wires. Use a stepladder to reach the wires in your ceiling and carefully cut away the plastic coating about 2 inches (5.1 cm) from the end of the wires with a wire cutter. Snip the plastic and slide it off to expose the copper wires. Repeat the process on the wires coming out of your fan.[9]
- If the copper ends of your wires are already exposed, you can skip this step.
-
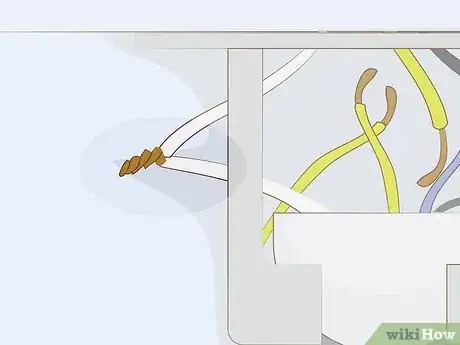
2Twist both white wires together. The white wires are your neutral wires. Connect the white wire coming out of your ceiling to the white wire coming out of the top of the fan. Twist the copper ends together until they are securely connected to each other.[10]
- Connecting the neutral wires will complete the circuit in your fan.
- You may want to wear thick gloves to prevent yourself from getting cut on the copper.
-
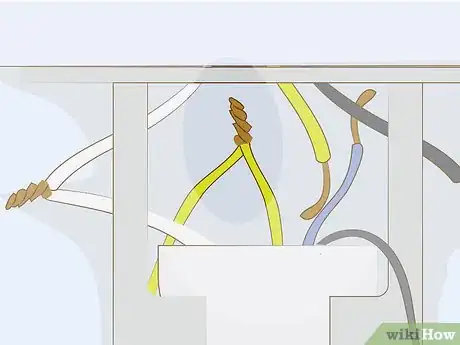
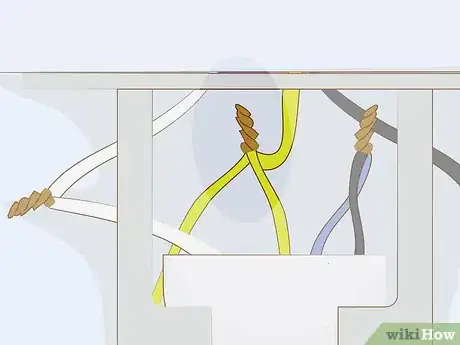
3Connect the 2 green wires together. Typically, a green wire is attached to your fan bracket and the other green wire is attached to the fan itself. Twist the copper ends of the wires together to connect them together. Leave the green or copper wire that's coming out the ceiling unattached for now.[11]
- The 2 green wires are your grounded wires and prevent damage to your fan from power surges.[12]
-
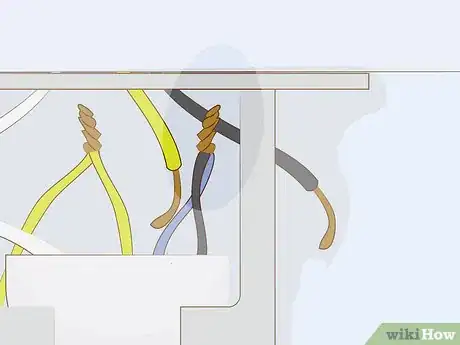
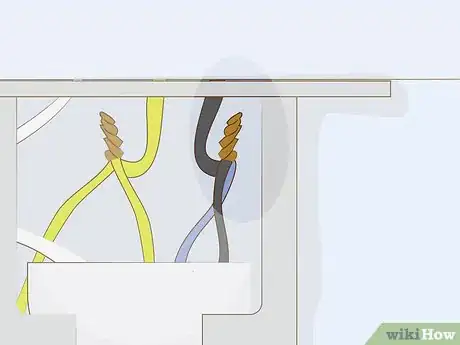
4Connect the black and blue wires in your fan if you only have 1 switch. Connect the black and blue wires coming out of your fan. This will allow you to control your fan and lights with a single switch. Twist the copper ends of the black and blue wires together like you did with the previous wires.[13]
-
5Connect the grounded copper wire with the green wires. Take the 2 green wires that you twisted together and connect them to the copper or green wire coming out of your ceiling. This will ground your fan’s internal components.[14]
-
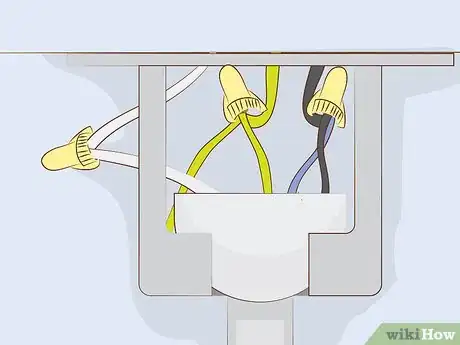
6Twist your hot wires to the black wire in the ceiling. You should always connect your hot wires last. If you only have 1 switch, connect the bound blue and black wires to the black wire coming out of your ceiling. If you have a 2 switch setup, connect the blue and black wires to the blue and black wires coming out of your ceiling.[15]
- If your fan doesn't have lights, you'll only have to connect the black wires.
-
7Fit the plastic caps back onto the ends of the wires. If your wires had plastic caps on the end of the wires, replace them. Fit the caps over the twisted wires and rotate them until they are secure. If the wires didn't have plastic caps, cover the exposed ends with electrical tape so that your wires don't touch one another.
Finishing the Installation
-
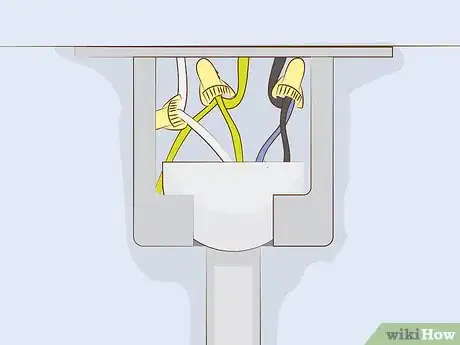
1Tuck the connected wires into the ceiling bracket. Take your wires and tuck them into the ceiling bracket so that you can screw the faceplate into your ceiling. Make sure that none of the wires become disconnected as you do this.[16]
-
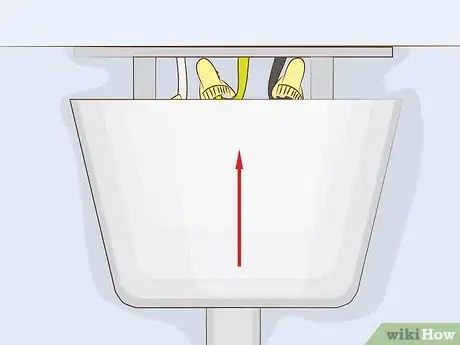
2Screw in the fan faceplate over the bracket. Fit the fan’s faceplate over the bracket and the wires and line up the holes in the side of your fan. Use a screwdriver to turn the screws clockwise to tighten them.[17]
- Screw in all the screws or your fan won’t be stable.
-
3Turn on the power from your breaker box and test the fan. Go back to your breaker box and flip the appropriate circuit to the on position. Then, flip the switch(es) on the wall to make sure that your fan works correctly. If you notice it wobbling, turn the fan off and make sure that the screws connecting the bracket and faceplate are tight.
-
4Disassemble your fan and check the connections if needed. If your fan doesn't turn on, there's either an electrical problem or you didn't connect your wires correctly. Turn off the power and remove the faceplate to make sure that all the wires are connected correctly.
Expert Q&A
-
QuestionWhen installing a ceiling fan what is the red wire?
 James HornofJames Hornof is a Master Electrician and the Owner and President of B & W Electric based in Denver, Colorado. With over two decades of experience in the electrical construction industry, James specializes in field installation, management, estimating, and design. He graduated top of his class in electrical trade school and studied Business Management at The Community College of Denver. James holds a Master Electrician license in Colorado, Wyoming, and Texas.
Master Electrician If you're using non-metallic sheathed cable — commonly known as “romex” —, you'll typically connect the black wire to the other black wire for the fan and the red wire to the blue wire for the light. Then, the colors chosen should be attached to the corresponding switch.
 -
QuestionDoes a ceiling fan need a neutral?
 James HornofJames Hornof is a Master Electrician and the Owner and President of B & W Electric based in Denver, Colorado. With over two decades of experience in the electrical construction industry, James specializes in field installation, management, estimating, and design. He graduated top of his class in electrical trade school and studied Business Management at The Community College of Denver. James holds a Master Electrician license in Colorado, Wyoming, and Texas.
Master Electrician Yes. The neutral conductor, also called grounded conductor, is needed and must be connected to the white wire.
Things You’ll Need
- Screwdriver
- Wire cutters
- Stepladder
References
- ↑ https://www.familyhandyman.com/electrical/how-to-install-ceiling-fans/view-all/
- ↑ James Hornof. Master Electrician. Expert Interview. 7 September 2021.
- ↑ James Hornof. Master Electrician. Expert Interview. 7 September 2021.
- ↑ https://www.do-it-yourself-help.com/wiring_diagram_ceilingfan.html
- ↑ James Hornof. Master Electrician. Expert Interview. 7 September 2021.
- ↑ https://youtu.be/M3XTn0IyfbQ?t=56s
- ↑ https://youtu.be/M3XTn0IyfbQ?t=18s
- ↑ https://youtu.be/M3XTn0IyfbQ?t=57s
- ↑ https://youtu.be/3tQv4myoagg?t=28s
- ↑ https://youtu.be/M3XTn0IyfbQ?t=1m38s
- ↑ https://www.thisoldhouse.com/how-to/how-to-install-ceiling-fan
- ↑ http://hyperphysics.phy-astr.gsu.edu/hbase/electric/bregnd.html
- ↑ https://youtu.be/M3XTn0IyfbQ?t=1m28s
- ↑ https://www.familyhandyman.com/electrical/how-to-install-ceiling-fans/view-all/
- ↑ https://www.familyhandyman.com/electrical/how-to-install-ceiling-fans/view-all/
- ↑ https://youtu.be/M3XTn0IyfbQ?t=2m46s
- ↑ https://www.thisoldhouse.com/how-to/how-to-install-ceiling-fan
About This Article
To connect ceiling fan wires, first turn the power off from the circuit breaker box so you don’t electrocute yourself. Once the power is off, read the instruction manual that came with the fan so you install everything correctly. Then, screw the ceiling fan bracket into the ceiling, and thread the wires coming out of the ceiling through the center so they’re freely hanging down. Once it’s screwed in, hang the ceiling fan in the bracket. After this, strip the ends of the wires so the copper ends are exposed. Now you can twist the ends of the white wires together, the yellow wires together, and the black and blue wires together. Once you’ve twisted the correct wires together, fit plastic caps on the ends so they’ll be secure once you turn the power on. Finally, tuck the connected wires back into the ceiling bracket. To learn how to test your new ceiling fan, read on!
