X
wikiHow is a “wiki,” similar to Wikipedia, which means that many of our articles are co-written by multiple authors. To create this article, 14 people, some anonymous, worked to edit and improve it over time.
This article has been viewed 66,936 times.
Learn more...
The following guide can help you access Gmail with certain settings. *Please note that with Thunderbird 3.0, you'll automatically be configured with IMAP. If you’d like to add additional email accounts with IMAP1 access, please see the instructions below.
Steps
-
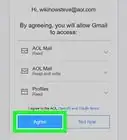
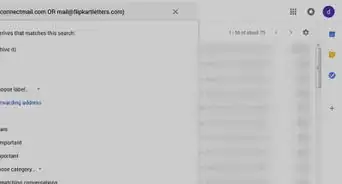
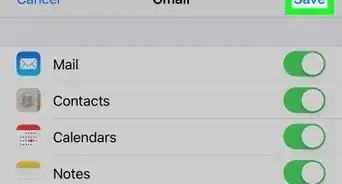
1Make sure to Enable IMAP in Gmail and click Save Changes when you're done.
-
2Open Thunderbird.Advertisement
-
3Click the Tools menu, and select Account Settings...
-
4Select Add Mail Account... from the drop-down list located under the account list on the left.
-
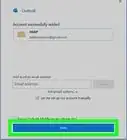
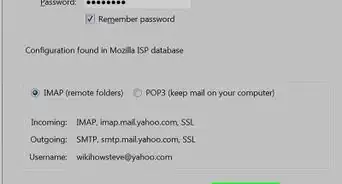
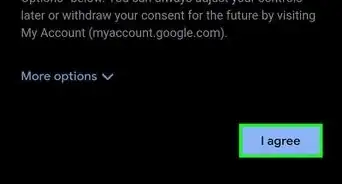
5The first dialog in Thunderbird’s Automatic Account Configuration will be displayed. Enter your name, your Gmail email address and your password. Click Continue.
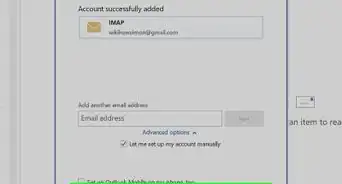
- Thunderbird will query the Gmail server2 and automatically configure the appropriate IMAP connection settings for your account. When complete, Thunderbird will show you a confirmation dialog.
-
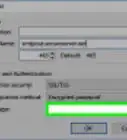
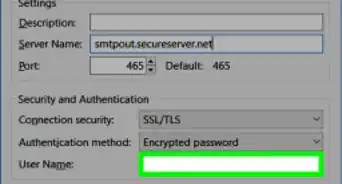
6Confirm that the connection settings are the same as those shown above and click "Done".
-
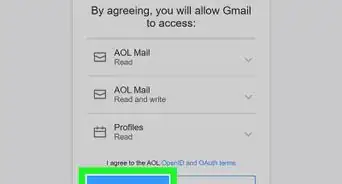
7Check out Google's recommended client settings, and adjust your client's settings as needed.


Advertisement


About This Article
Advertisement