This article was co-authored by wikiHow staff writer, Travis Boylls. Travis Boylls is a Technology Writer and Editor for wikiHow. Travis has experience writing technology-related articles, providing software customer service, and in graphic design. He specializes in Windows, macOS, Android, iOS, and Linux platforms. He studied graphic design at Pikes Peak Community College.
The wikiHow Tech Team also followed the article's instructions and verified that they work.
This article has been viewed 22,873 times.
Learn more...
This wikiHow teaches you how to accept payments on eBay using PayPal or credit and debit cards. 99% of transactions on eBay are done through PayPal, so linking your eBay and PayPal accounts will allow you to accept PayPal Payments automatically.[1] You can also configure your eBay account to accept credit and debit card payments directly.
Steps
Linking Your PayPal Account
-
1Go to eBay in a web browser. You can use any web browser on your Windows or Mac computer.
- If you aren't signed in automatically, click "Sign in" in the top-left corner of the page and log into your eBay account, or click "Register" to create a new account.
-
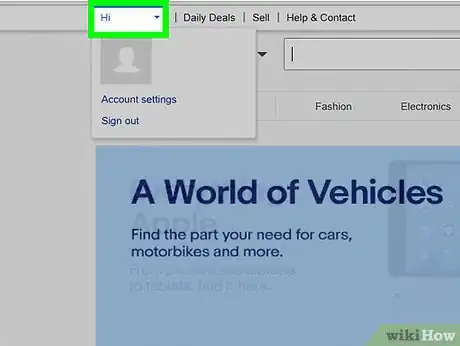
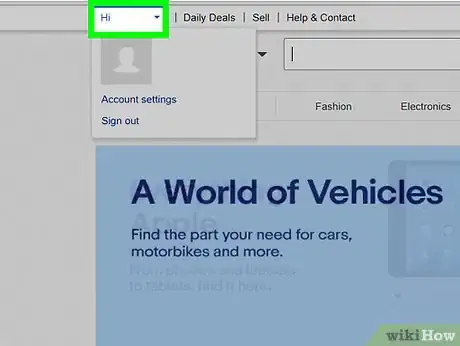
2Hover the mouse cursor over your name. Once logged in, your name is in the top-left corner of the webpage. This opens a drop-down menu with some account options.Advertisement
-
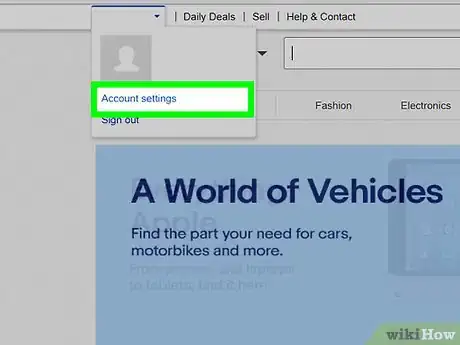
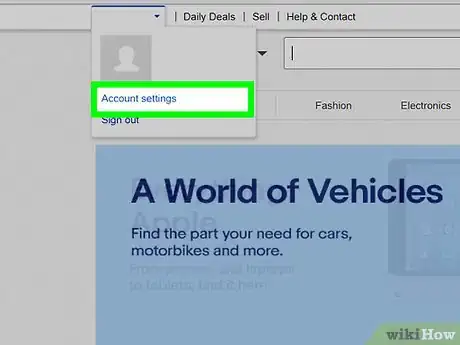
3Click Account Settings. It's just below your profile picture in the drop-down menu in the top-left corner.
-
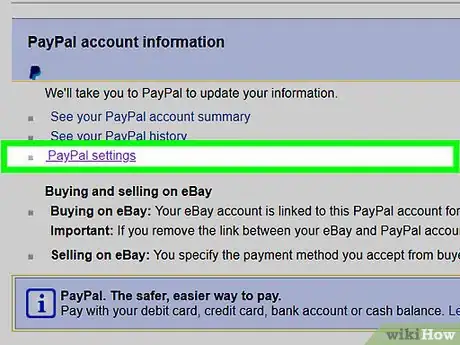
4Click Link My PayPal Account. It's the gray button on the right side of the page, just below the purple section that says "PayPal account information". This opens a new window for you to log into your PayPal account.
- eBay may prompt you for additional information before proceeding depending on the account information you've previously provided.
-
5Enter your contact information if prompted. If you haven't done so earlier, eBay needs to know your mobile phone number, email, and physical address before you can accept payments. Enter the requested info and click "Continue" when you are finished. This redirects you to PayPal's website.
- Skip this step if you don't see this prompt.
-
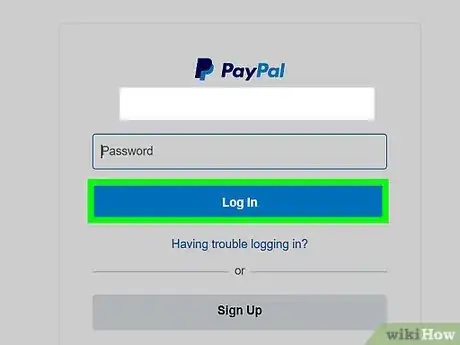
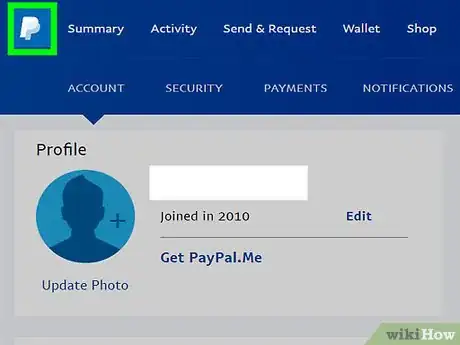
6Log into your PayPal account. After you are redirected to the PayPal website, type the email address and password associated with your PayPal account and click "Log In."
- If you don't have a PayPal account, click "Sign up" on the left side of the page and follow the prompts. Read How to Set Up a PayPal Account for more detailed information.
-
7Click Return to eBay. This returns you to eBay with your PayPal account now linked. When users pay for items you sell on eBay, the payment will be added to your PayPal account automatically. If your PayPal is linked to your bank account, you can then send your PayPal balance to your bank account.
- Read How to Transfer Money from PayPal to a Bank Account to learn how to transfer money from PayPal to your bank account.
Accepting Credit and Debit Card Payments
-
1Go to https://www.ebay.com in a web browser. You can use any web browser on your Windows or Mac computer.
- If you aren't signed in automatically, click "Sign in" in the top-left corner of the page and log into your eBay account, or click "Register" to create a new account.
-
2Hover the mouse cursor over your name. Once logged in, your name is in the top-left corner of the webpage. This opens a drop-down menu with some account options.
-
3Click Account Settings. It's just below your profile picture in the drop-down menu in the top-left corner.
-
4Click Site preferences. It's in the sidebar to the left in the center.
-
5Click Show next to "Payment from buyers". It's in the seller preferences section.
- The seller preferences section isn't available until after you list your first item and have created a Seller Account.
-
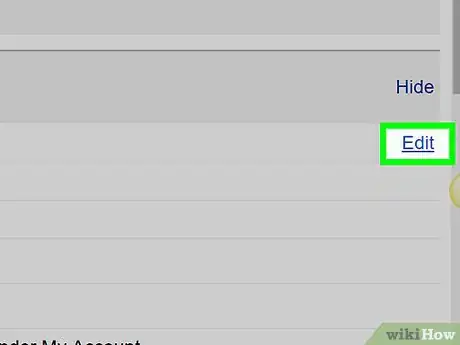
6Click Edit. It's across from "Payment preferences".
-
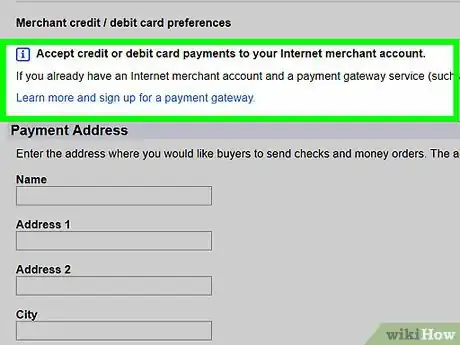
7Click the checkbox next to "Accept credit and debit card payments". It's near the bottom of the Payment Preferences page.
-
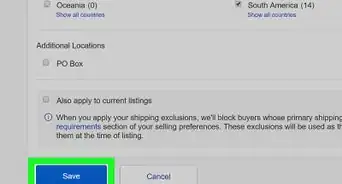
8Click Save. It's at the bottom of the Payment Preferences page. This allows you to accept credit and debit cards to your merchant account.[2]

