This article was co-authored by Lisa Greaves Taylor, CCCE, LCCE, CD (DONA) and by wikiHow staff writer, Amy Bobinger. Lisa Greaves Taylor, CCCE, LCCE, CD (DONA) is a certified childbirth educator, birth doula, and founder of Birth Matters NYC. With over 10 years of experience, Lisa specializes in labor support, postpartum wellness, and education in the first few months of parenthood. She is a certified childbirth educator with both the Childbirth Education Association of Metropolitan New York (CEA/MNY) and Lamaze International. Lisa served on CEA/MNY’s board for 5 years and was named CEA’s Ellen Chuse Childbirth Educator of the Year in 2018. Lisa is also a DONA-certified labor support doula and a professional member of Evidence Based Birth.
There are 20 references cited in this article, which can be found at the bottom of the page.
This article has been viewed 11,861 times.
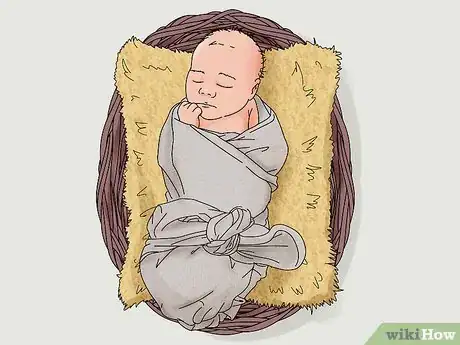
There's nothing like those first few months of having a baby—and naturally, you want to capture every perfect detail so you can remember it forever. Swaddling your baby is a great way to keep them cozy and calm while you take photos. Just try to plan your photoshoot before your baby turns 8 weeks old—after that, babies start trying to roll, so swaddles aren't recommended past that point.[1]
Steps
Swaddle the baby tightly.
-
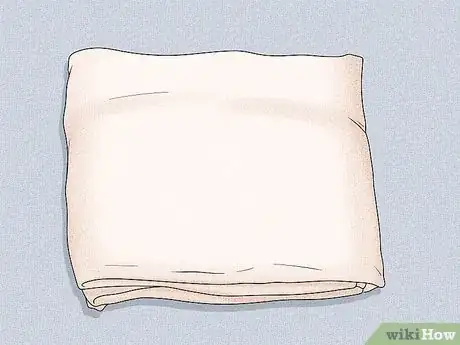
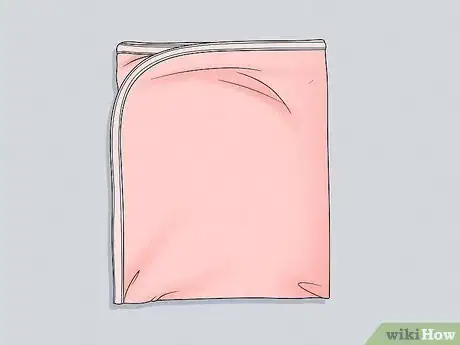
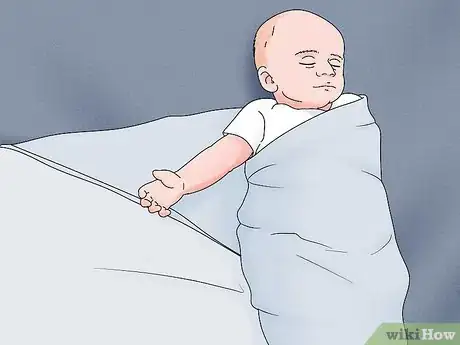
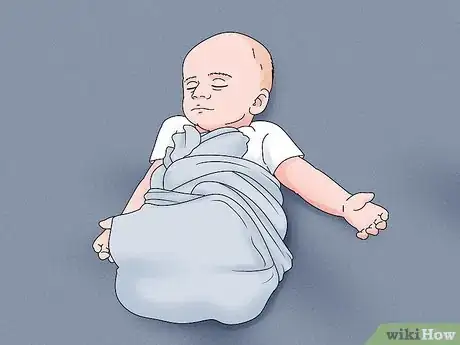
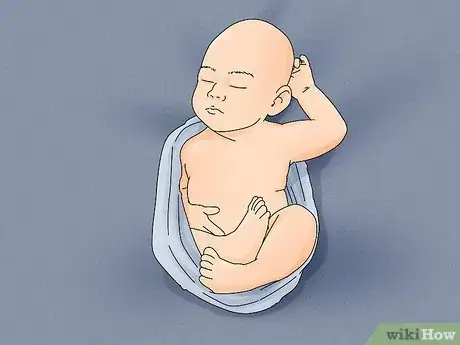
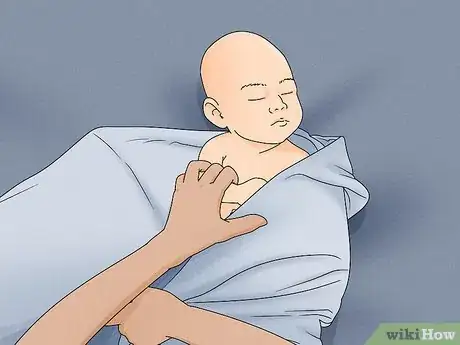
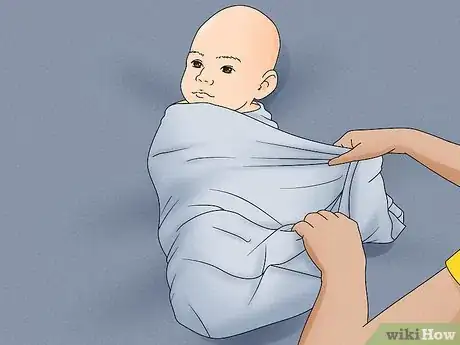
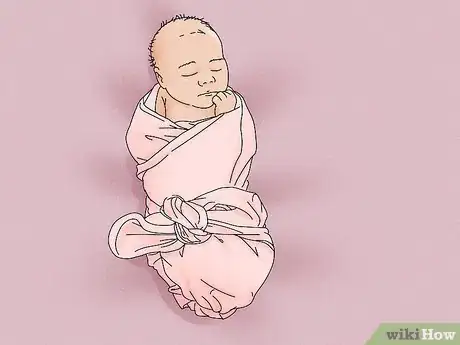
1Pull the material snugly around your baby to keep them calm. Babies prefer to be swaddled tightly—it helps them feel secure, so you're able to move them around easily without waking them.[11]
In addition, wrapping your baby tightly will help keep their arms and legs from slipping out of the wrap while you're taking pictures.[12]
-
1
- Just be sure you can still slip your hand between the wrap and your baby's chest. That will ensure they're able to breathe comfortably.[13]
Expert Q&A
-
QuestionHow do you safely swaddle a baby?
 Corey Fish, MDDr. Corey Fish is a practicing Pediatrician and the Chief Medical Officer at Brave Care, a pediatric healthcare company based in Portland, Oregon. Dr. Fish has over 10 years of experience in pediatric care and is a member of the American Academy of Pediatrics. Dr. Fish received a BS in Biology from Pacific Lutheran University in 2005, an MD from the University of Washington School of Medicine in 2009, and completed his Pediatric Residency at the University of Texas Southwestern Medical School in 2012.
Pediatrician & Chief Medical Officer, BraveCare Hip healthy swaddling keeps babys' hips in a better position. Normally when you're swaddling a baby, you cross one side, cross the bottom, and then cross the other side over and then tuck it. With hip swaddling, if you actually cross one side, cross the other side, and then take the bottom and twist it and tuck it underneath, it'll hold the baby's legs in a frog leg position instead of dead straight.
Warnings
- If you're shooting from above, always wear your camera's strap around your neck so the camera doesn't fall on the baby if it slips out of your hands.[25]⧼thumbs_response⧽
- Never leave your baby unattended while you're taking pictures.⧼thumbs_response⧽
References
- ↑ https://www.aappublications.org/content/34/6/34
- ↑ https://youtu.be/4iWYilYEEwQ?t=7
- ↑ https://youtu.be/4iWYilYEEwQ?t=161
- ↑ https://youtu.be/C1nFiMmtFEw?t=124
- ↑ Lisa Greaves Taylor, CCCE, LCCE, CD (DONA). Certified Doula & Childbirth Educator. Expert Interview. 25 August 2020.
- ↑ https://youtu.be/CzIyC1VAzig?t=1
- ↑ https://youtu.be/eNdkLPy2MHI?t=27
- ↑ https://youtu.be/eNdkLPy2MHI?t=365
- ↑ https://youtu.be/C1nFiMmtFEw?t=1002
- ↑ https://youtu.be/CzIyC1VAzig?t=120
- ↑ Lisa Greaves Taylor, CCCE, LCCE, CD (DONA). Certified Doula & Childbirth Educator. Expert Interview. 25 August 2020.
- ↑ https://www.myclickmagazine.com/newborn-photography-posing-flow/
- ↑ https://www.aappublications.org/content/34/6/34
- ↑ https://youtu.be/CzIyC1VAzig?t=40
- ↑ https://www.thebump.com/a/diy-newborn-photography-how-to-avoid-taking-bad-pictures
- ↑ https://youtu.be/C1nFiMmtFEw?t=136
- ↑ https://www.thebump.com/a/diy-newborn-photography-how-to-avoid-taking-bad-pictures
- ↑ https://www.myclickmagazine.com/newborn-photography-posing-flow/
- ↑ https://youtu.be/C1nFiMmtFEw?t=36
- ↑ https://youtu.be/eNdkLPy2MHI?t=150
- ↑ https://www.healthychildren.org/English/ages-stages/baby/diapers-clothing/Pages/Swaddling-Is-it-Safe.aspx
- ↑ https://www.thebump.com/a/diy-newborn-photography-how-to-avoid-taking-bad-pictures
- ↑ https://youtu.be/C1nFiMmtFEw?t=176
- ↑ https://youtu.be/4iWYilYEEwQ?t=151
- ↑ https://www.thebump.com/a/diy-newborn-photography-how-to-avoid-taking-bad-pictures
