wikiHow is a “wiki,” similar to Wikipedia, which means that many of our articles are co-written by multiple authors. To create this article, volunteer authors worked to edit and improve it over time.
The wikiHow Tech Team also followed the article's instructions and verified that they work.
This article has been viewed 63,354 times.
Learn more...
When creating Microsoft Publisher documents like catalogs, brochures and newsletters, it is important to know how to wrap text around images and graphics. Since Publisher uses text boxes for entering text into a document, the method for wrapping text around an image in Publisher is different from other MS Office applications, such as Word or Excel. This article provides detailed instructions on how to work with text boxes and how to wrap text around a picture in Publisher.
Steps
Insert and Format a Text box in Publisher
-
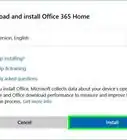
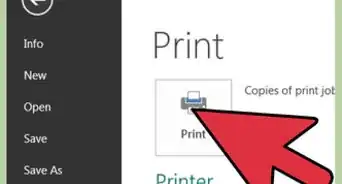
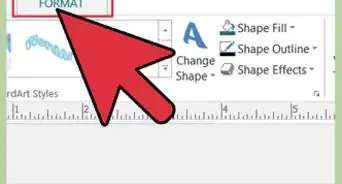
1Open a new Publisher document and choose a template. Click on the publisher shortcut in the MS Office folder, located in the All Programs menu. Choose a template from the Publication Types menu on the far left side of the application window. Click the Create button in the lower-right corner of the application window. A new Publisher document has been started.
-
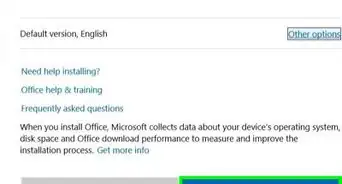
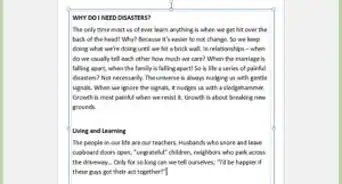
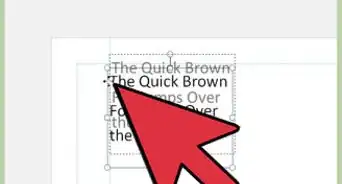
2Add text. Insert a text box, or use one of the text boxes included in the template. Type the text into an existing text box, or add a new text box to the template by clicking the Text box button in the Objects toolbar, located on the far left of the application window. Select the body of the text and click the Right-Justify button in the formatting menu on the standard toolbar.Advertisement
-
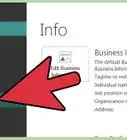
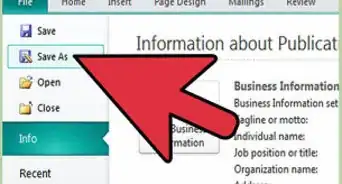
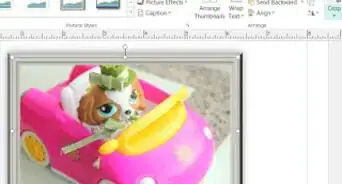
3Insert a ClipArt graphic or image file. To insert an image into the document, click the Insert tab on the Standard toolbar, click the Picture option, and select an image saved to the hard drive. To insert a ClipArt graphic, click the ClipArt option in the Insert pull-down menu to open the ClipArt task pane. Select a ClipArt Graphic from the available options by clicking on the graphic to insert into the document.


Community Q&A
-
QuestionWhat if my wrap text options are greyed out?
 Community AnswerHighlight the picture (click on it). You should have your text wrap options again.
 -
QuestionHow do you format justification?
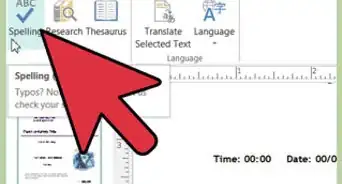
 Community AnswerHighlight your text. Click the Home section at the top of the screen, and to the right of the text color box are the justification options.
References
- Shelly Cashman Starks. Microsoft Office Publisher 2007: Complete Concepts and Techniques. Published in 2008 by THOMPSON COURSE TECHNOLOGY, Boston, MA.