X
wikiHow is a “wiki,” similar to Wikipedia, which means that many of our articles are co-written by multiple authors. To create this article, volunteer authors worked to edit and improve it over time.
This article has been viewed 79,438 times.
Learn more...
Business certificates can be of 2 types: gift certificates to externally promote products or services to prospective customers and award certificates to be used internally to recognize outstanding employee achievements. Microsoft Publisher includes templates for both kinds of certificates, making it easy to design either type of certificate as you need to. Follow these steps to learn how to make a certificate using Microsoft Publisher.
Steps
-
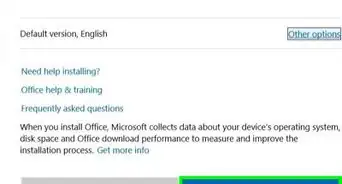
1Choose the type of certificate you wish to make. When you open Microsoft Publisher, the program displays a list of templates. In Publisher 2003 and 2007, this list is called the "Publication Types" list and is found at the left edge of the screen. In Publisher 2010, this list is called the "Available Templates" list and is found in the center of the screen.
- To make an award certificate, select "Award Certificates" from the list of templates.
- To make a gift certificate, select "Gift Certificates" from the list of templates.
-
2Choose the template style that appeals most to you. After you choose whether to make an award or a gift certificate, Publisher displays a list of available templates in each style. Click a template style to see it displayed at the top of the pane to the right of the display of design options.
- You can modify the template's appearance with the options in the "Customize" section. Choose one of the options in the "Color scheme:" dropdown to change the colors used in the certificate. Choose one of the options in the "Font scheme:" dropdown to change the combination of fonts used in the certificate. Choose the "Create new�" option in the "Business information:" dropdown to add the name of your business and other information to the certificate; you can then save this information to use in future certificates.
- You can also create a certificate from scratch by choosing one of the options in the "Blank Sizes" section. Use these options if you already have design skills and are skilled enough in using Publisher to design your own certificates.
- After you have decided on the template you want and customized it to your liking, either click "Create" or double-click on the template style.
Advertisement -
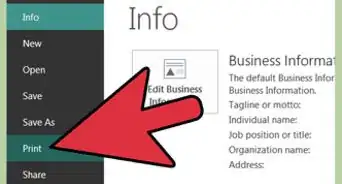
3Replace any placeholder text and graphics with your own information. To replace any portion of a certificate with your own text or graphics, click on the part of the certificate you wish to modify. That part of the certificate will be surrounded with a set of sizing handle dots. (In Publisher 2010, the tabs of the relevant "Format" toolbars will also appear on the toolbar ribbon.)
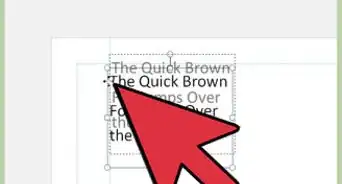
- To change the text, click on the placeholder text (e.g., "Name of Recipient") and type the new text. You can let the text automatically resize to fit the text box, or you can control the text size manually. To adjust the text size manually in Publisher 2003 and 2007, select "AutoFit Text" from the "Format" menu and then click "Do Not Autofit". Choose a new font size from the toolbar Font Size list. To adjust the text size manually in Publisher 2010, select "Do Not AutoFit" from the "Text Fit" dropdown button in the "Text" group of the "Text Box Tools Format" ribbon. Choose a new font size from the "Font Size" list in the "Font" group.
- To change a picture, right-click the existing picture and click "Change Picture" from the popup menu. In Publisher 2003 and 2007, select either "Clip Art�" or "From File�" to replace the picture with one from either of those sources. In Publisher 2010, select "Change Picture�" from the "Change Picture" submenu and then select a new picture using the "Insert Picture" dialog. (This option is not available for graphic images that were created as drawing objects.)
- To change a drawing object such as a line or shape, right-click the existing drawing object and select "Format AutoShape" from the popup menu. Use the options in the "Format AutoShape" dialog to change the shape color, line thickness, and size.
-
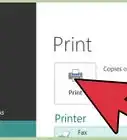
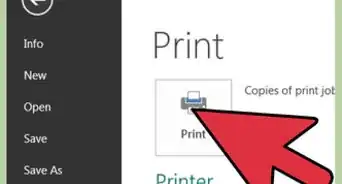
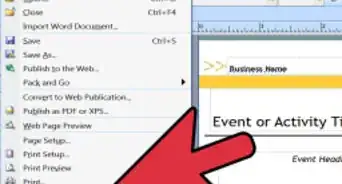
4Save the file when you're satisfied with its appearance. Once the file is saved, you can use it as the basis for creating new award certificates or gift certificates. Be sure to save variations under their own file names to avoid erasing the original version.
- You can also save an award certificate or gift certificate as a template to create new certificates from. Choose the "Publisher Template" option in the "Save As" dialog to do this.


Advertisement
Community Q&A
-
QuestionHow can I make the certificate more appealing in terms of design and colors?
 Community AnswerUse interesting fonts and an eye-catching color scheme. You may also add a border to increase visual interest.
 -
QuestionHow do I add a page border?
 Community AnswerIf using Word, you can go to page layout, then page borders. There you can choose any borders for the page or document that you like.
Advertisement

References
- http://office.microsoft.com/en-us/publisher-help/add-tracking-numbers-to-gift-certificates-or-coupons-HA010120816.aspx
- Rodney Ruff, Omaha, NE; Microsoft Publisher user (Publisher 2007 on laptop, Publisher 2010 on desktop)
About This Article
Advertisement