X
wikiHow is a “wiki,” similar to Wikipedia, which means that many of our articles are co-written by multiple authors. To create this article, volunteer authors worked to edit and improve it over time.
The wikiHow Video Team also followed the article's instructions and verified that they work.
This article has been viewed 10,240 times.
Learn more...
Before working in clay, to ensure a successful firing and outcome, wedging is done to remove any air pockets from within the material. Wedging also aids in the alignment of the clay platelets, and makes the clay more pliable.
Steps
Part 1
Part 1 of 4:
Preparing to Wedge
-
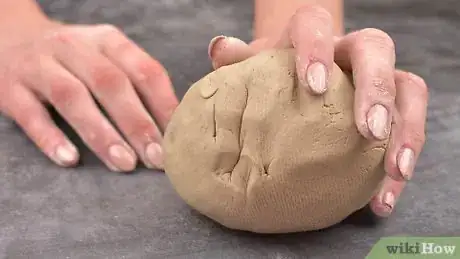
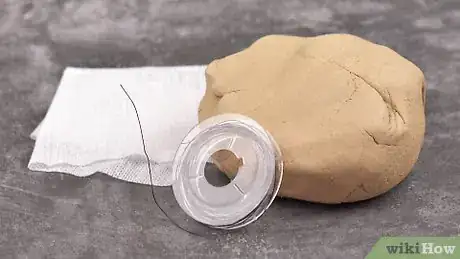
1Gather the appropriate amount of clay for your project. Weigh clay after wedging in case any is lost to the surface. It is also advised to err on the side of caution and wedge slightly more clay than you need rather than come up short.
-
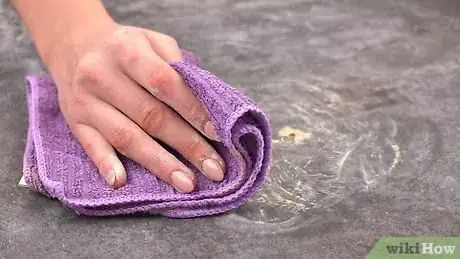
2Prepare your wedging surface. Clean off residual clay from previous wedging (if applicable), and make sure the area is free from moisture. Wedging clay onto a wet surface can lead to the clay sticking to your canvas or plaster.Advertisement
-
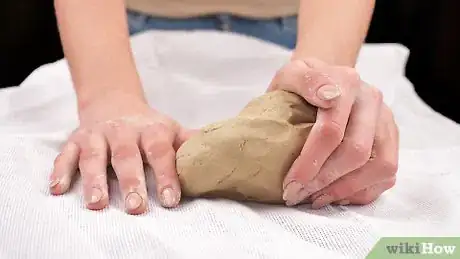
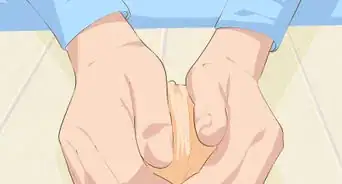
3Wedge on raw canvas if the clay is at your preferred moisture level.
- An ideal level is not wet enough so that it sticks to your hands, but finger dents should form when squeezed lightly. It should not slip through your fingers.
-
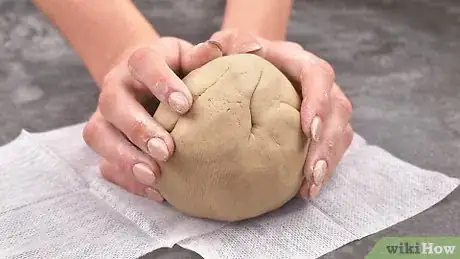
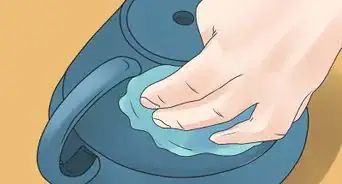
4Wedge on plaster if there is excess moisture. The pottery plaster will absorb excess water in the clay.
- Wedging on plaster can also aid in reclaiming clay from wheel throwing.
-
5Set up your tools. A rib tool aids in the reclaiming process, and a wire tool is used to check that the air is fully expelled from your clay.
-
6Begin wedging. Gather the clay in your hands, and throw it down onto your surface with some force to expel large pockets of air.
Advertisement
Part 2
Part 2 of 4:
Doing Ram's Head Wedging
-
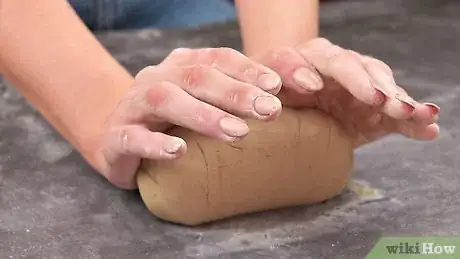
1Reach towards the far end, grab the clay and roll it back towards your body. No pressure should be used at this point.
-
2Press down with the heel of your palm while pushing away. Pressure should be applied diagonally inwards towards the center of the clay’s mass.
- Use your body weight as well as strength from your arms in wedging. This process is similar to that of kneading bread.
-
3Repeat previous steps several times. The process should take about a minute.
- Turn the clay periodically and repeat the wedging motion to ensure all of the air pockets have left.
- Wedging is a fluid motion similar to rocking the clay back and forth.
Advertisement
Part 3
Part 3 of 4:
Doing Spiral Wedging
-
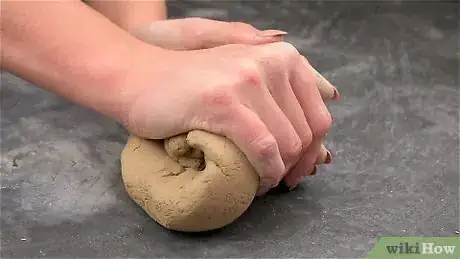
1Push the top of the clay with your dominant hand away from your body.
- Press down with the heel of your palms while pushing away. Pressure should be applied diagonally inwards towards the center of the clay.
-
2With your non-dominant hand, turn the clay about 10 degrees.
- Turn clockwise if you are right handed, or counter-clockwise if you are left handed.
-
3Reach with both hands to the far edge of the clay, and fold it back in on itself. This motion is similar to rocking the clay back and forth on the table.
- Rounded layers will appear in your clay body as this process continues
-
4Repeat the motion to squeeze the air pockets out of the bottom portion of the clay.
- Continue this process for about a minute.
Advertisement
Part 4
Part 4 of 4:
Finishing
-
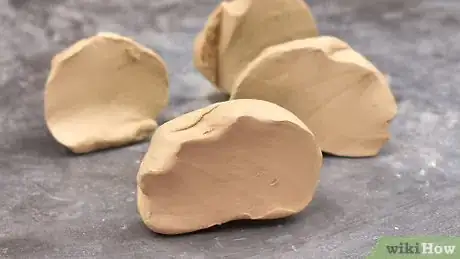
1Check the clay for air pockets. Use your wire tool to cut into the clay and make sure the clay has no visible bubbles or gaps in the clay body.
-
2Segment your clay into desired portions, and re wedge or shape as needed.
- Wedged clay should be kept in a plastic bag so it can stay moist if it is not going to be used immediately.
Advertisement
About This Article
Advertisement
