This article was co-authored by Deanna Ranlett. Deanna Ranlett is a Pottery and Ceramics Professional and the Owner of Mudfire Inc. in Decatur, Georgia. With more than 22 years of experience in the ceramics industry and eight years of experience owning a studio, they specialize in glaze formulation, firing ceramic and pottery pieces, general clay projects, and screen printing for ceramics. Deanna holds a BFA in Ceramic Arts and Ceramics from Georgia State University.
wikiHow marks an article as reader-approved once it receives enough positive feedback. In this case, 91% of readers who voted found the article helpful, earning it our reader-approved status.
This article has been viewed 311,957 times.
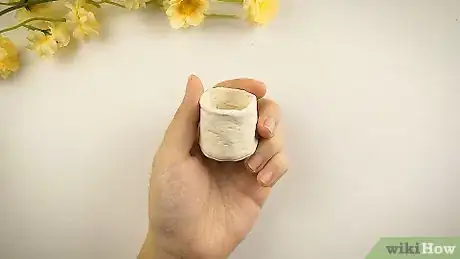
Air dry clay is a great way to sculpt without dealing with a kiln or oven, but coloring it can be a little more complicated. Depending on the method you choose, you can add designs and color to clay before or after you dry it. Learning how to color clay before modeling, draw with a marker on dried clay, or paint designs on dried clay will help bring your creations to life.
Steps
Coloring Before Drying
-
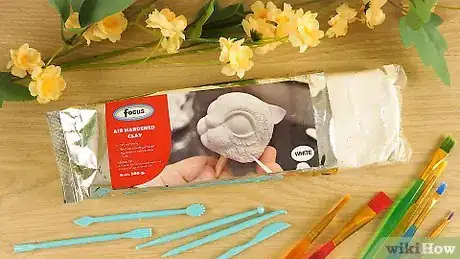
1Pick the right kind of clay for dyeing. White air-dry clay will give you the best results. Check to make sure your clay isn't colored. Even off-white clay will affect the final color. Even if you're using white clay, always test a small piece first, to determine how the color will work and to get the hue you're after.
-
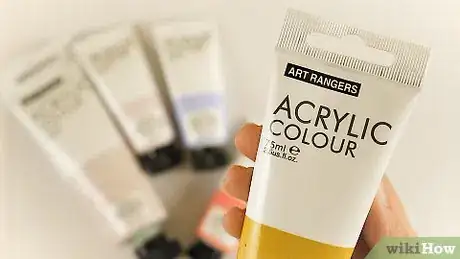
2Choose your colorant. If you want your clay to be a single solid color, dyeing it with pigment before it dries will get you the results you need. There are many options for pre-coloring air dry clay, so feel free to experiment![1]
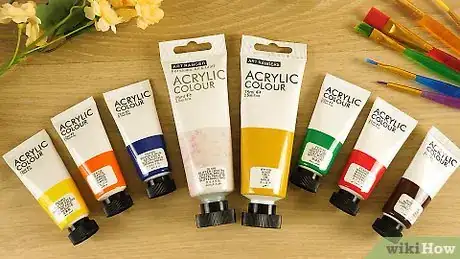
- Acrylic, tempera, or poster paints will give you a solid bright color.
- Oil paints will also work for basic coloring, but they’re harder to clean.
- If you want a really deep, vivid color, try artists’ quality acrylic or oil paint.
- Food coloring or icing coloring will give similar results as acrylic and tempera.
- If you want a pastel or very light color, try pastel chalk.
- You can also buy readymade clay colorants, but they come in limited colors and can be expensive.
Advertisement -
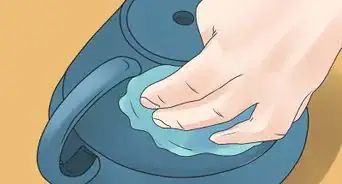
3Set up your work surface. Dyeing clay can be messy. Make sure your hands and your work surface are protected from staining. Protect your work surface with parchment paper for a disposable option or a silicone mat for a reusable option. Wear plastic or rubber gloves, especially if you’re working with oil paint or food coloring. Disposable gloves are best.
-
4Knead the clay before adding colorant. Spend some time kneading and pressing the clay with your hands before you add the colorant. This will help it soften so it can absorb the color more quickly and evenly. Kneading means to repeatedly press your fingers into the clay.The time you spend kneading will depend on the temperature and altitude you’re at, but it shouldn’t take more than 5 minutes.[2]
-
5Add a small drop of colorant to the clay and knead it in. Knead the colorant into the clay until the entire piece is colored evenly. This may take up to 5 minutes, so don't be worried if it doesn't change colors right away![3]
- If you are using a solid colorant like pastel chalk, add a little bit of dust to the clay.
-
6Continue adding one drop of colorant until the clay is the color you want. Be careful adding additional colorant--you shouldn't add more than a drop at a time. Be sure to knead the clay thoroughly after each drop![4]
-
7Sculpt and dry as usual. After you’ve got the color you want, you can continue working with your clay. Dyed clay often dries faster than undyed clay, so you may need to work a little more quickly than usual.[5]
Drawing on Dried Clay
-
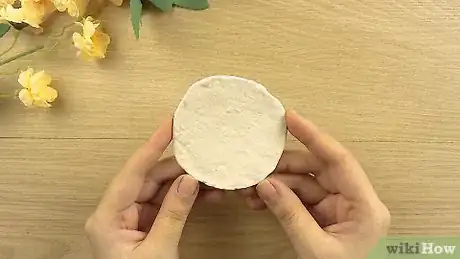
1Sculpt and dry your clay as usual. Make sure your clay is completely dry and solid before you start drawing on it. Damp clay will cause any marker to smudge, ruining your piece. White clay is best for making sure your drawing shows up, but you can use any color you want.[6]
-
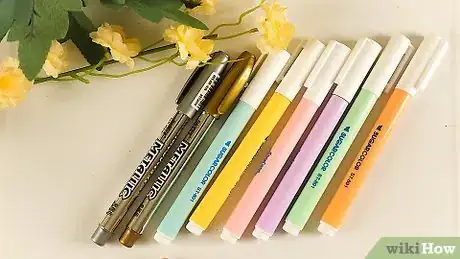
2Get some markers. Acrylic paint markers are best for drawing on clay, but you can also use regular kids’ markers, permanent markers, or watercolor markers. Avoid using oil markers--they can take a very long time to dry and will smudge easily.[7]
-
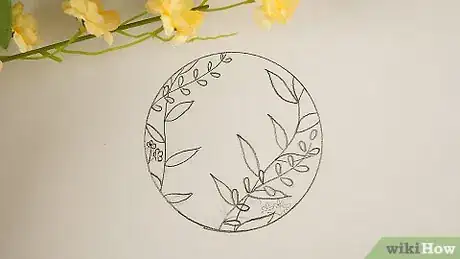
3Plan your design. It’s important to figure out what you want to draw before you start! You won’t be able to erase your designs and start over with clay. Spend a few minutes practicing your drawing on paper until you can do it perfectly multiple times in a row.
-
4Wash and dry your hands completely. Working with wet hands will smudge and transfer the marker ink, especially if you’re working with watercolor markers. Make sure your hands are clean and thoroughly dry before starting.
-
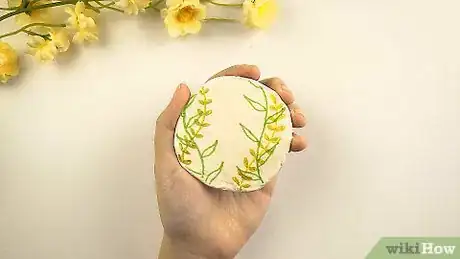
5Draw your design onto the clay. Hold your clay piece in one hand and draw your design very carefully with your dominant hand. Draw with one color at a time to prevent transfers, and draw lighter colors on first. For example, if you have a black and yellow design planned, draw the yellow first, let it dry, and then draw the black design.
-
6Let the design dry thoroughly. When you’re finished drawing one side or using one color, put the piece down and wait until the marker is completely dry before touching it again. Check the marker package for estimated drying times if you aren’t sure how long to wait. Continue until the piece is finished.
-
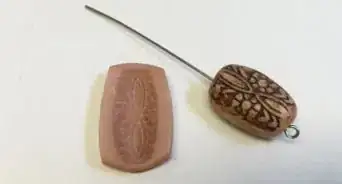
7Seal in the design to prevent smearing or fading. Check the clay packaging for a recommended sealant. Most sealants are spray-on, but you can also use paintable sealant, or even clear nail polish.[8]
- For store-bought sealants, follow the package instructions for best results.
- If you're using nail polish, apply it in a well-ventilated area. Paint slowly and carefully, making sure each side is dry before you turn it over.
Painting Dried Clay
-
1Sculpt and dry your clay as usual. Painting on damp clay or sculpting painted clay won’t work--your designs will run or smear. You'll need to wait until your piece is completely finished and entirely dried out to start painting. White clay will display paint best.[9]
-
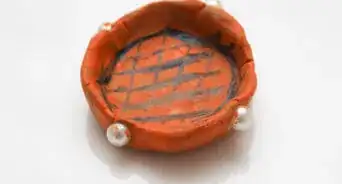
2Choose acrylic or tempera paints to color your clay. These kinds of paints are best for painting air dry clay, but you can also use poster paint or even nail polish if you want. Be sure to open the container and look at the actual paint first to make sure it’s the shade you want.[10]
- Watercolor and oil paints can work too, but they are much more difficult to handle and won’t have the same effect as acrylic.
-
3Pick out the right paintbrushes for your design. Using the wrong paintbrush can ruin your design! If you’re planning an intricate design, use a very fine paintbrush so you can get the details right. On the other hand, if you’re painting a large area of solid color, use a large brush to ensure an even coat.
- Auto detailing brushes are great for painting fine details onto clay.
- Make sure that your paintbrush is in good condition. An old or damaged paintbrush can shed bristles that smear your design!
-
4Practice your design on paper. If you’re painting a design on your clay instead of just applying a solid color, practice it a few times on paper or clay scraps to be sure you get it right. This is especially important if it’s an intricate design or if you aren’t used to painting--you won’t get a second chance!
-
5Paint your design onto your clay piece. While holding the piece in one hand, paint your design with the other. You can also rest it on a clean, protected work area if you’d rather not hold it. Remember to apply only one color at a time, and to put light colors on first if possible. For example, if you're painting a bee, do the yellow first, then the black.
- Be sure your hands are clean before and during the painting process!
-
6Wash your brush and wait for the paint to dry between each color. If your paintbrush is wet, you might risk color transferring or even smearing! When in doubt, it's better to wait for longer, in order to prevent any mistakes. You should also wait for the paint to dry before starting a new side.
-
7Add a layer of sealant to your creation. Check the label on the clay package to ensure the sealant you use is suitable for clay. You can use spray-on sealant or paint-on sealant. Read the directions carefully to ensure the best results.[11]
- Clear nail polish is a good universal sealant, but it may be difficult to apply to a larger piece. If you use this, apply it in a well-ventilated area, and be sure to wait until it's dry to start another side.
Community Q&A
-
QuestionI would like to paint on wet clay . What kind of paint would I use?
 Community AnswerIt's best to paint on dry clay only. For wet clay, you'll need a glaze, which is more complicated and doesn't work on air dry clay.
 -
QuestionWhere can I get a waterproof sealent
 Community AnswerAny craft store will sell sealant--just ask the employees where to find it! You can also use clear nail polish.
 -
QuestionDAS air dry clay is clumpy and dries out my hands, but the other brands where I live are expensive. Should I stick to DAS or find another brand?
 Community AnswerI have the same problem with DAS air dry clay. Try adding a little acrylic paint, wetting the clay or washing your hands with warm water. It might become slippery, but the clay should be easier to mold after a minute or so of kneading.
Things You'll Need
- Air dry clay
- Colorants such as paint, chalk pastels or food coloring (for whole coloring)
- Paint markers
- Acrylic or tempera paint
- Paintbrush
- A clean work surface, including protection for it
- Sealant
References
- ↑ http://www.clay-it-now.com/claycoloringtechnique.html
- ↑ http://www.clay-it-now.com/claycoloringtechnique.html
- ↑ http://www.clay-it-now.com/claycoloringtechnique.html
- ↑ http://www.clay-it-now.com/claycoloringtechnique.html
- ↑ http://www.clay-it-now.com/claycoloringtechnique.html
- ↑ https://artfulparent.com/2013/07/modeling-with-air-dry-clay-sculpt-it.html
- ↑ https://artfulparent.com/2013/07/modeling-with-air-dry-clay-sculpt-it.html
- ↑ http://www.clay-it-now.com/claycoloringtechnique.html
- ↑ http://www.clay-it-now.com/claycoloringtechnique.html
About This Article
Before coloring air dry clay, knead the clay so it’s soft, which will allow it to absorb the color more quickly and evenly. Next, add a drop of colorant to the clay and knead it in until the entire piece is colored evenly. Continue adding 1 drop of colorant at a time and kneading the clay thoroughly after each drop to avoid getting too strong of a color. Once you achieve the color you want, sculpt and dry the clay as usual. For tips on how to draw on dried clay, keep reading!
